How to Paint on Old Screens
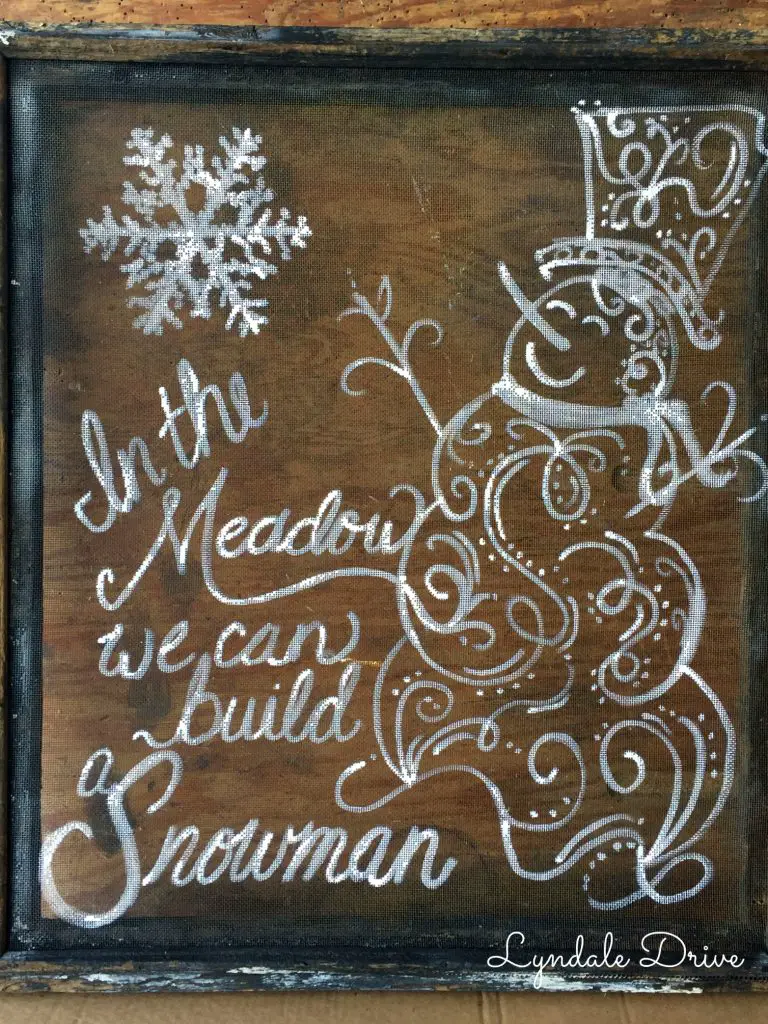
My mom had some old screens off of her house that she had saved when they replaced their windows years ago……….and in great Jodi fashion, I drug them home for a project! So when my buddy Karen asked if I wanted to join her in making some cool Christmas decorations out of old junk I said SURE!!! One of the many things we put together were these fun window screens.
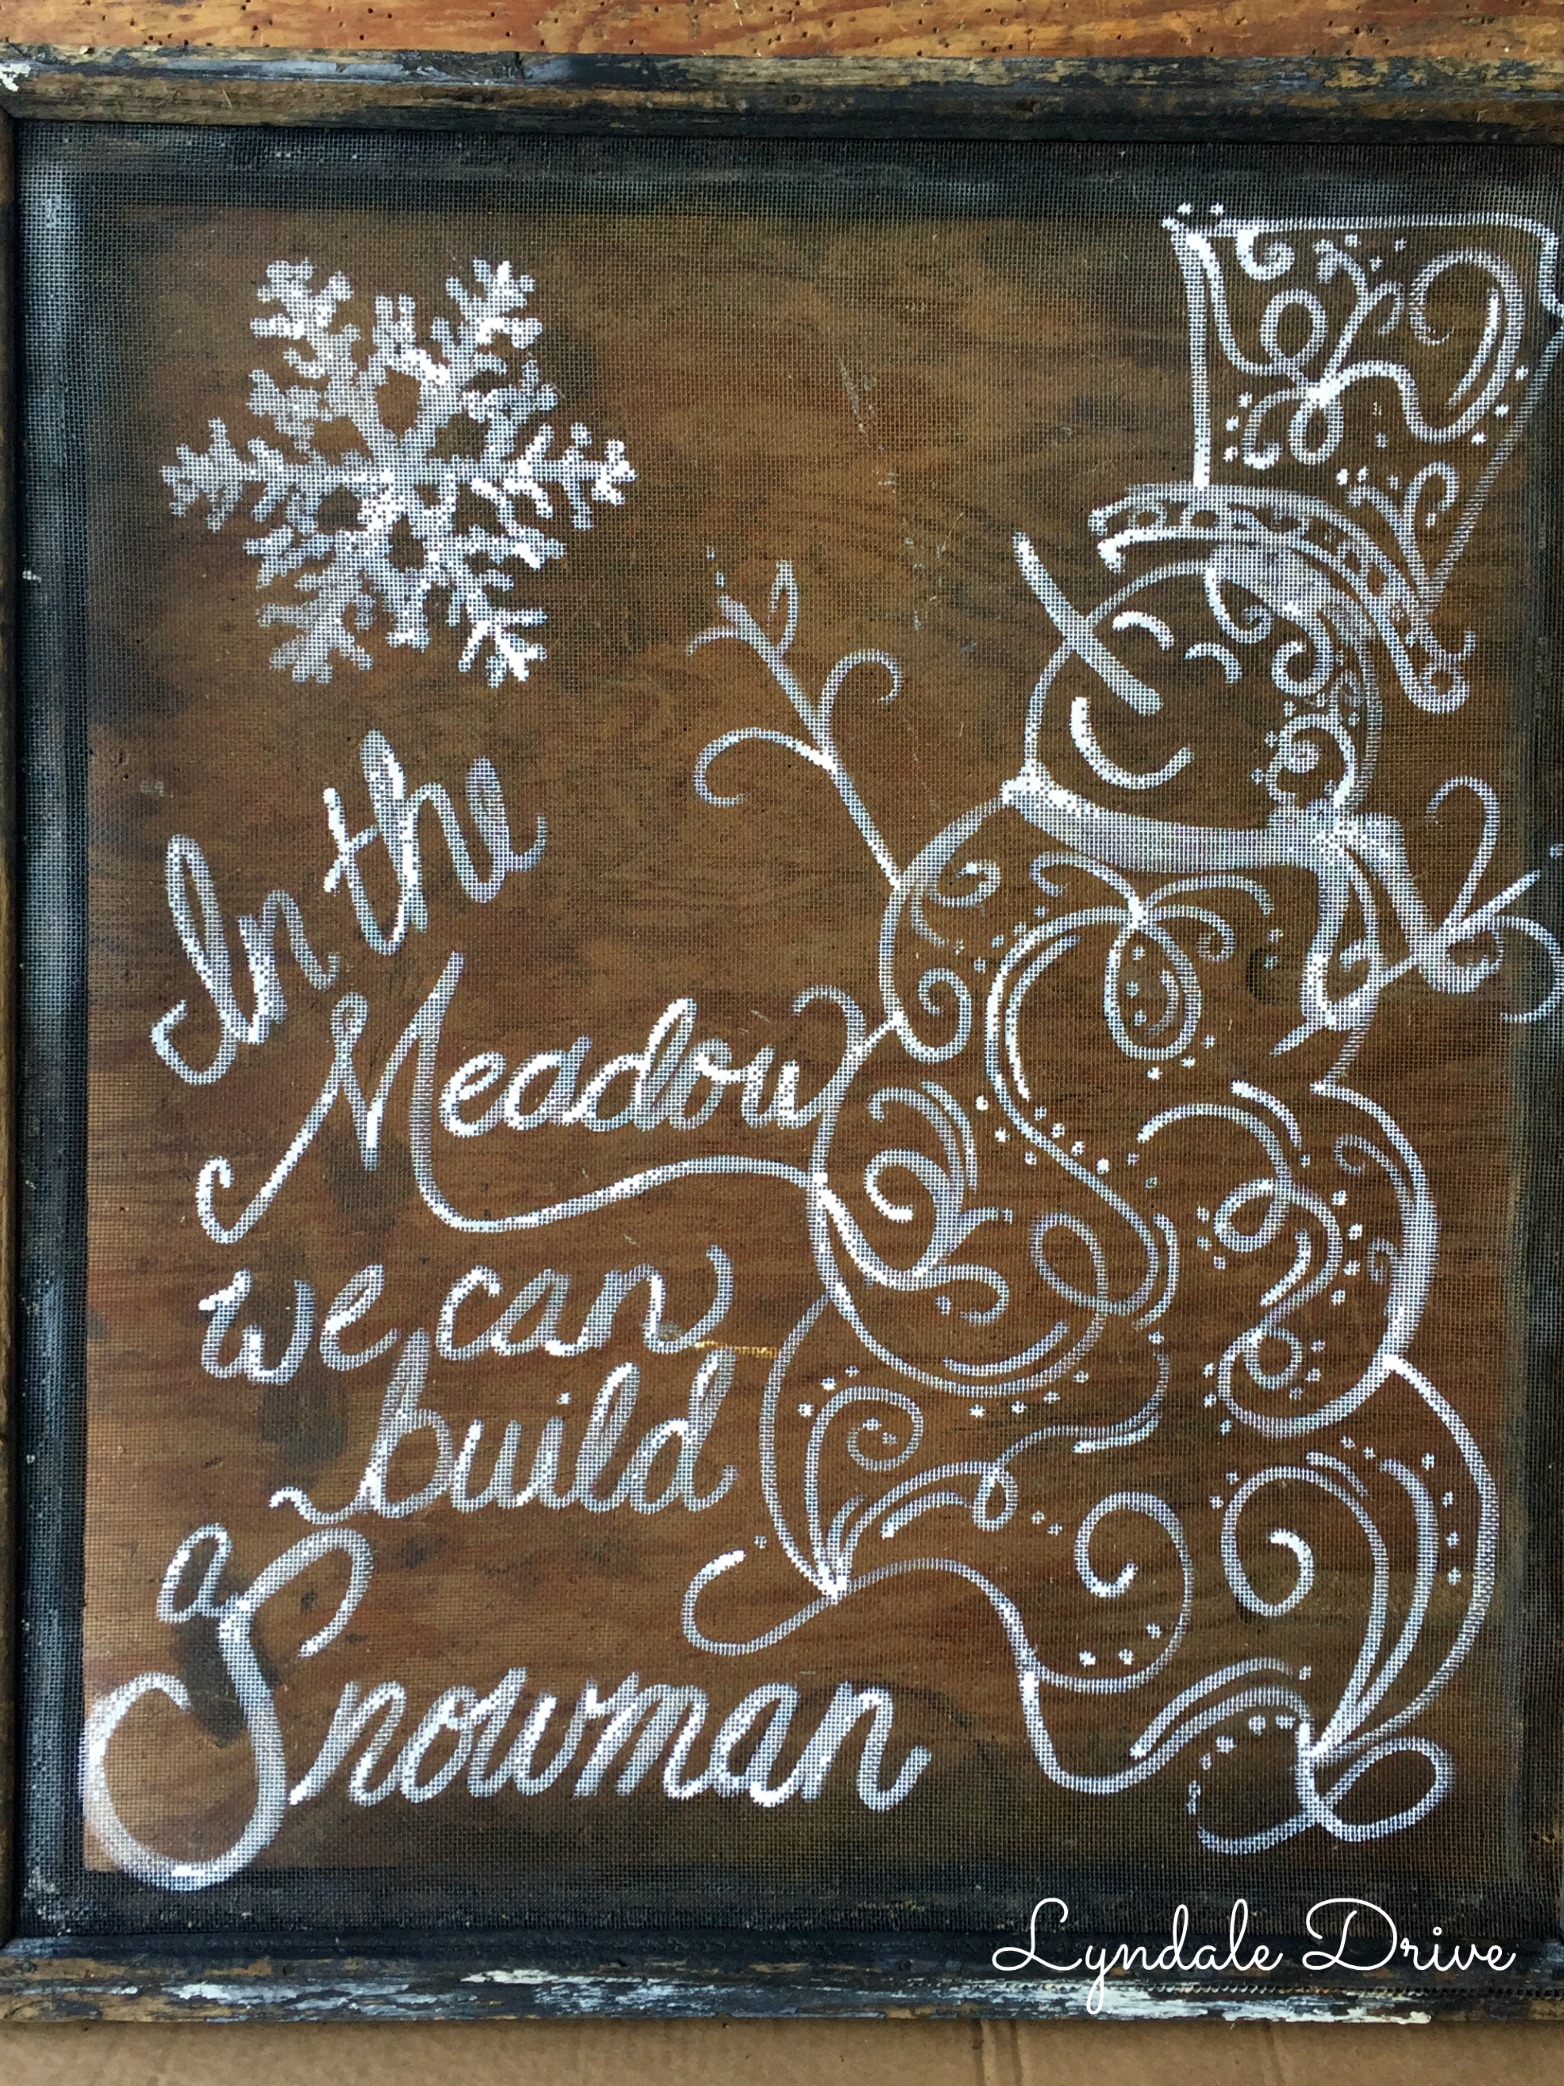
Let me show you how I took this old window screen and painted this fun snowman design on it.
I started with an old window screen and some white paint. The screen is a black metal so white paint shows up nicely.
Disclosure: As an Amazon affiliate, I earn from qualifying purchases at no extra cost to you. My blog contains other affiliate links as well for your convenience. To learn more, you may read my Disclosure Policy. Thank you for supporting my blog!
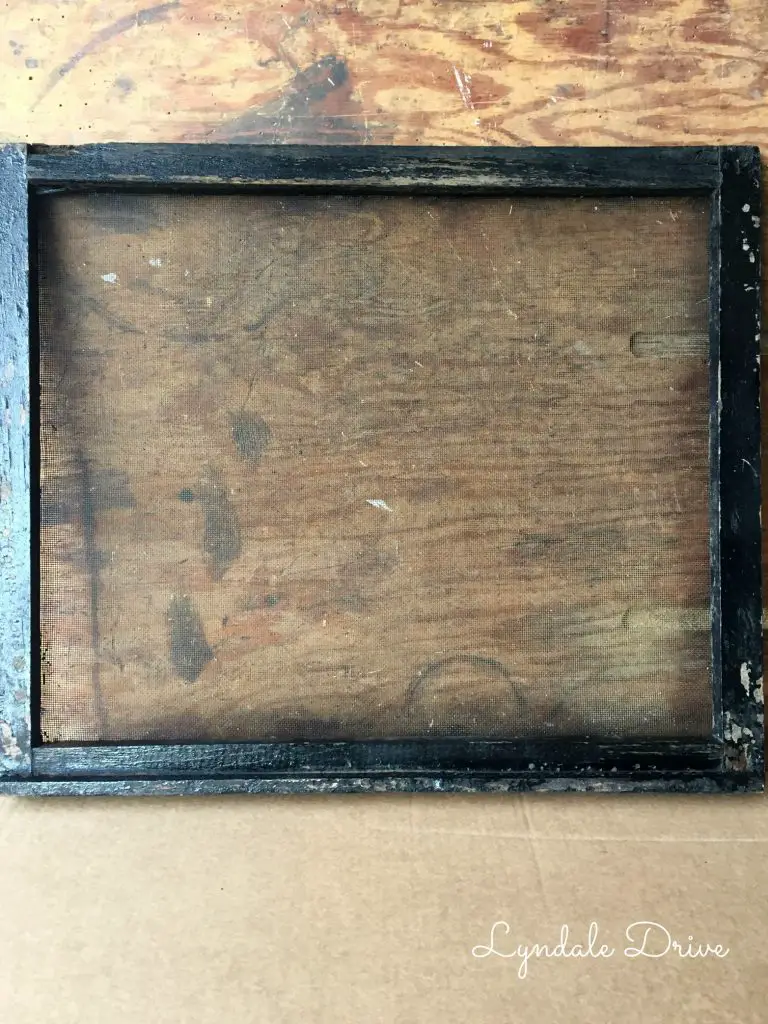
You will need the following:
- Framed Screen
- Paint color(s) of your choice (I used white)
- Paint brushes
- Chalk markers
You will want to pick a design for your screen. If you are good at free handing your design, and trust yourself to not make a mistake…………..get to painting right on the screen and by the way……….I …..am ………. jealous! I free hand designs, but I erase – A LOT!! So I don’t trust myself when it comes to painting on the screen with no practice! I also can’t draw a picture just knowing what the design should look like (you know, if you told me to draw a horse, I am sure you might think I was drawing a pig – really I am that bad), but I can look at almost any design and re-create it. So when I paint on screens I use this simple technique!
I use a white plastic 6 foot folding table when I am working on my projects. The table works perfect as a white board! I use my chalk markers and plan out my design right on the table.
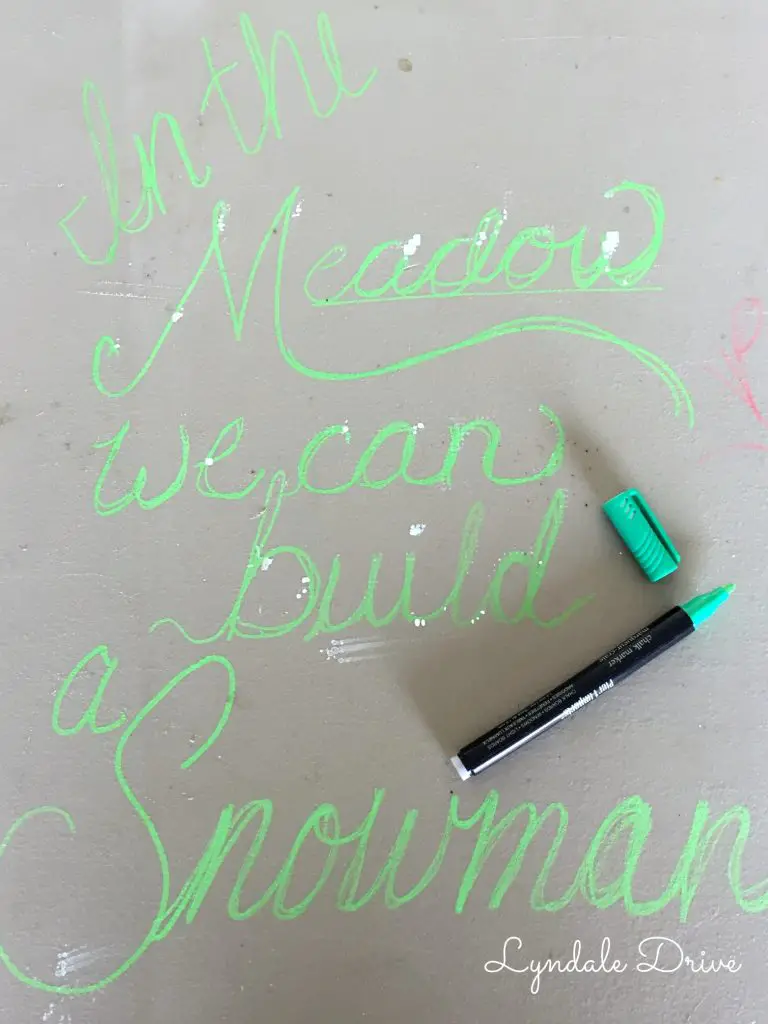
You can see how I have made several lines in some places, allowing me to get it just right, before I actually paint it…………and since it is a chalk marker, I can erase it all together if I want! You can see under the word MEADOW how I drew a straight line, I won’t paint it on my design, but it keeps my lettering straight.
Next I drew out the outline of my snowman.
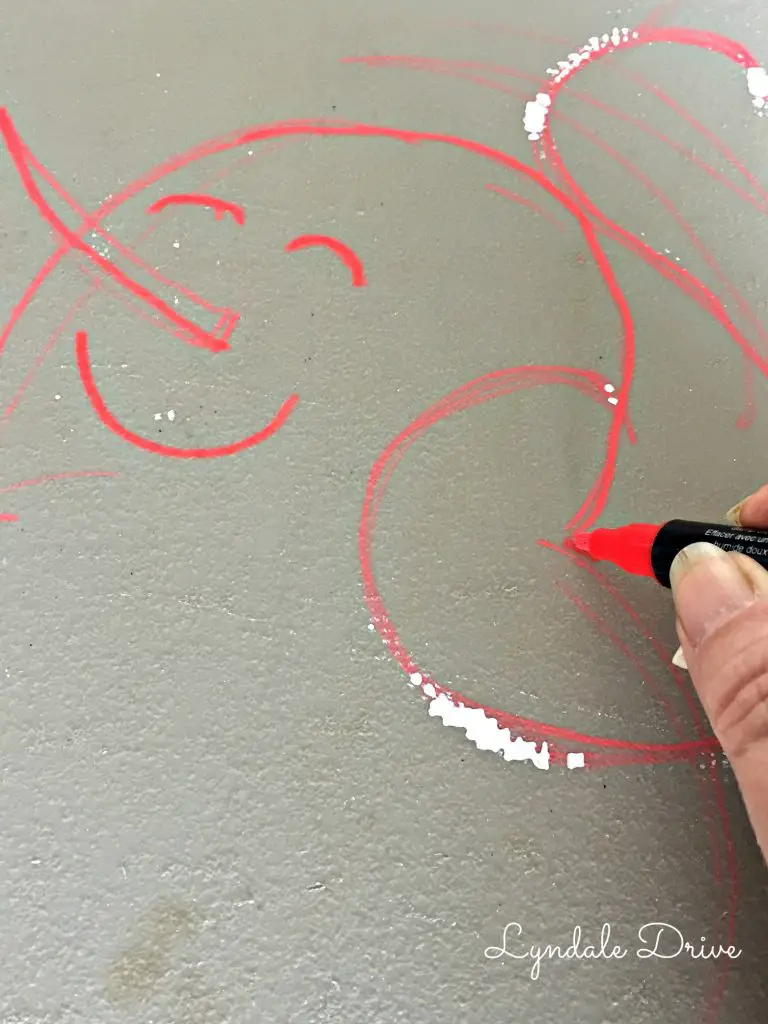
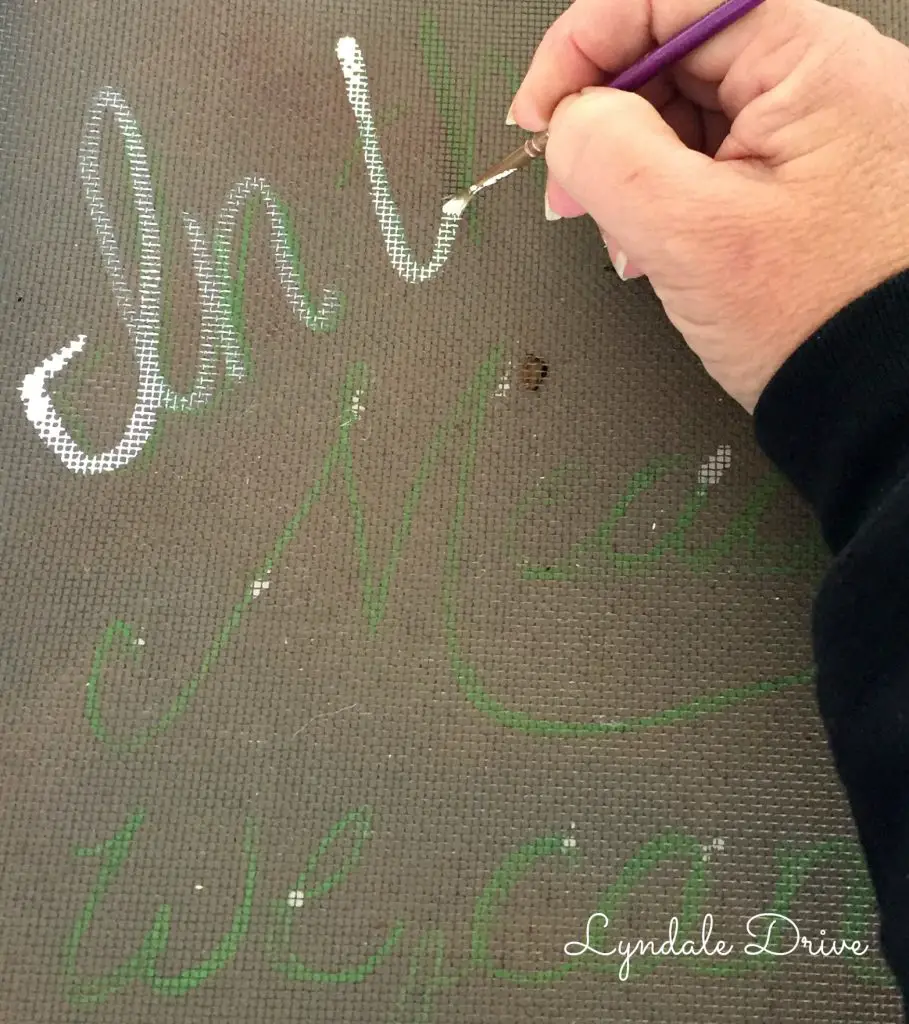
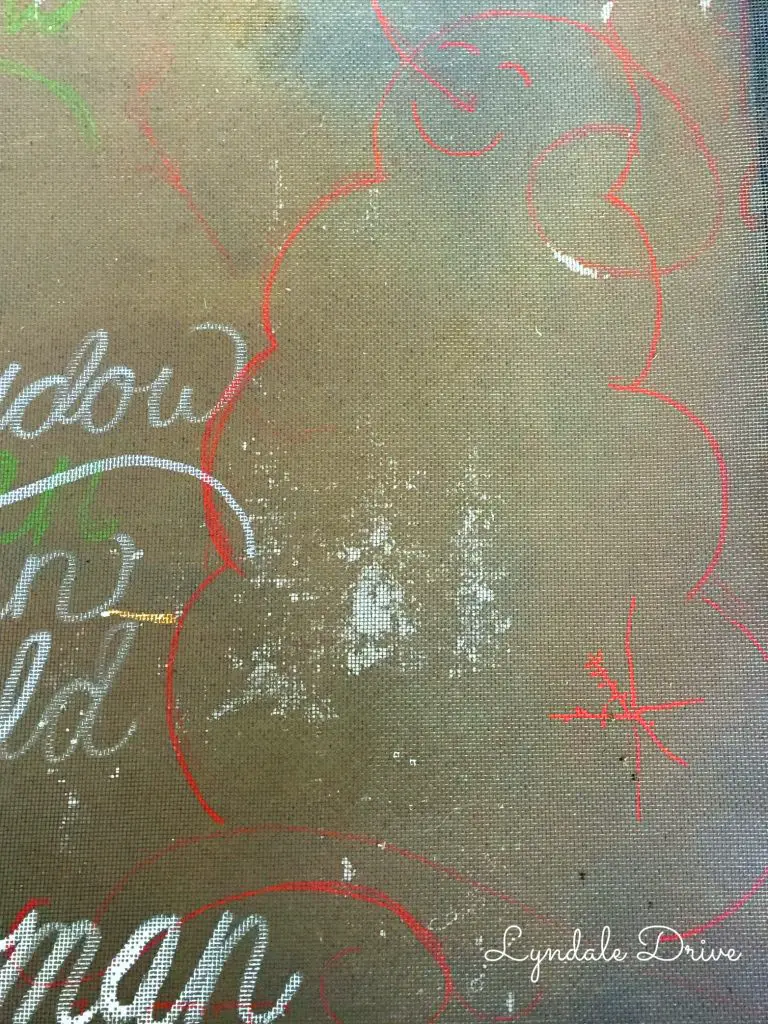

Don’t mind the white spots, it’s left over paint from my last project! After my design is drawn out the way I like it, I lay the screen over top of my design and trace the lines I drew on the table onto my screen with the paint. Once I have the lettering all painted (at least the first coat) I place the screen over the design so placement is just where I want it and then paint the outline. For this snowman design, I only drew the outline on the table. When it came to “decorating him” I free handed it………….I trusted myself enough for that!
After I have all my outlines and lettering painted I continue to add paint and go over each line until the screen is covered with paint making the paint look darker. I continue to add design details to the screen until it looks like I want it, some of the lines being darker than others which gives it dimension.
Best part about this technique, when you are done painting, all you need to do is wipe your table with a wet cloth and the clean up is done! All you are left with is a cool piece of artwork and a clean table! (If you don’t have a table like I do, you could always print a picture you like and tape it to the back of the screen and trace away.)
Here are a couple more designs I painted. I hope I will inspire you to try your hand at painting some screens ……………..Christmas is right around the corner you know!!!
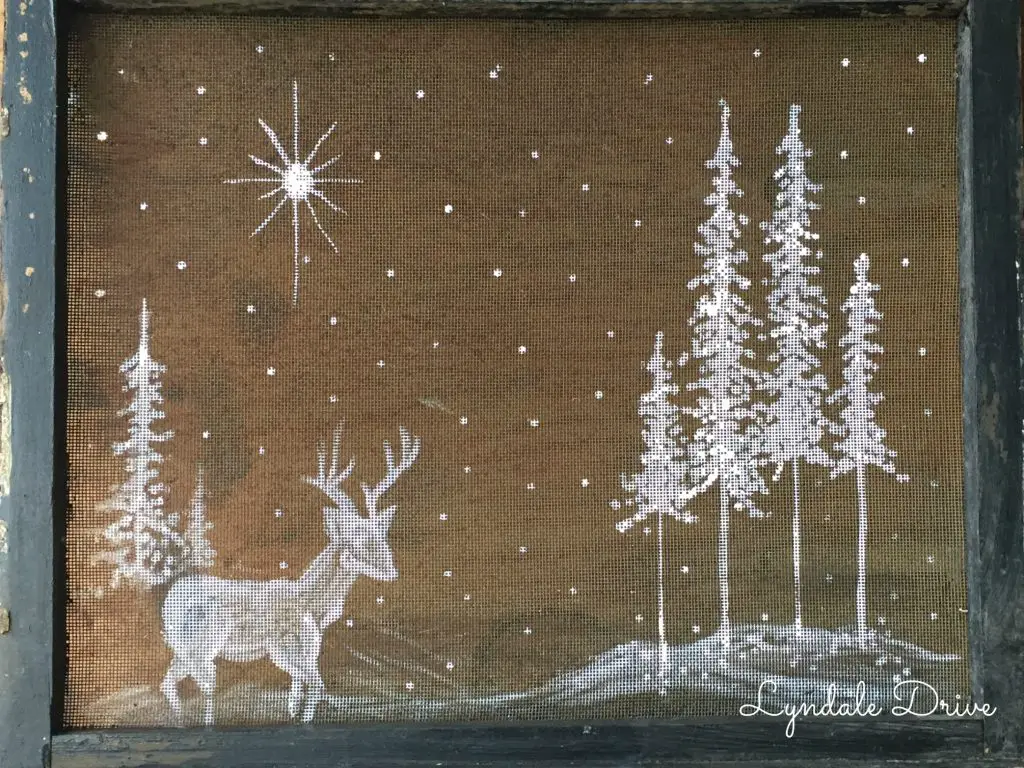
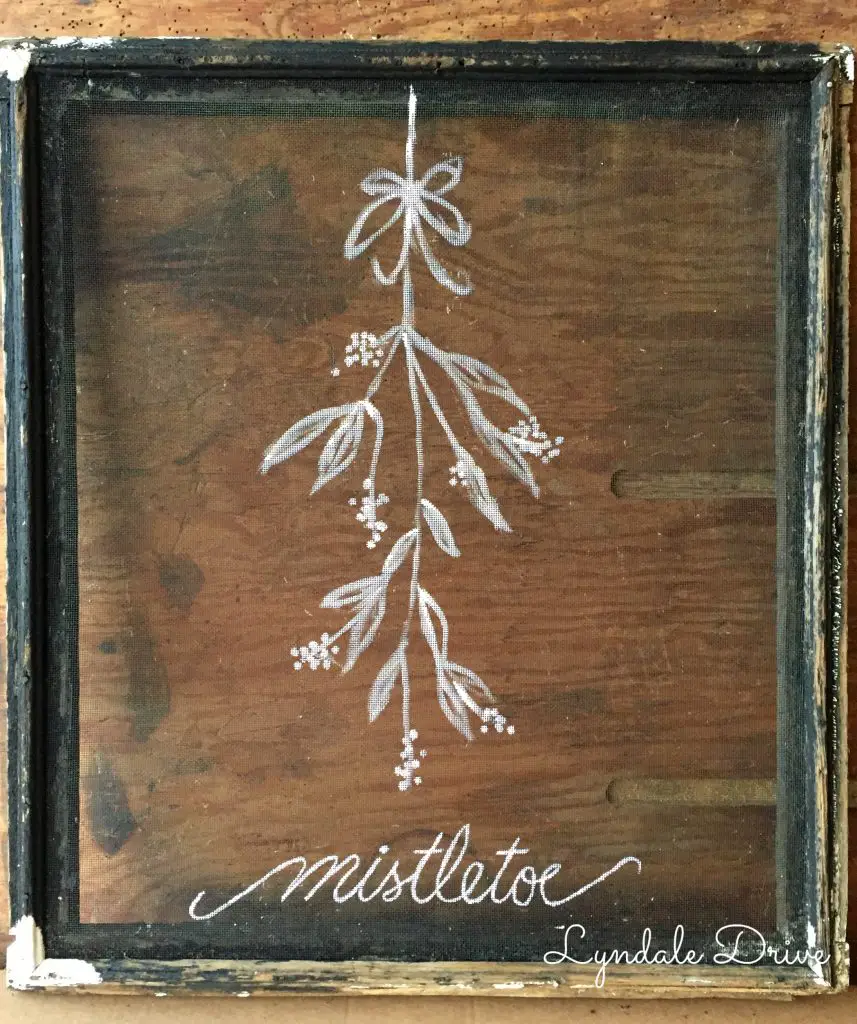
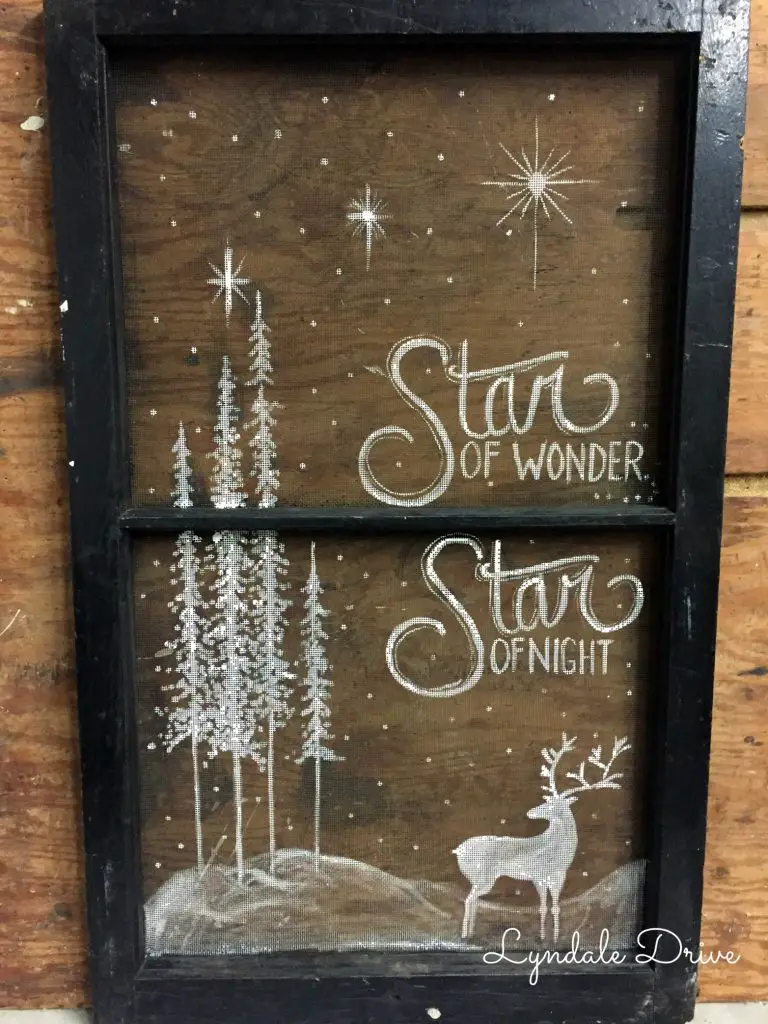
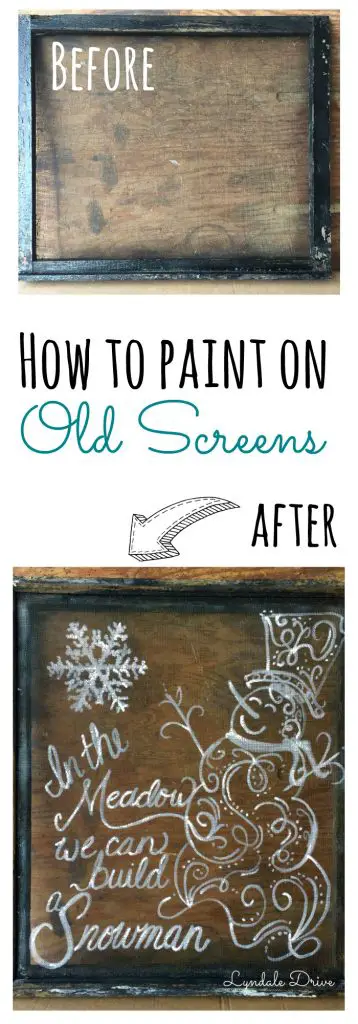
Happy Painting!! I would love to hear about and see your designs – hop over to my Facebook page and share your style! Want to make sure you remember how to make your own? – Better Pin Me!
You may also enjoy these related articles:
Did you enjoy this article? Want to hear more? Stay in touch! Sign up below to receive design tips and tricks for your home.

Let’s Be Friends
Join the Lyndale Drive Community!
Sign up to receive all the latest blog details, tips & tricks and a whole lot of fun!

I will have to send you mine….ummm you make it look so easy so I will go for it! I am not a good free hander but certainly will give it a shot!!! Thank you for this!!!
You can do it Tracy – try my table technique, you can erase when you need to!!!
thank you for these tips you make it look easy enough that I am sure I can do it..
I bet you can!!!! When you are done if you are on IG share your project and be sure to tag me so I see it!! have fun!!!
Do you spray paint a top coat on it to protect it? They are really beautiful!
Hi Grace,
I don’t spray my screens with anything because I generally use them on my porch and they are not in the elements. However, you could sure spray them with a clear poly for protection if yours will be in the elements!.
Jodi
Thank you for the clever idea!! I do not have stencils, but I can use your chalk idea to transfer onto my beautiful old screen.
Hi Mary!
Using chalk has sure saved me from a lot of headaches! Good luck to you with your project.
What type of paint did you use? I used all purpose acrylic and I don’t like the result
Hi Chrissi,
I used acrylic also. I will say you have to apply several coats to get good coverage. Hope this helps
Jodi