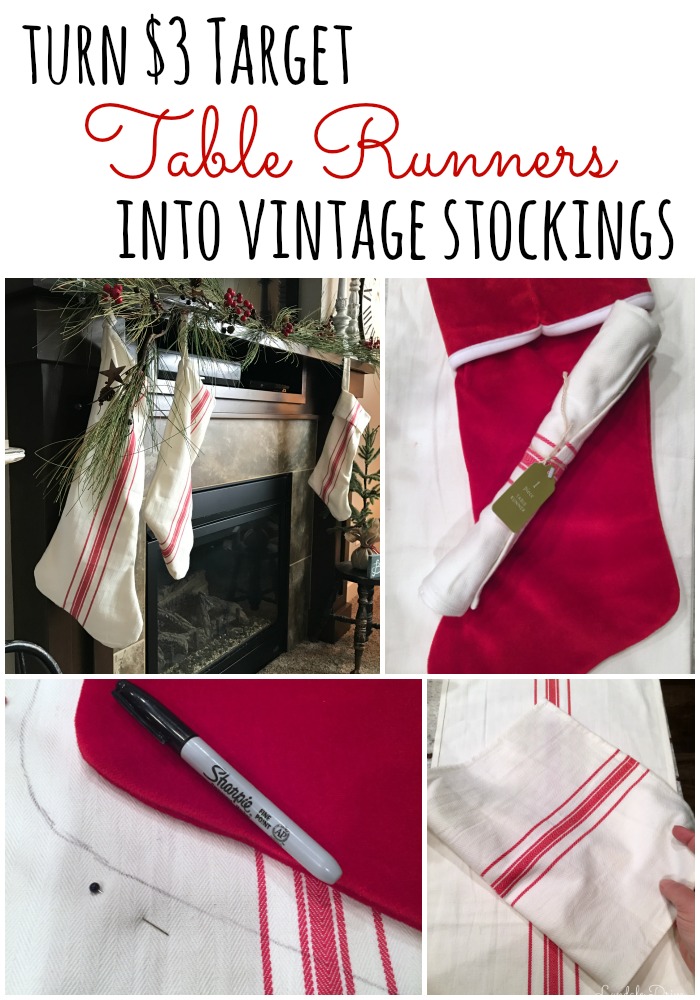
Vintage Stockings for $3 or Less
Holy Cow have you looked at the price of Christmas stockings lately? The really cute ones are $13 (that is a cheap one) and up!! I need 12, plus 2 more for the puppies. You can do the math! Ain’t nobody got time for that kidna cash being spent on stockings! I don’t know about you but I would much rather spend my money on goodies to fill them with!
Disclosure: As an Amazon affiliate, I earn from qualifying purchases at no extra cost to you. My blog contains other affiliate links as well for your convenience. To learn more, you may read my Disclosure Policy. Thank you for supporting my blog!
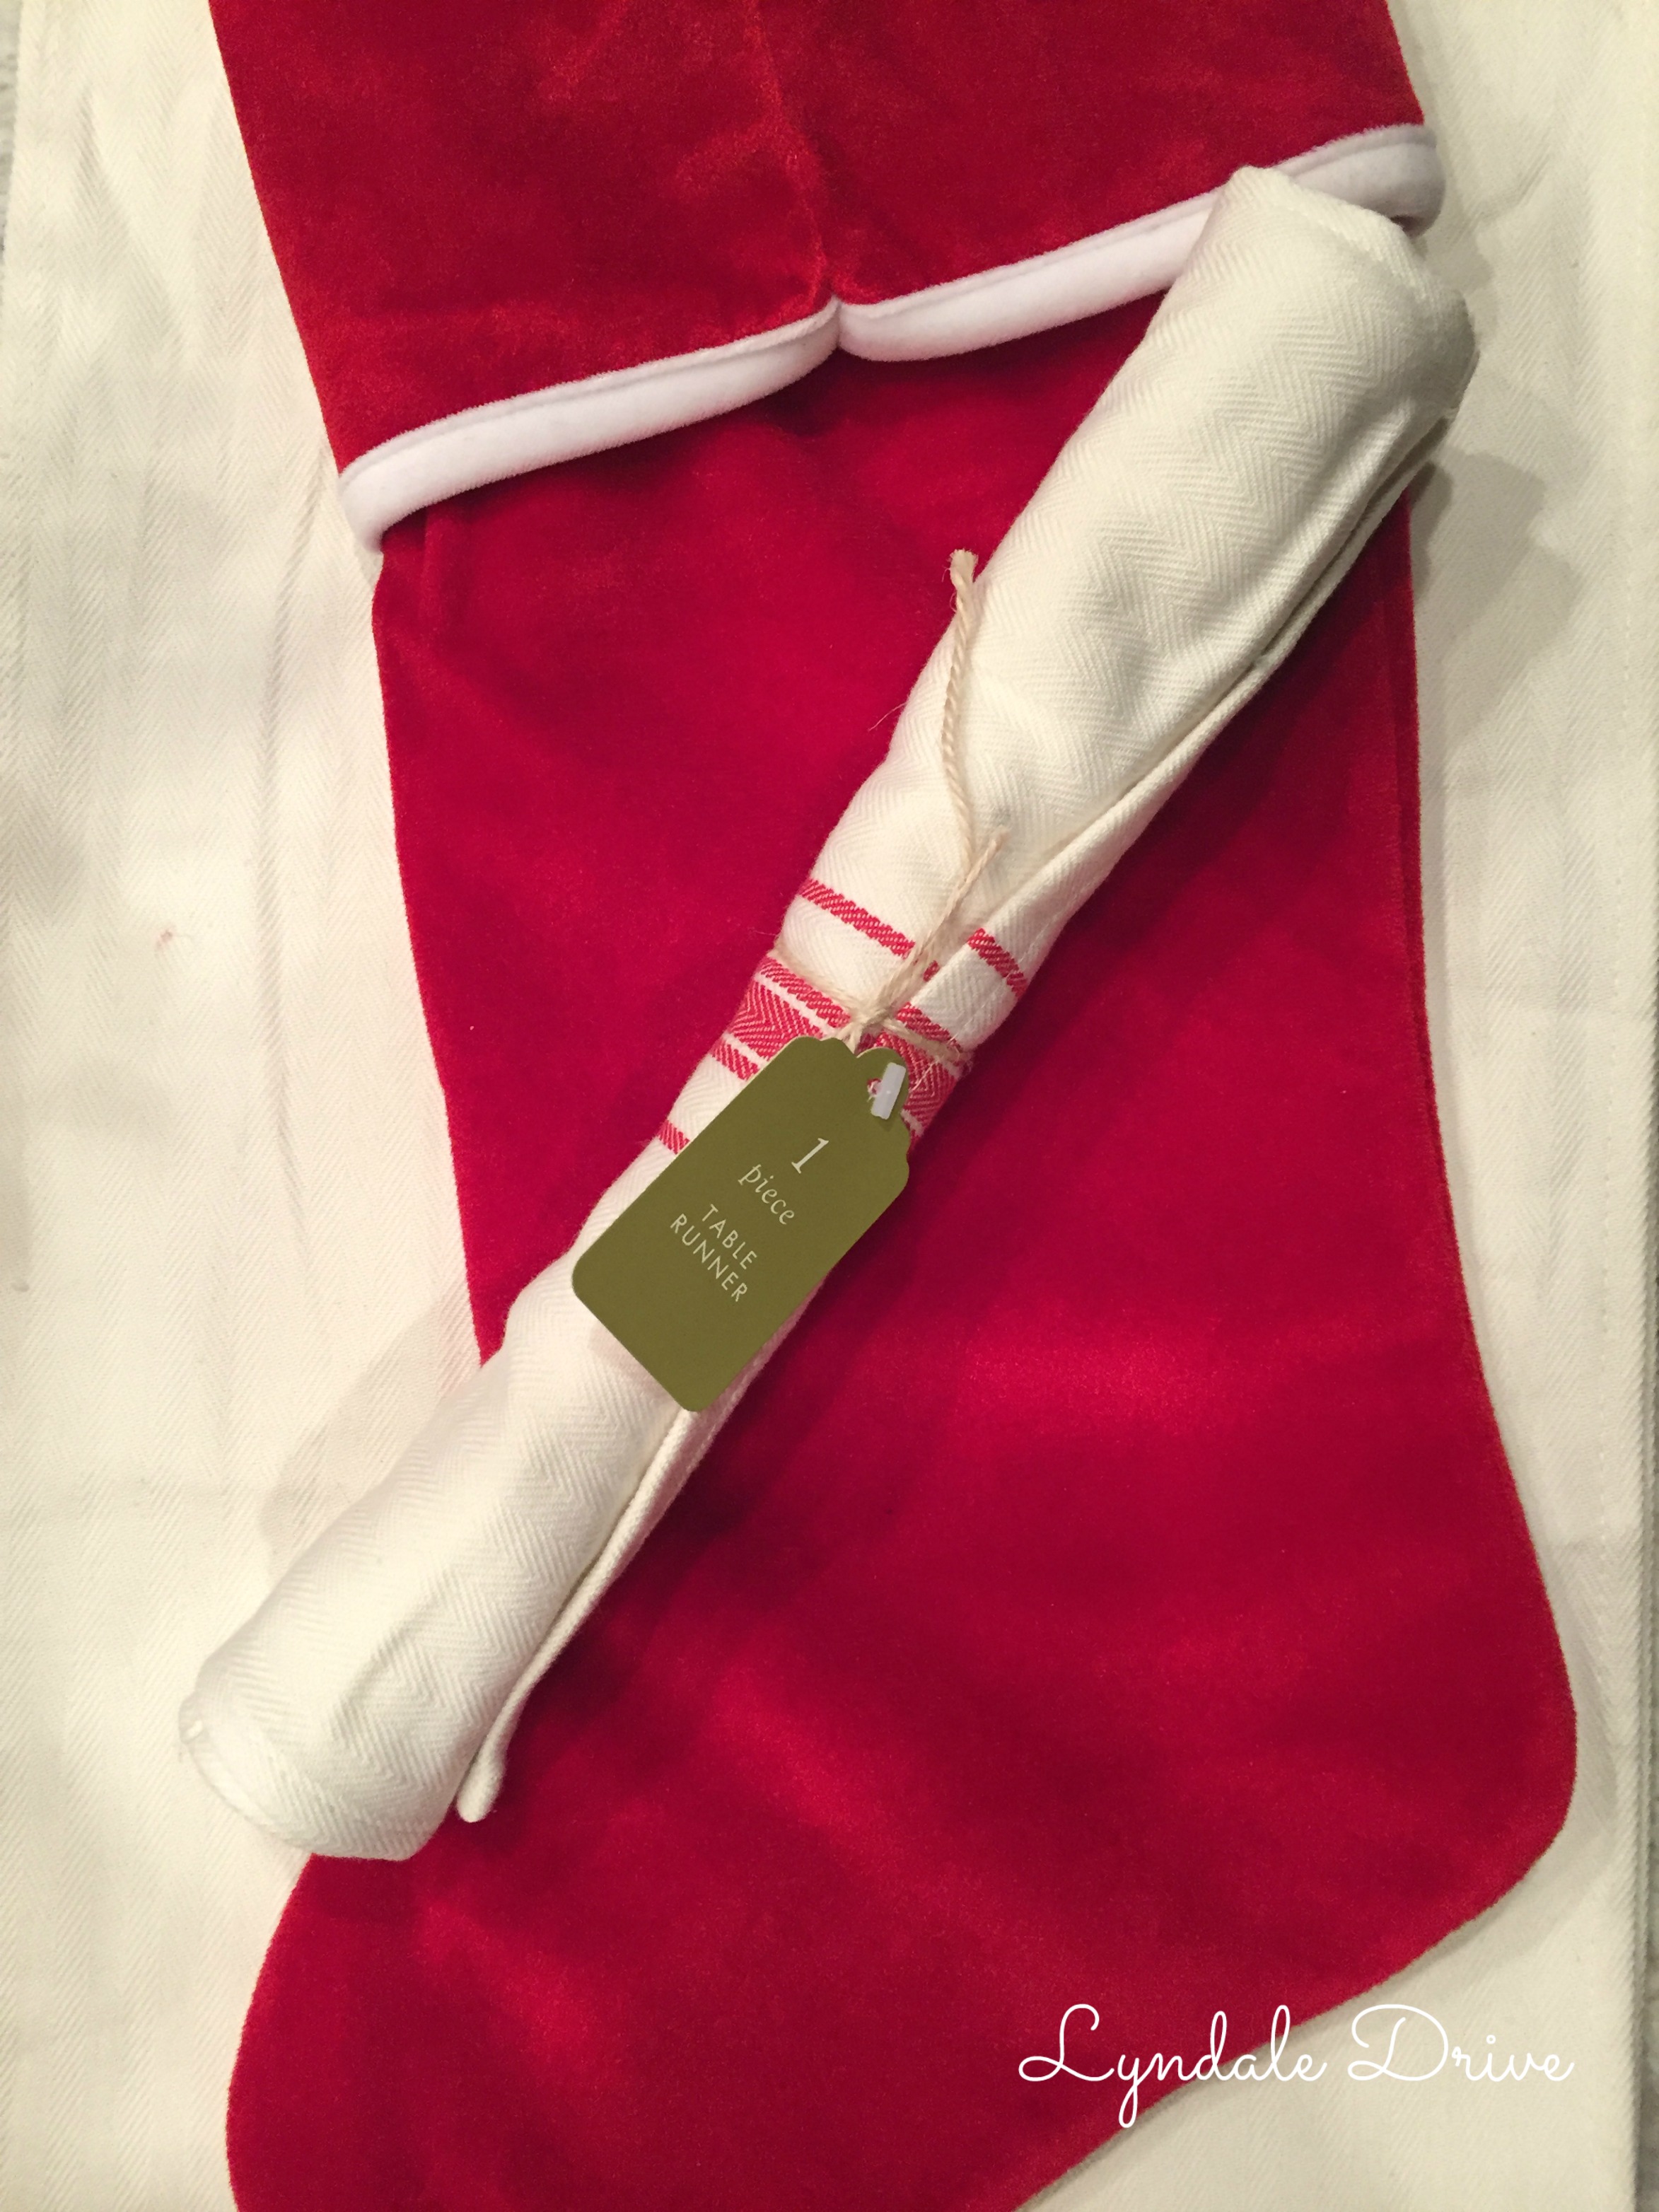
So you all know by now I have an addiction to Target – There I said it!! Any who……..I found these super cute table runners in that section that SUCKS you in…………you know the place! They were only $3!! I really had no idea what I was going to do with them, I only knew I really liked them and thought they looked like old feed sacks!
Late one night as I was scanning Pinterest I came across a picture of some vintage stockings that were made from old feed sacks and it hit me!

In my Holiday Tour post I told you I would show you some simple sewing projects. Shall we make some stockings?!
Items Needed:
$3 Table runners from Target – obviously, you could use any fabric…. I do suggest something kind of heavy
Old Stocking for pattern
Sewing Machine (Good thing my neighbor has one I can borrow…….are you listening Santa???)
Thread
Scissors
Straight Pins
Marker
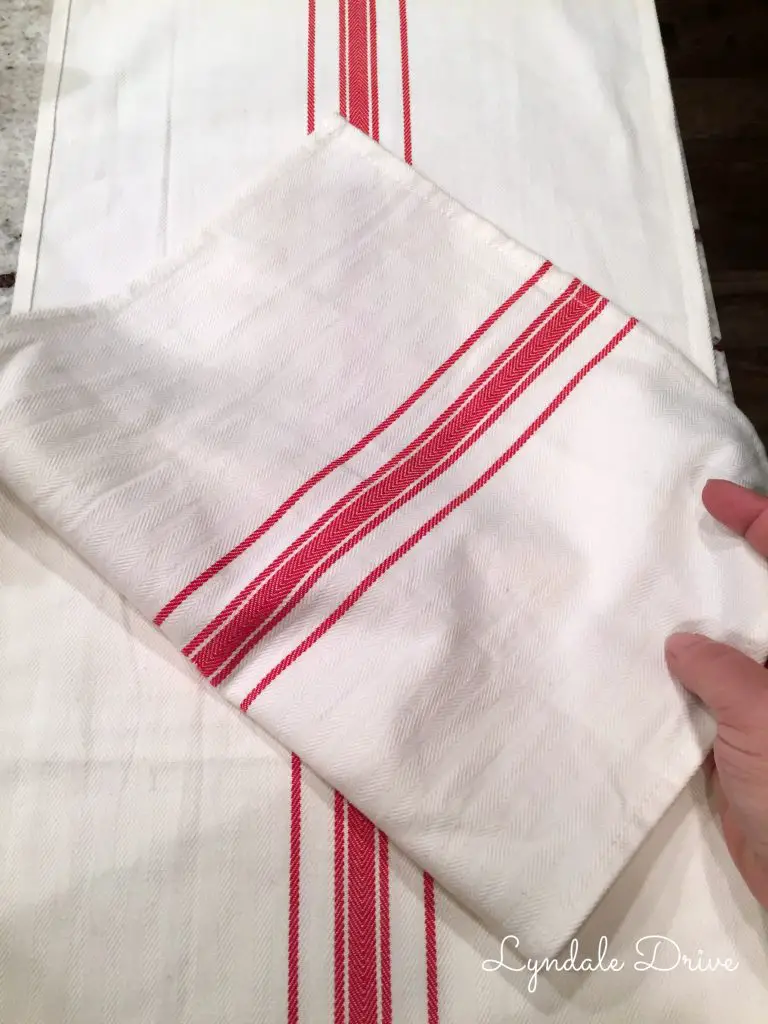
I started by folding my fabric in half – if your fabric has a print with a right and a wrong side, be sure to fold it with “right” sides together.
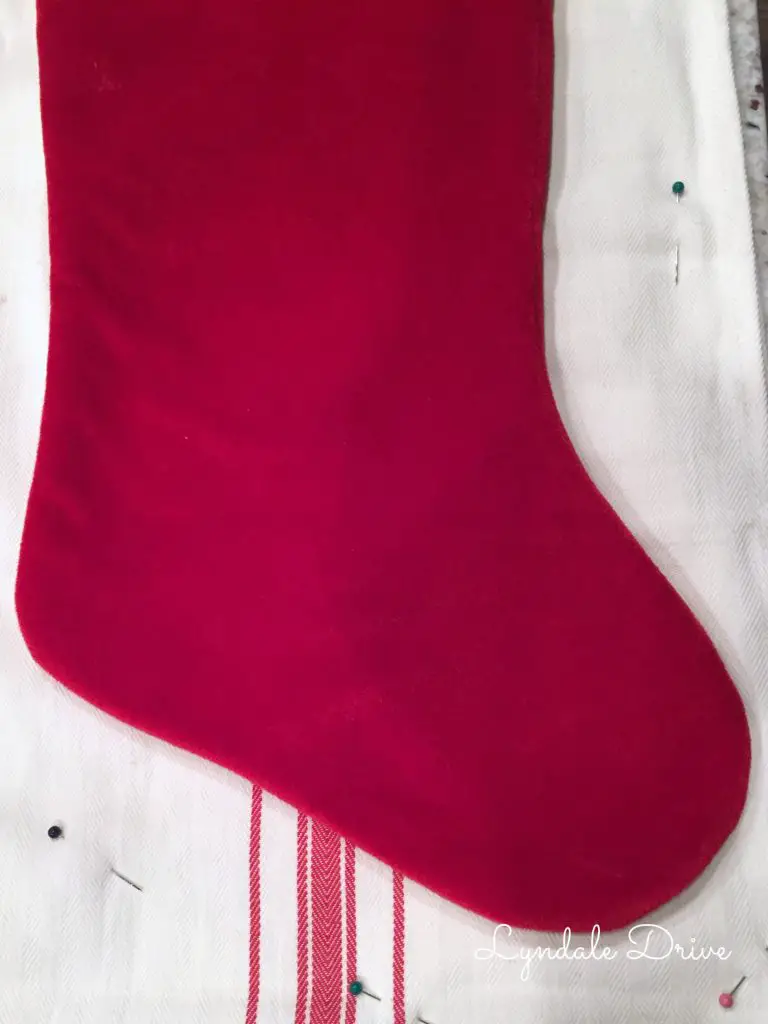
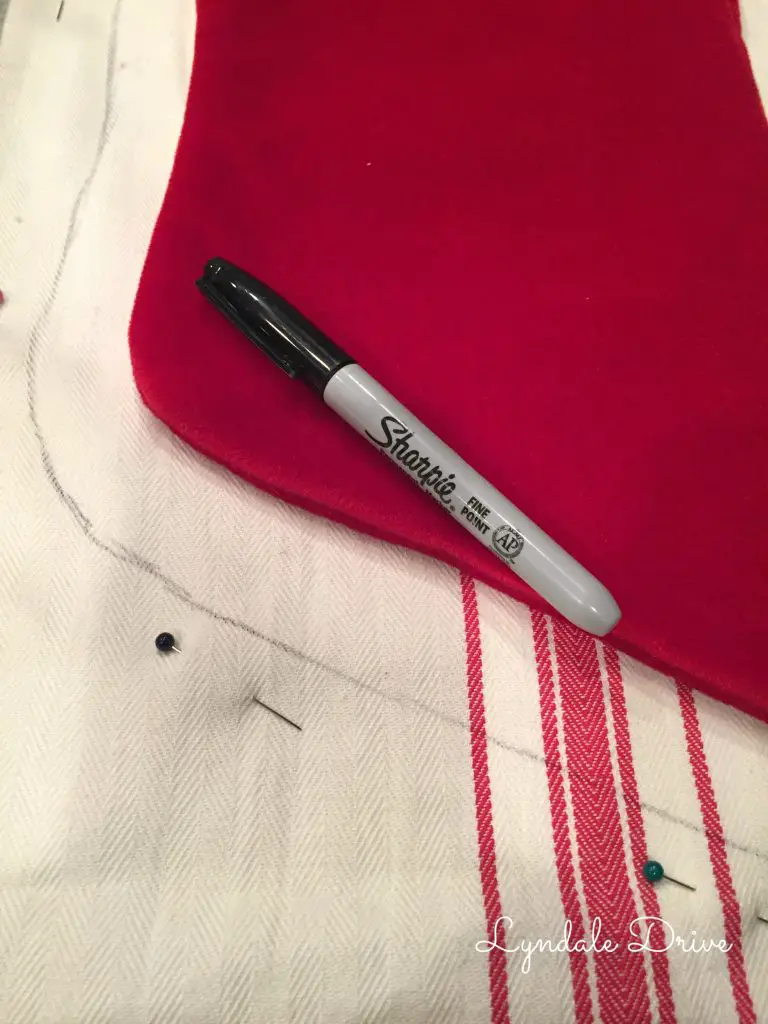
Next I used one of our old stockings as a pattern and laid it on the fabric so I could draw an outline. Remember to add about 1/2 inch to each side of the stocking to allow for the seam.
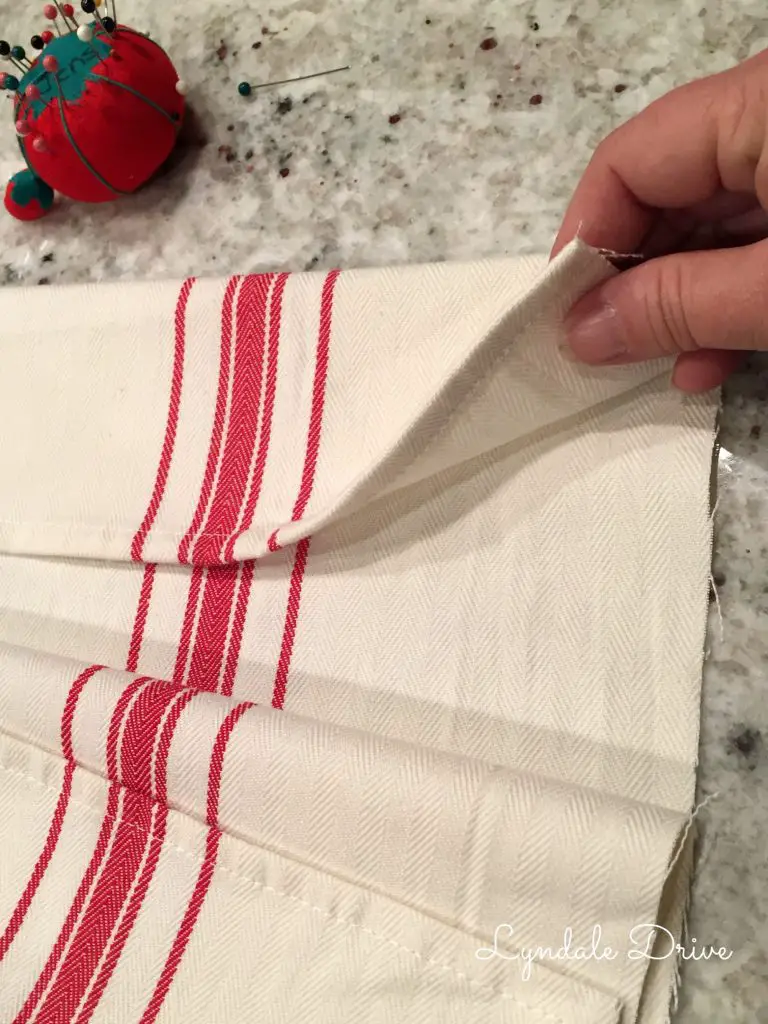
If you want a “cuff” on your stocking, you will need to allow for the extra fabric and fold the fabric “in” making sure it is folded the same length on both sides and pin it in place.
Note: Since I am using a table runner, my “cuff” edge or the top of the stocking (if you don’t add a cuff) already has a finished edge. If you may need to double fold this and make your own hem so the edge is finished. To do this, fold the fabric 1/4 inch and iron in place, fold again at 1/4 inch and sew.
The hanger:
I cut a piece of scrap fabric about 2 inches wide by 8-10 inches long. Next I folded each side at about 1/4 inch and ironed in place, and again at 1/4 in and sewed to keep it in place.
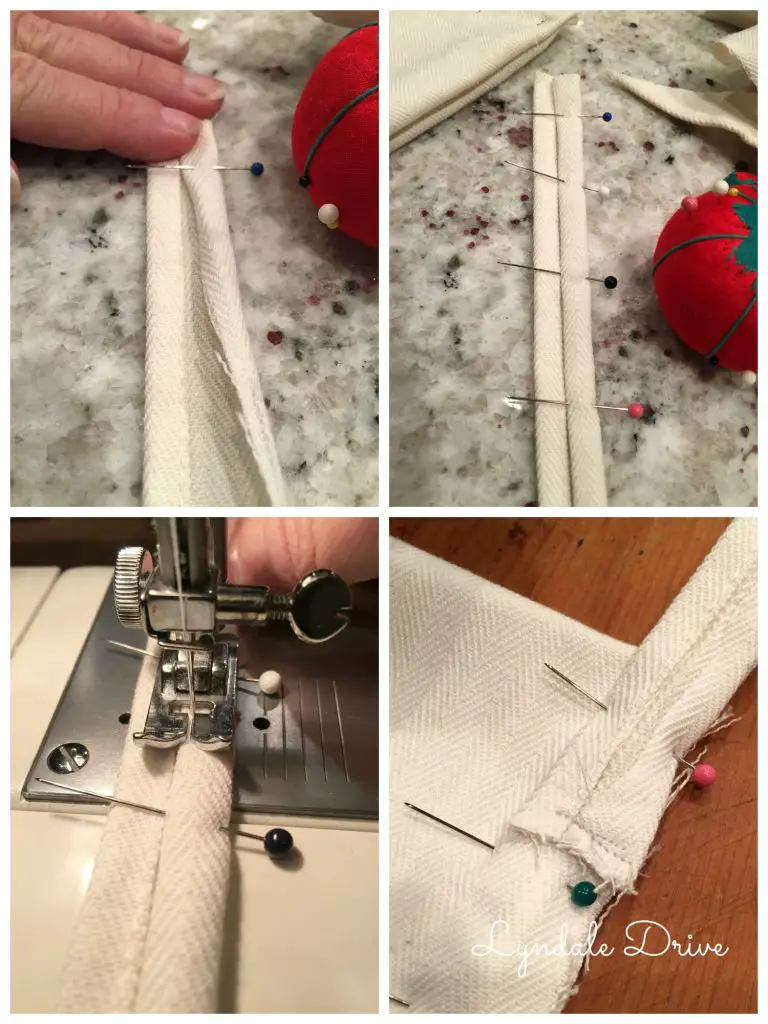
Pin your hanger to the “heel” edge of the stocking not the toe end………learned this one the hard way!
Back to the Stocking:
After folding my cuff to the right size (about 3 inches) and pinning in the hanger, I ran a double seam all the way around the stocking edge.
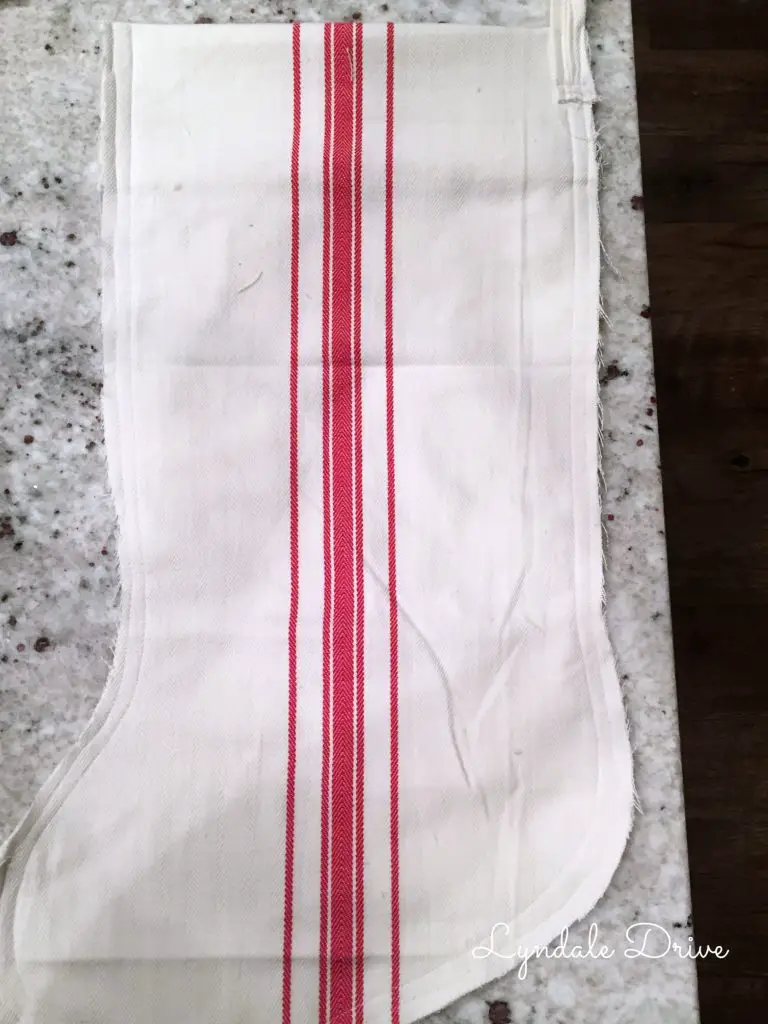
Turn your fabric right side out and your are ready to hang!! If you don’t want to mess with the cuff and make your stocking longer, simply skip that step!
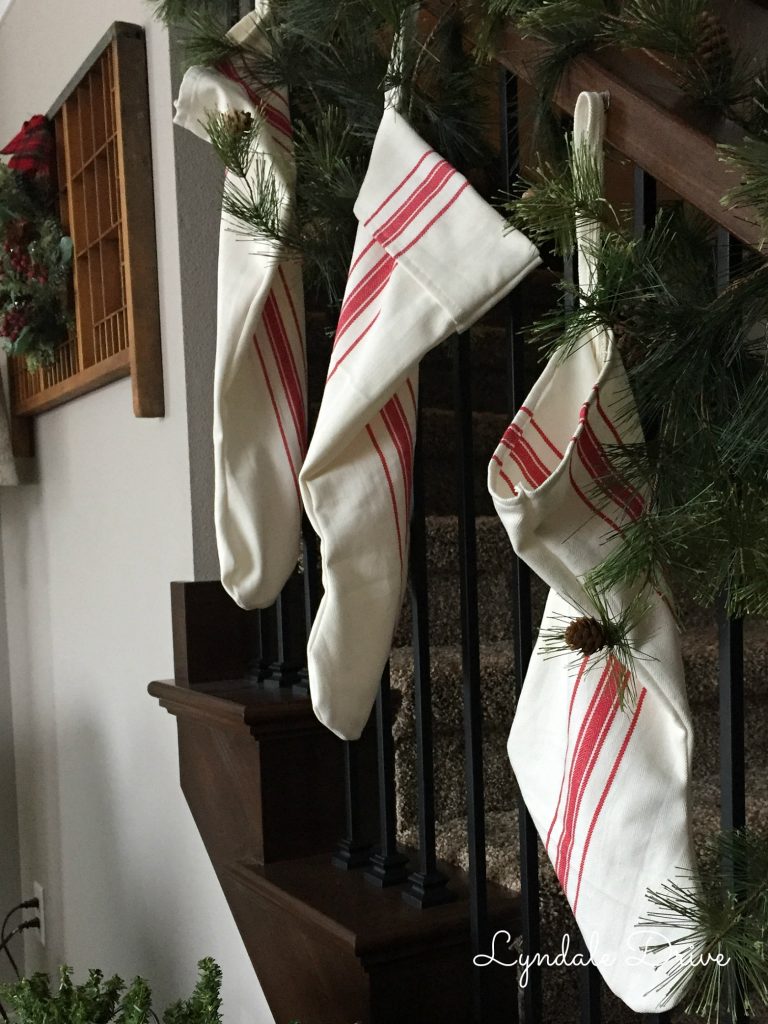
I ended up with three sizes, long no cuff, stocking with a cuff and a shorter stocking…..my attempt at adding the cuff a different way……….didn’t work, so I cut it off! See……..I mess things up too!
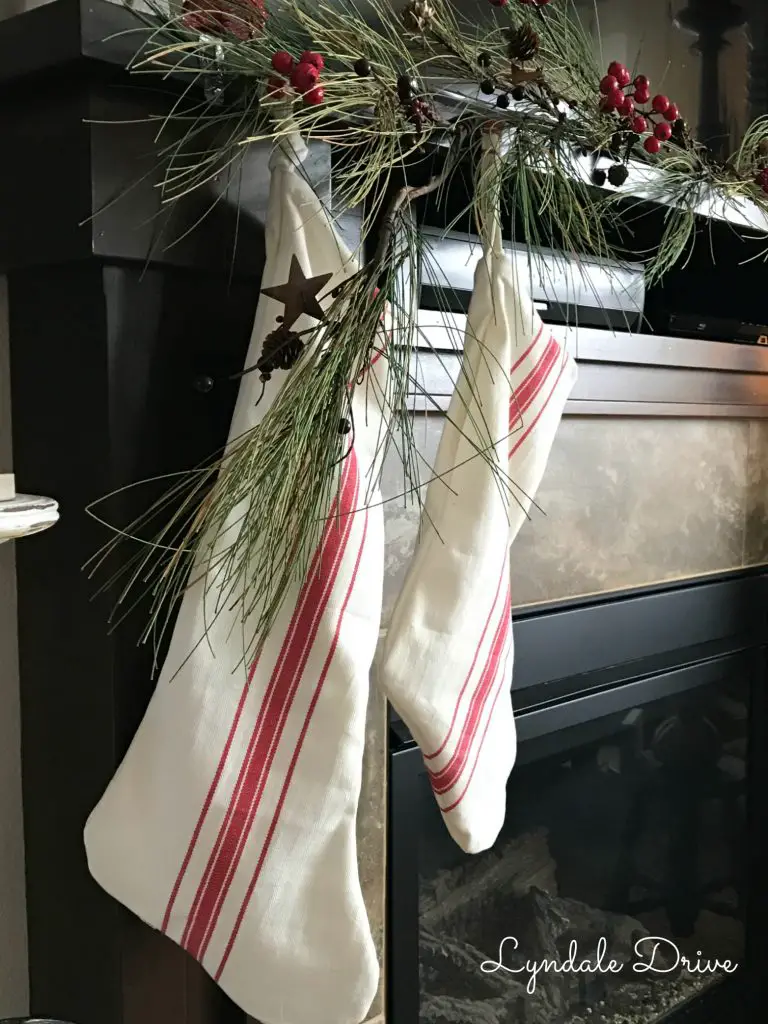
I love the simplicity of these stockings and how they totally complete my vintage decor!
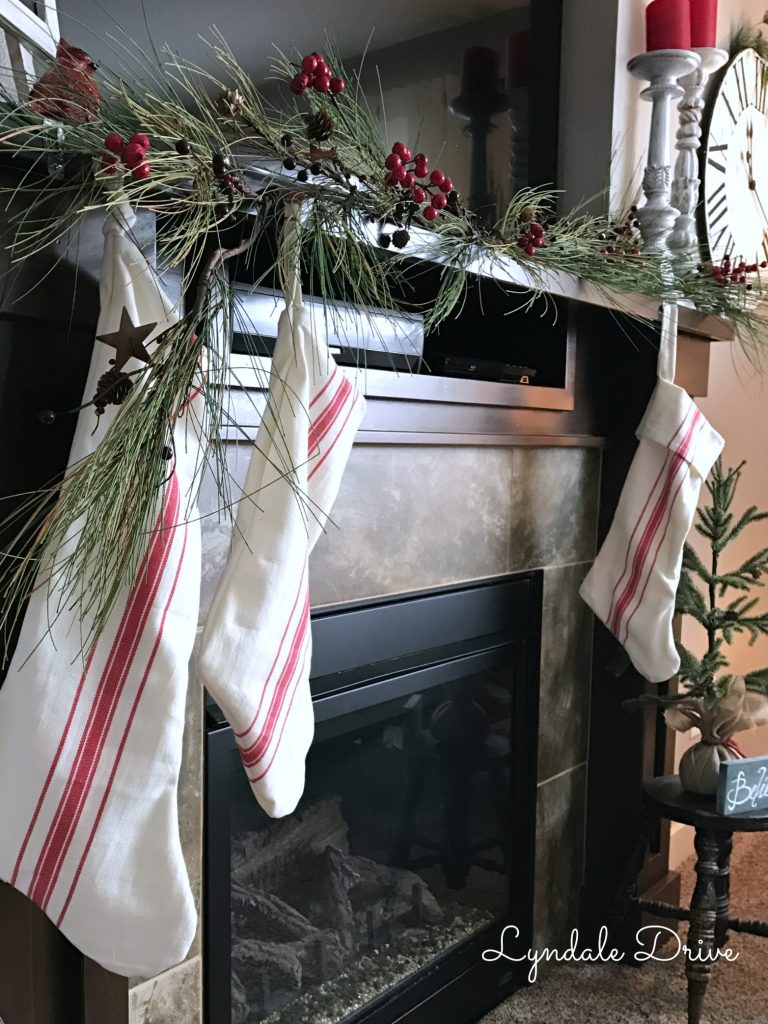
Now we wait for Santa to fill them up!
Thanks for pinning……………
You may also enjoy these related articles:
- Simple DIY Spring Wreath
- How to Make Salt Dough Ornaments, What I Learned
- Easy Cinnamon Roll Christmas Trees
Did you enjoy this article? Want to hear more? Stay in touch! Sign up below to receive design tips and tricks for your home.

Let’s Be Friends
Join the Lyndale Drive Community!
Sign up to receive all the latest blog details, tips & tricks and a whole lot of fun!

2 Comments
Comments are closed.