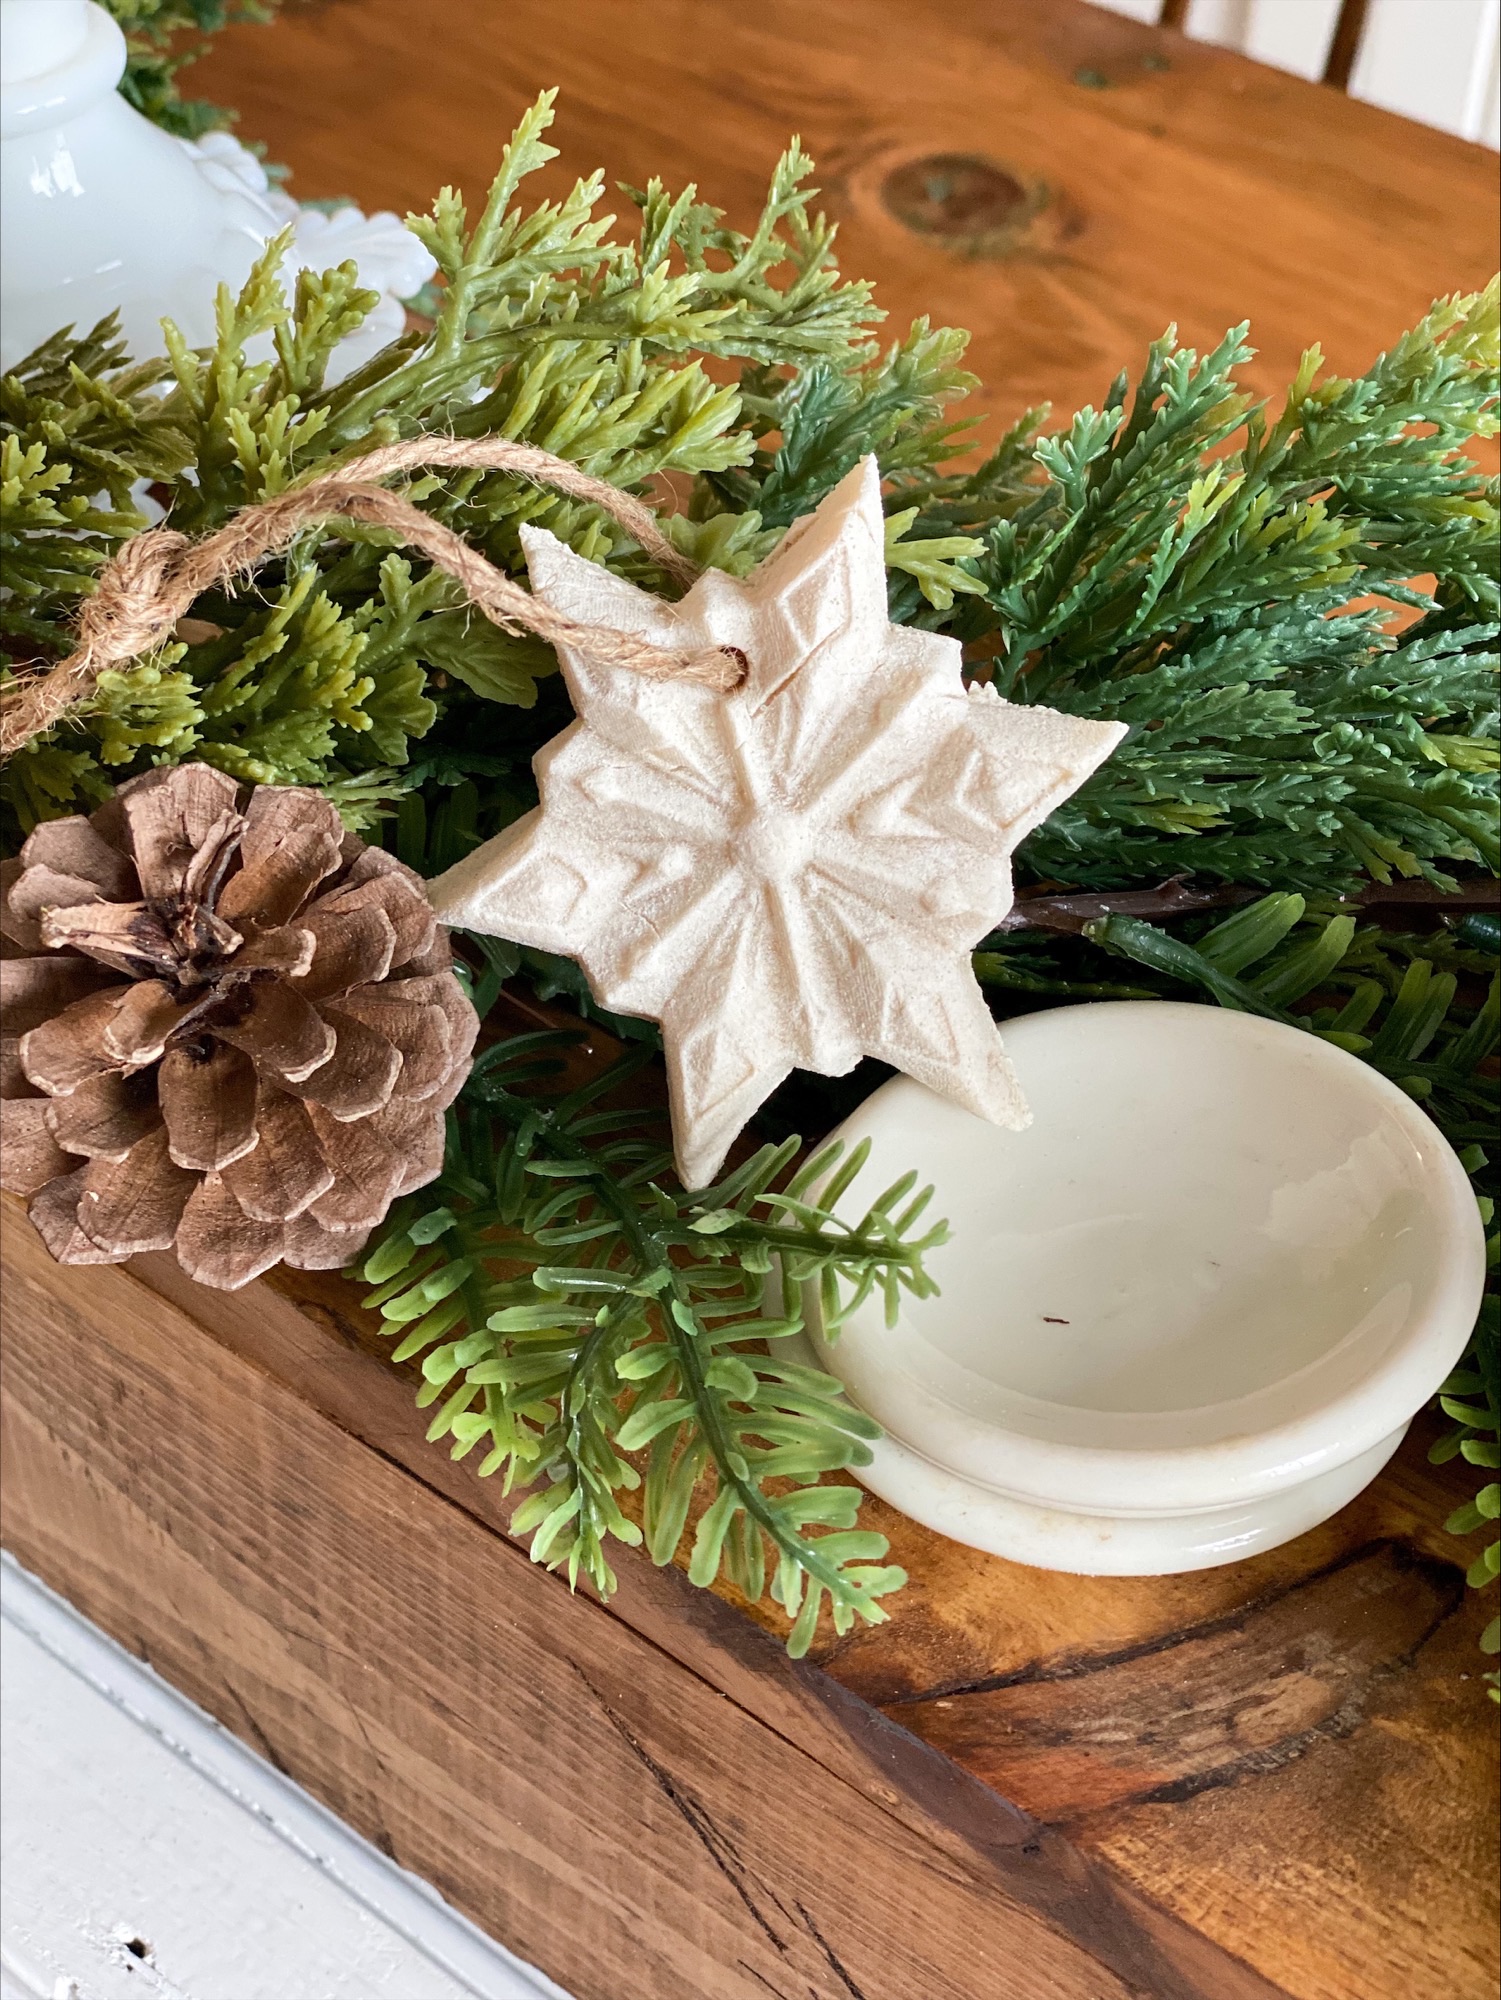
How to Make Salt Dough Ornaments, What I Learned
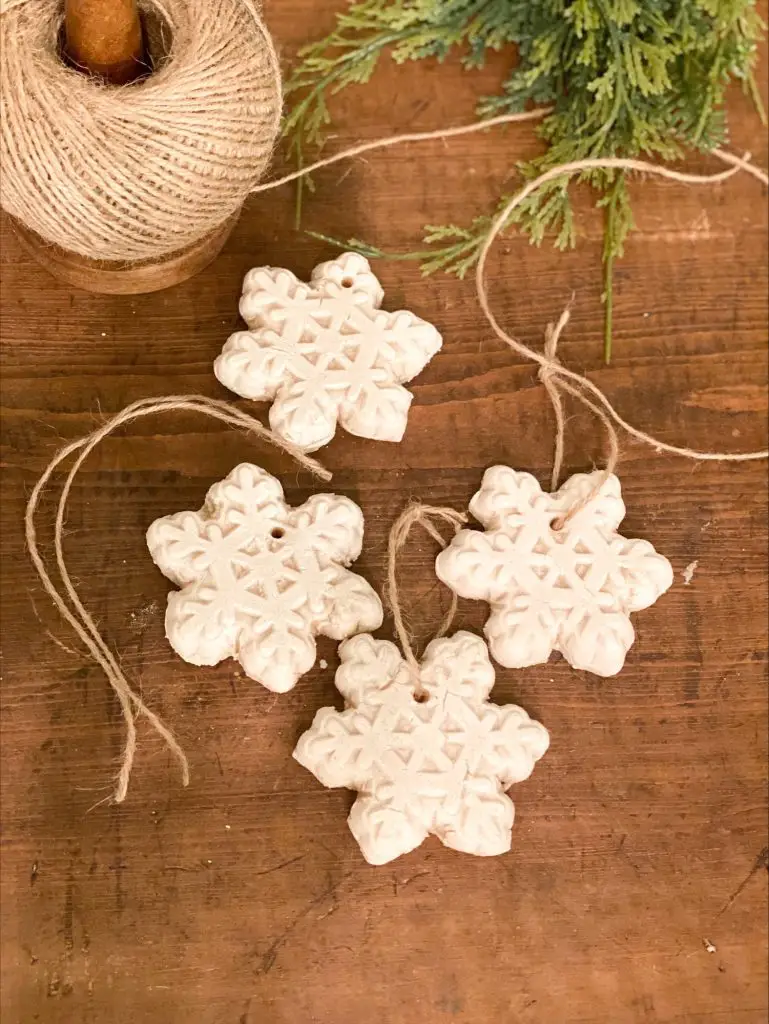
Making salt dough ornaments seems simple enough, don’t ya think? Well I learned that it isn’t as easy as I thought. Follow along as I share the issues I had when I made my wooden mold salt dough ornaments.
Disclosure: As an Amazon affiliate, I earn from qualifying purchases at no extra cost to you. My blog contains other affiliate links as well for your convenience. To learn more, you may read my Disclosure Policy. Thank you for supporting my blog!
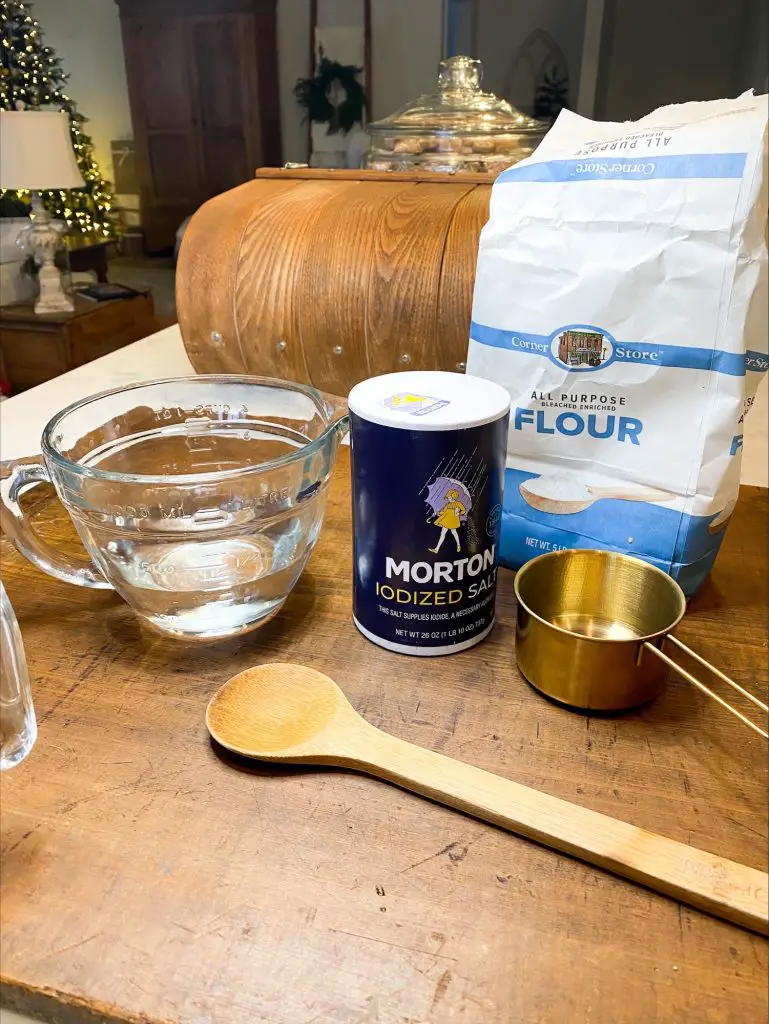
Let’s start with the simple part, mixing the dough.
- 2 Cups Flour
- 1 Cup Salt
- 1 Cup Water
The recipe is simple, so making them should be too, right?
Mixing the dough is the easy part and if you plan to use cookie cutters as your shape, that would be pretty simple too. Roll your dough out on a floured surface to about a 1/4″ thick and cut out your shapes. DON’T forget to make a hole for the hanger. Speaking from experience!
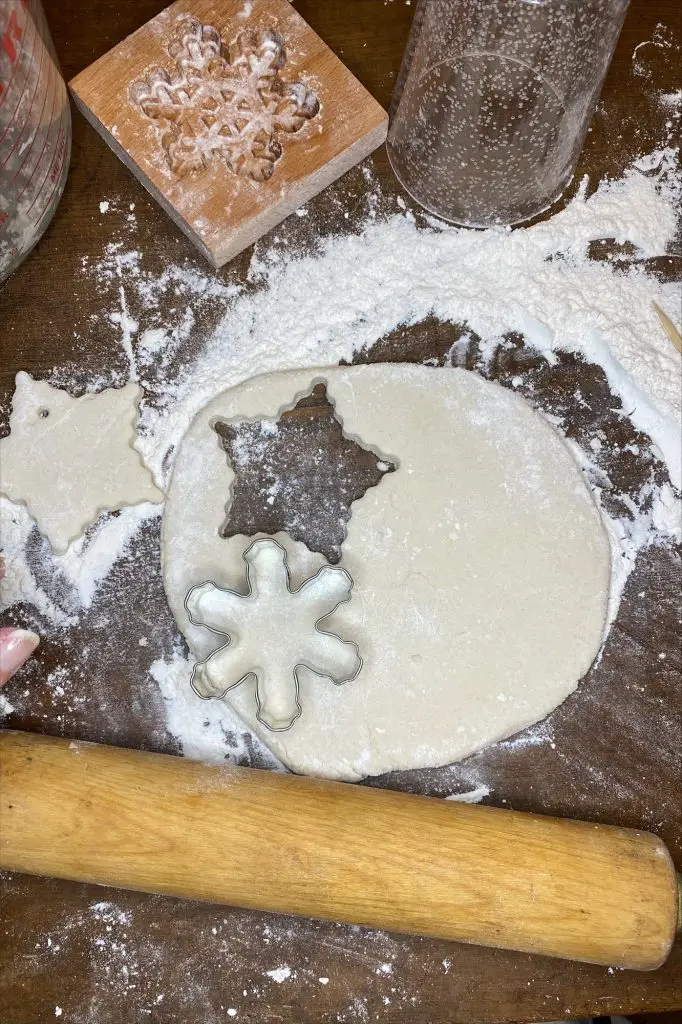
Since this was my first time ever making salt dough ornaments, I decided to try a more complicated application using wooden cookie molds. I mean, why wouldn’t I? So here is what I learned.
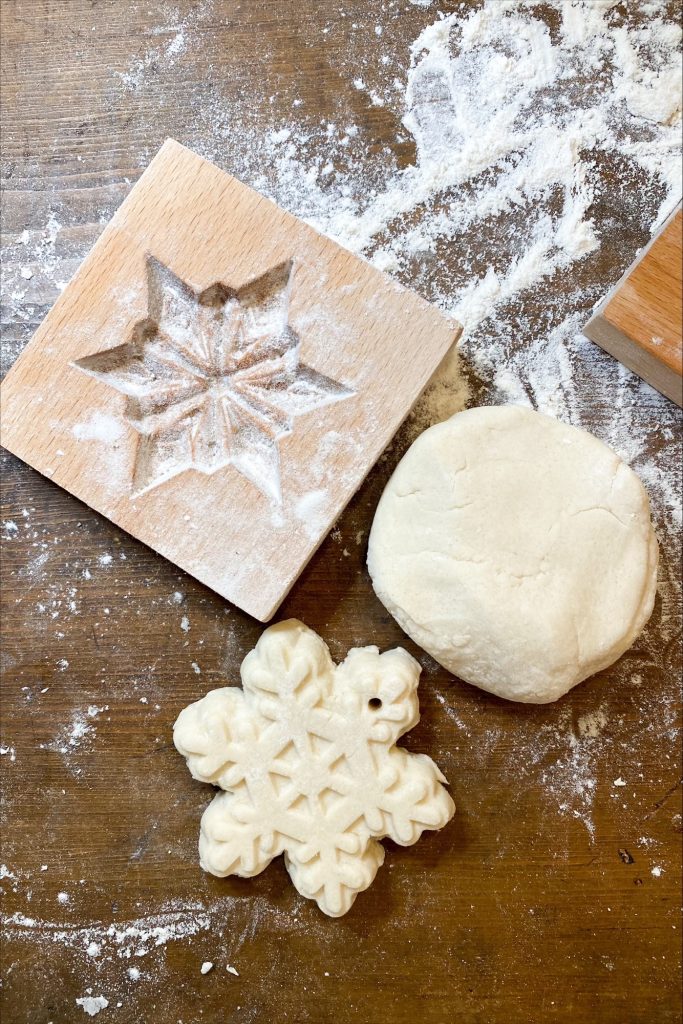
Start by dusting your wooden mold with flour. I even sprayed mine with cooking spray and wiped it down. Before I did this, the dough stuck to the mold and was extremely difficult to remove. I don’t want to lie to you, it was still tough to remove from the mold after I sprayed and dusted them, however the dough did come out a bit easier. You can purchase the wooden star and snowflake molds here.
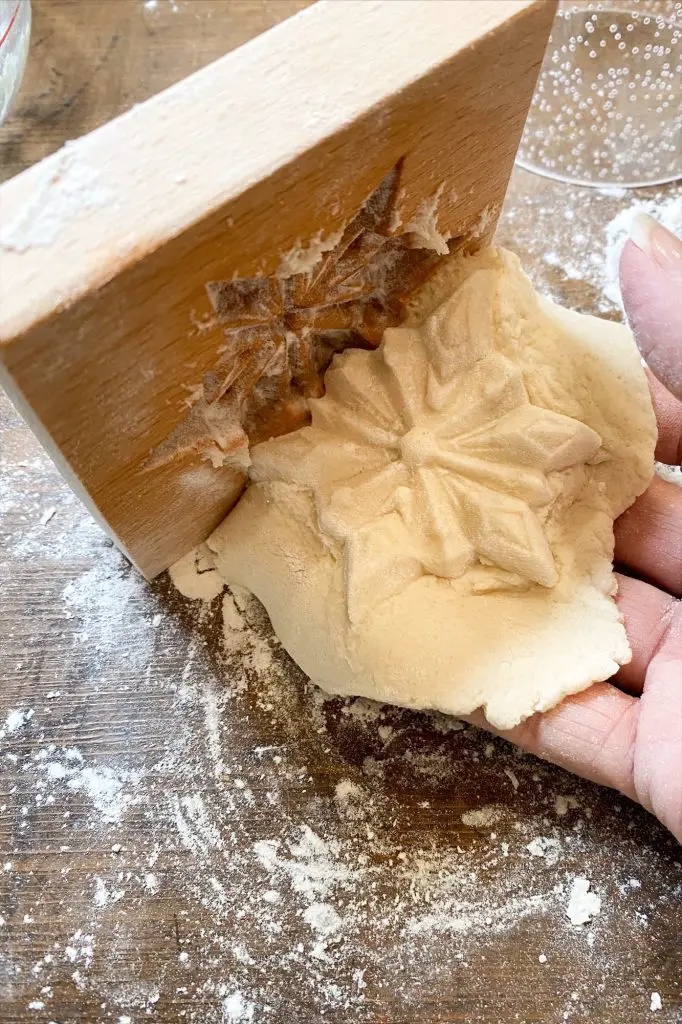
Before I tell you about the issues I had removing the dough from the mold, lets chat about how I did it. I started with a small ball of salt dough, lightly floured on the side I put in the mold. Next I pressed it into the mold making sure I pressed it into all the grooves. Now, the problem I found was the thickness of the cutout. If I scraped the excess dough off the mold before removing it, I couldn’t get it out of the mold. So I left it “thicker”, this made it a little easier to remove from the mold.
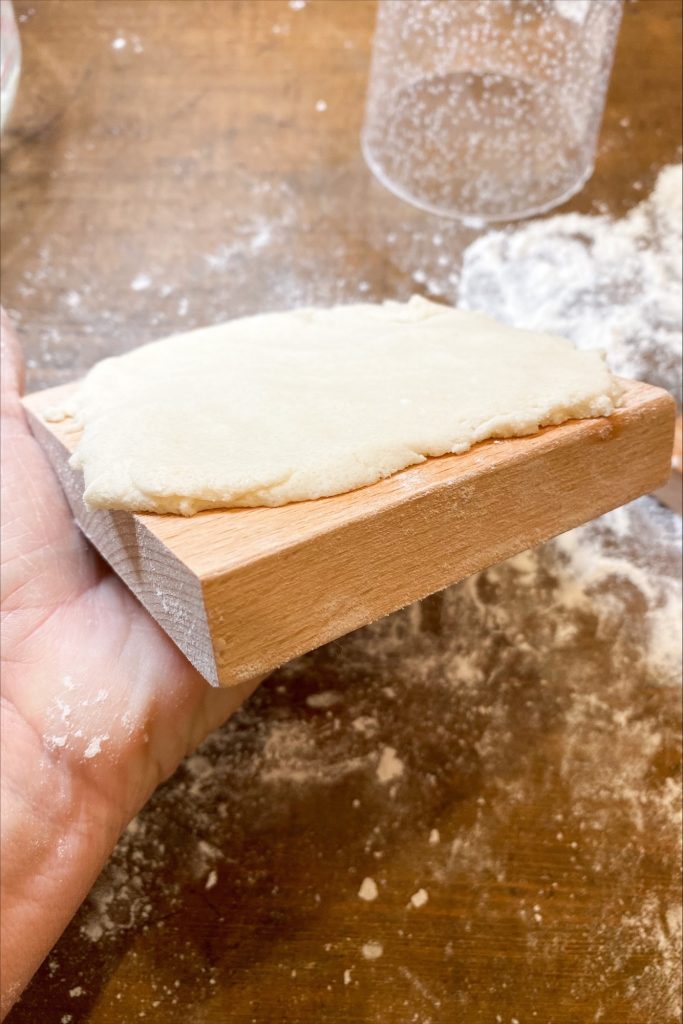
I fixed one problem (how to get it out of the mold) but created another. Now the salt dough mold ornament was really thick! The longer I worked with the molds the more “seasoned” they seamed to become. Think of a rolling pin when you are rolling out sugar cookies. You need to occasionally dust the rolling pin so the cookie dough does not stick. The same goes for the wooden cookie molds.

To remove the salt dough from the wooden mold slowly peel the excess back. I turned the mold upside down so gravity would help to “drop” the dough out in my hand. If I peeled it out, without doing this, the dough lost its molded shape. Once you have all of your shapes cut out, make a hole for the hanger. I used a wooden skewer. Make sure you poke the hole from both sides so the excess dough does not close up the hole on the back side when you place it on the cookie sheet.
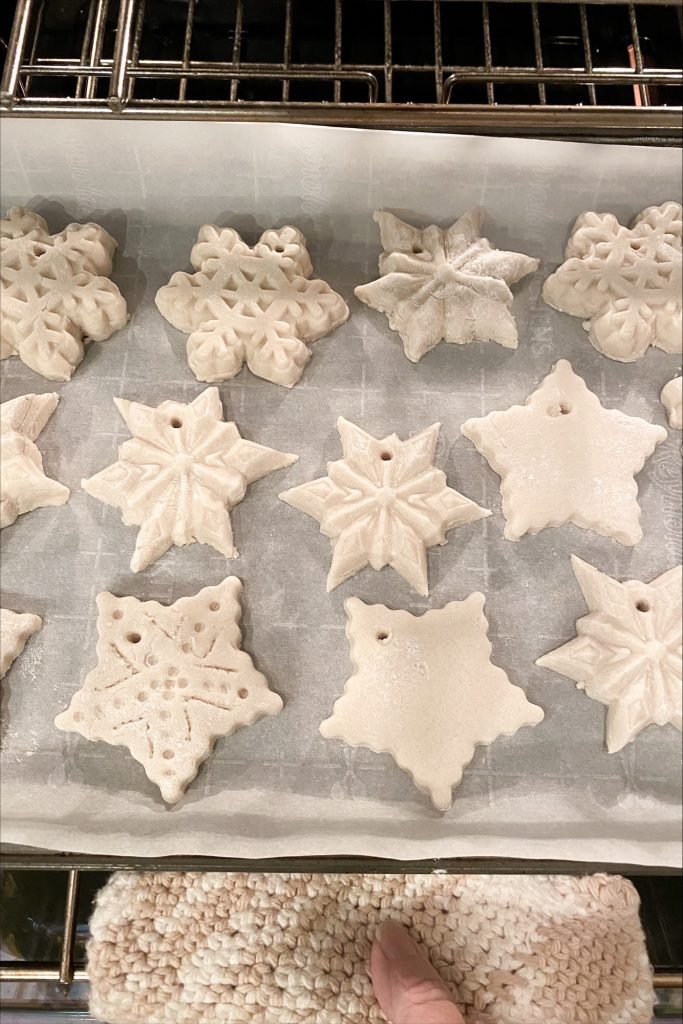
Cover a baking sheet with parchment paper and bake in a 200 degree oven for at least 2 hours. Mine took longer because of the thickness. You can also let them air dry, but this will take some time (days).
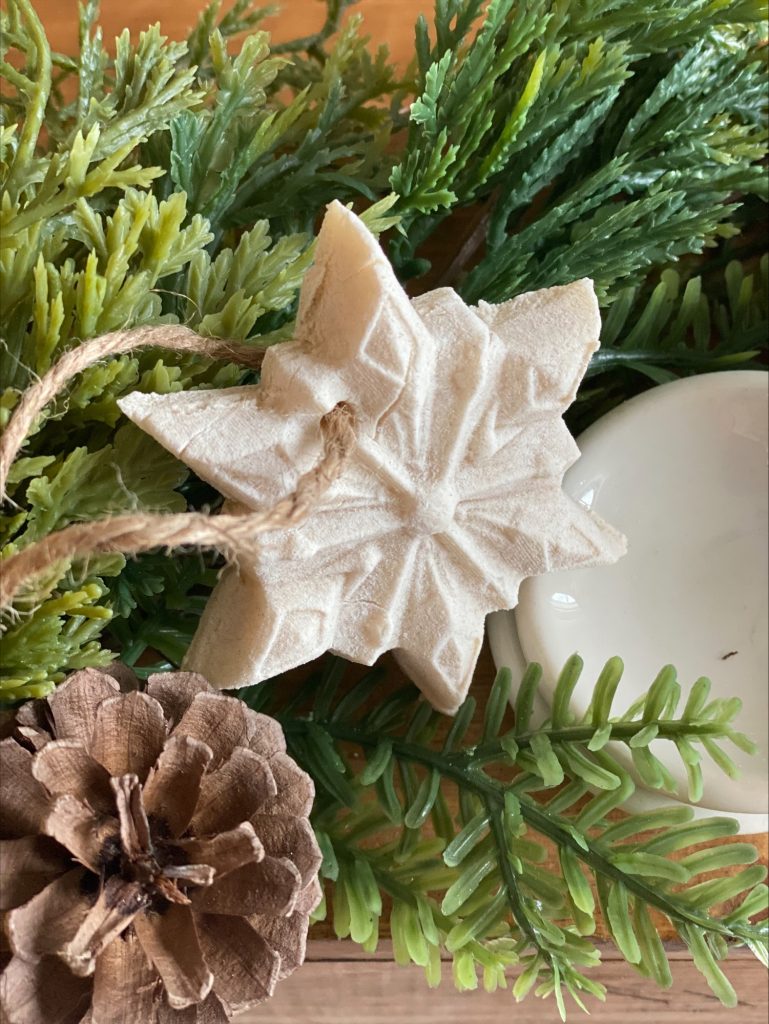
I started with a small batch and was able to make about 14 ornaments. This recipe could be doubled if you wanted to make more. I’d love to hear from you. Drop me a comment if you have ever made salt dough ornaments or if you have any questions.
You may also enjoy these related articles:
Did you enjoy this article? Want to hear more? Stay in touch! Sign up below to receive design tips and tricks for your home.

Let’s Be Friends
Join the Lyndale Drive Community!
Sign up to receive all the latest blog details, tips & tricks and a whole lot of fun!

