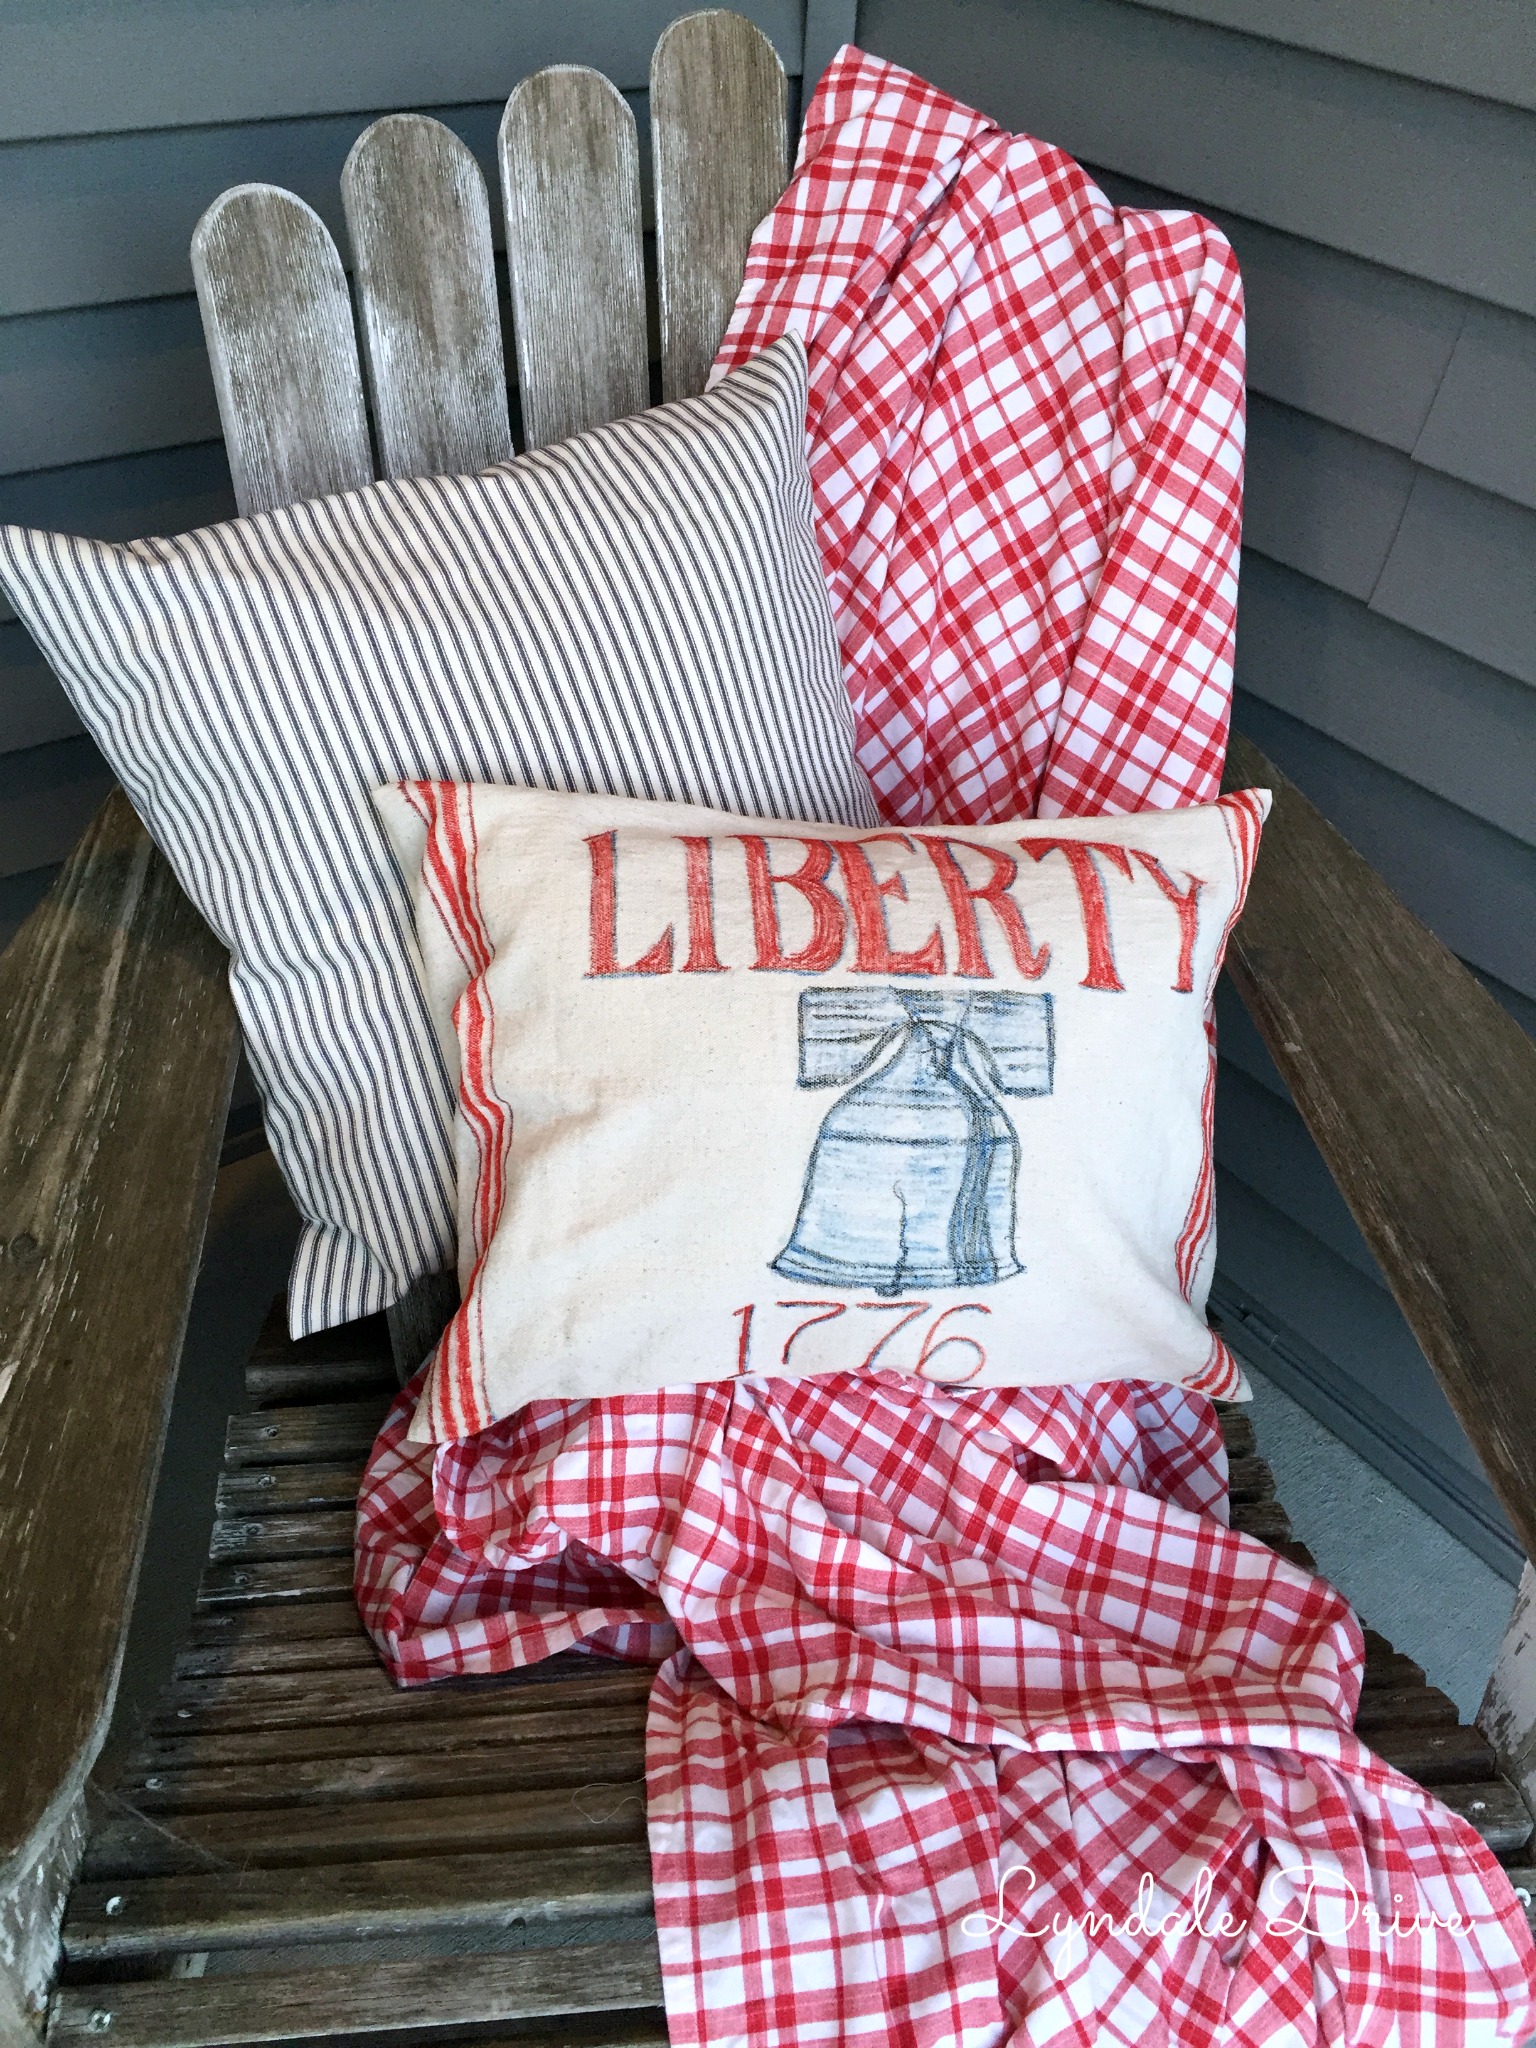
Make your own throw pillow covers, easy and inexpensive!
Have you bought new throw pillows lately? They are expensive!!! A cute and easy way to update a space, but WOW – most of them carry a hefty price tag! That’s too bad because I love to change my throw pillows with the change of seasons. I have them everywhere in our house, master bedroom, living room, mancave (Now named – Still #22), entryway, front porch, back deck………you get the picture! Well I have an inexpensive way to give your pillow collection a makeover without breaking the bank!
Disclosure: As an Amazon affiliate, I earn from qualifying purchases at no extra cost to you. My blog contains other affiliate links as well for your convenience. To learn more, you may read my Disclosure Policy. Thank you for supporting my blog!
{This post contains affiliate links}
This inexpensive makeover does require some simple sewing skills. If you don’t have a sewing machine you “could try” some of the “no sew” products on the market. Although I don’t know how well they will hold up if you are actually going to use the pillow! So bust out the machine and get sewing!
Supplies I used:
- Painters cloth (or fabric of your choice)
- Old pillow (you can get them super cheep at second hand stores)
- Sewing machine, thread, pins
- Iron
- Painters Pens (optional)
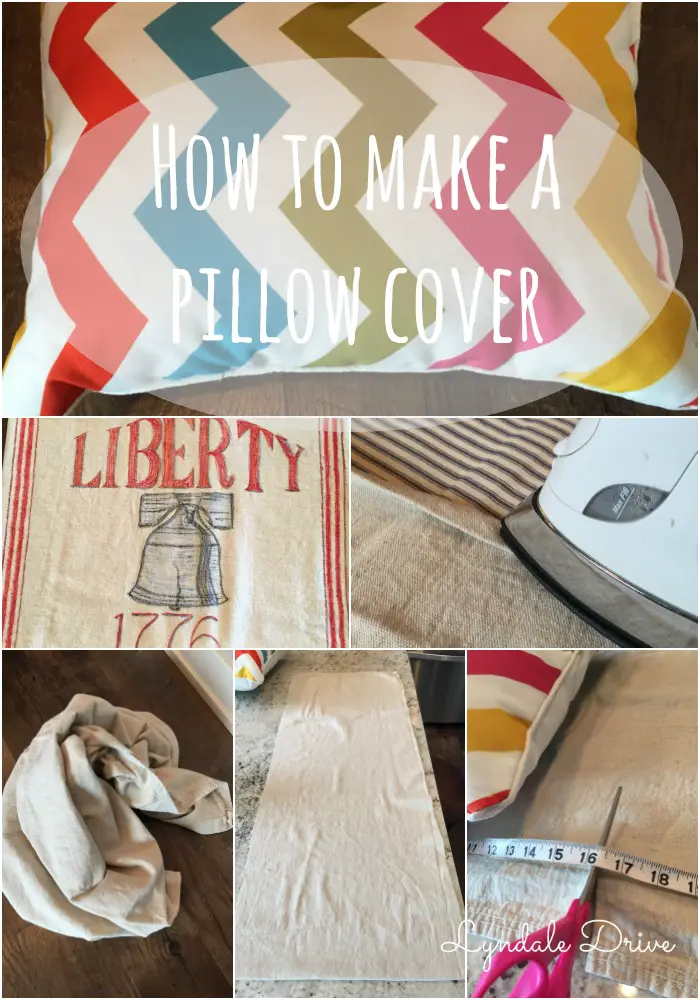
How I made them!
First I measured my pillow and how much fabric I would need. I placed the pillow on top of the painters cloth and eyeballed it (you know the old fashioned way)! I used the tape measure to make sure both ends of my fabric were close to the same width. I allowed enough extra fabric for a side seem (about an inch or so).
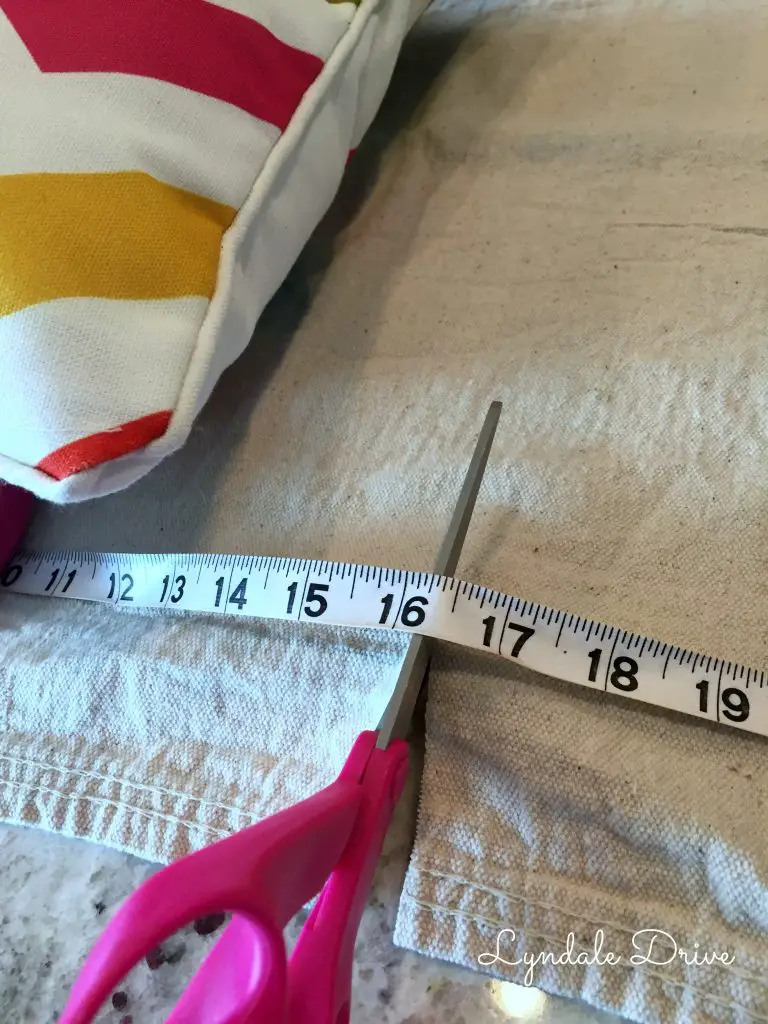
Next I cut my fabric to the desired length. For the length, you will need at least 2-1/2 times the length of the pillow to create an envelope. Again, eyeball it making sure you have enough to cover the entire pillow with an overlap (don’t forget to allow a couple extra inches for the fold and hem!

Grab my free Guide
Discovering Your Style, Love Your Home
Decorating your home and discovering your style doesn’t have to be difficult. This guide will help you to create a home using some simple design tips that will make your house feel more like a home. A place you love to be.
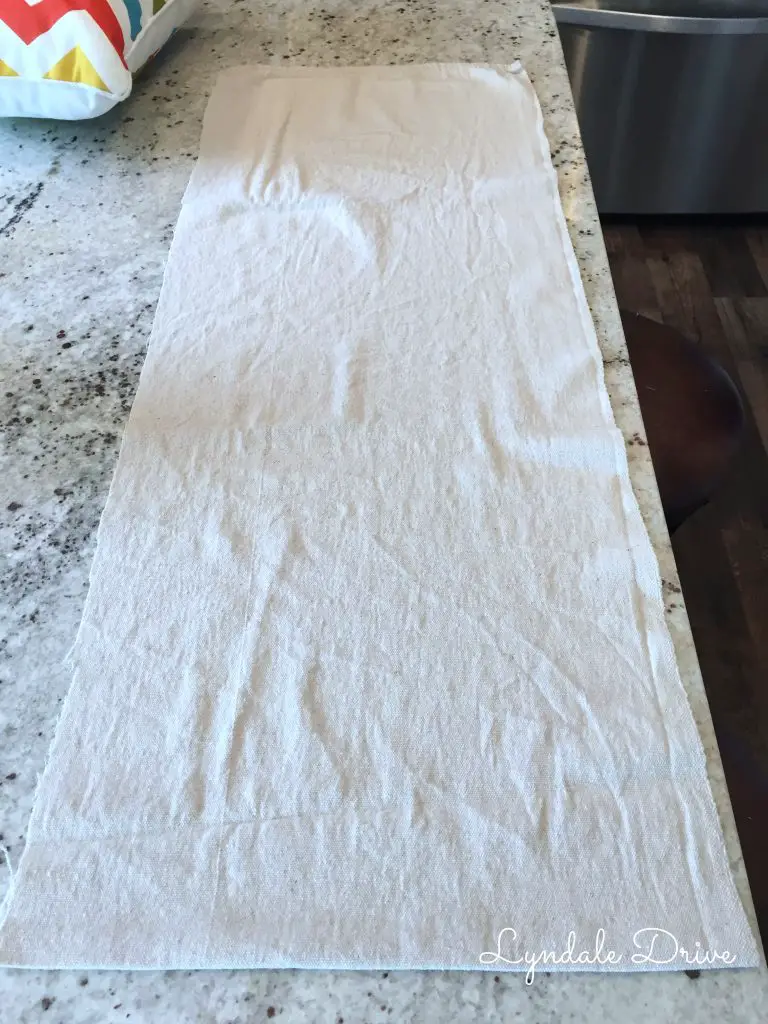
I used painters cloth for my fabric so it already had a seam on one side and a finished edge on the other side. I used those already finished ends for one of my opening ends (One seem I didn’t have to sew).
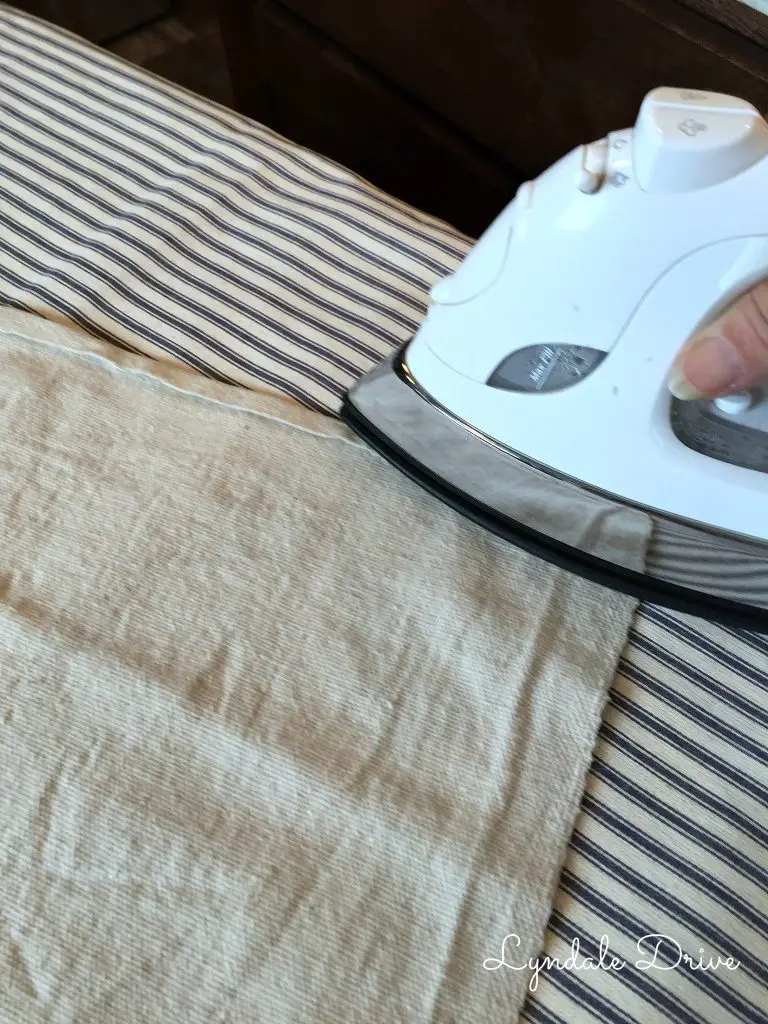
Fold your hem at about 1/2 inch and iron down, fold again at 1/2 inch and iron again. Pin the ironed edge down then sew the hem (not the edges of the pillow) only the ends that will be the opening to the pillow envelop cover. (remember, one of my opening edges came with a factory seem so I only had one hem to sew) Nice!
After your opening hems are sewn, starting with the fabric laid out flat, fold one end of the fabric over about 2/3’s of the way (eyeball it) See the seam end in the picture below?
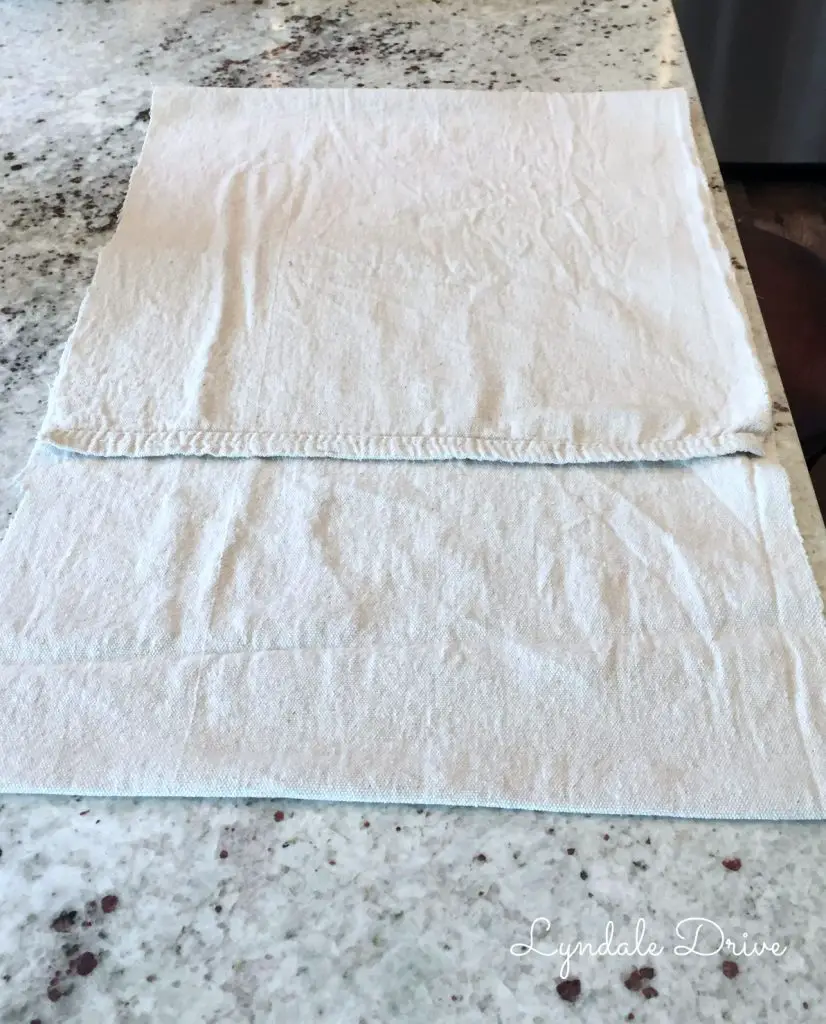
Next fold the remaining end to the center point. Your fabric should be folded INSIDE OUT and overlap in the center. This is where the pillow will be inserted once the side seams are sewn.
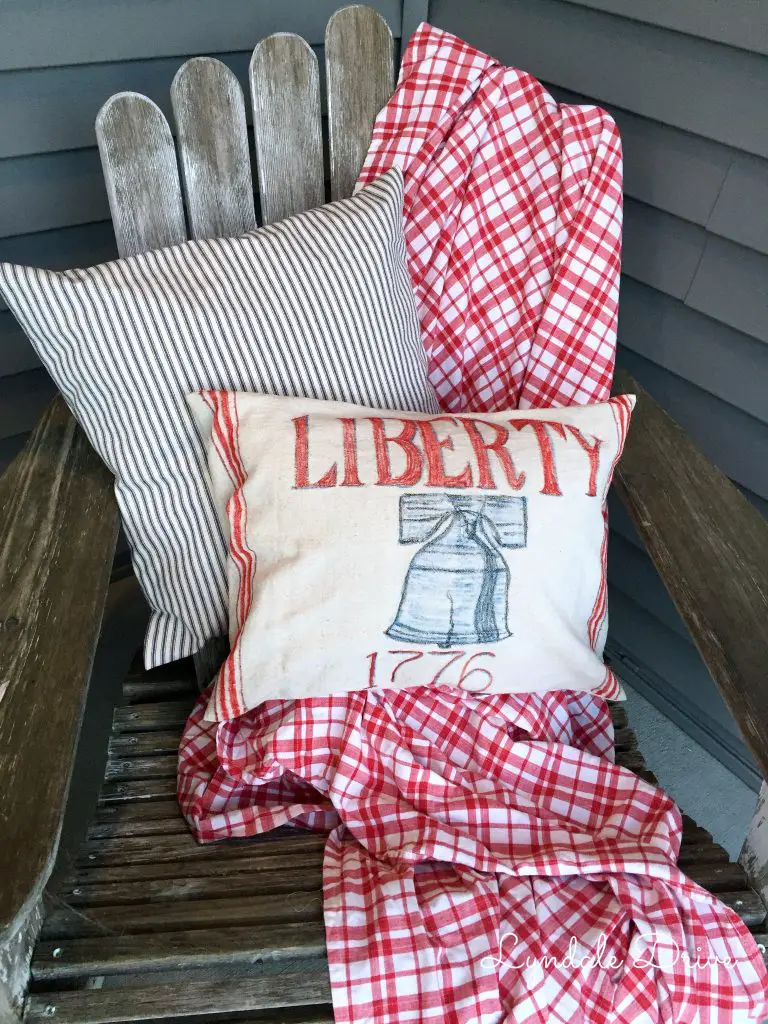
With the fabric folded as directed above, pin the side seams and sew both sides. Turn the fabric outside in and Wala! You have a new pillow cover!! If you want to decorate it up like I did you can use painters pens! I got mine here.
If you are really scared to try this – check out this Etsy shop – she has some super cute pillow covers and Wendy is the bomb!
You may also enjoy these related articles:
Did you enjoy this article? Want to hear more? Stay in touch! Sign up below to receive design tips and tricks for your home.
Let’s Be Friends
Join the Lyndale Drive Community!
Sign up to receive all the latest blog details, tips & tricks and a whole lot of fun!

2 Comments
Comments are closed.