Fresh Cut Tree Sign
Disclosure: As an Amazon affiliate, I earn from qualifying purchases at no extra cost to you. My blog contains other affiliate links as well for your convenience. To learn more, you may read my Disclosure Policy. Thank you for supporting my blog!
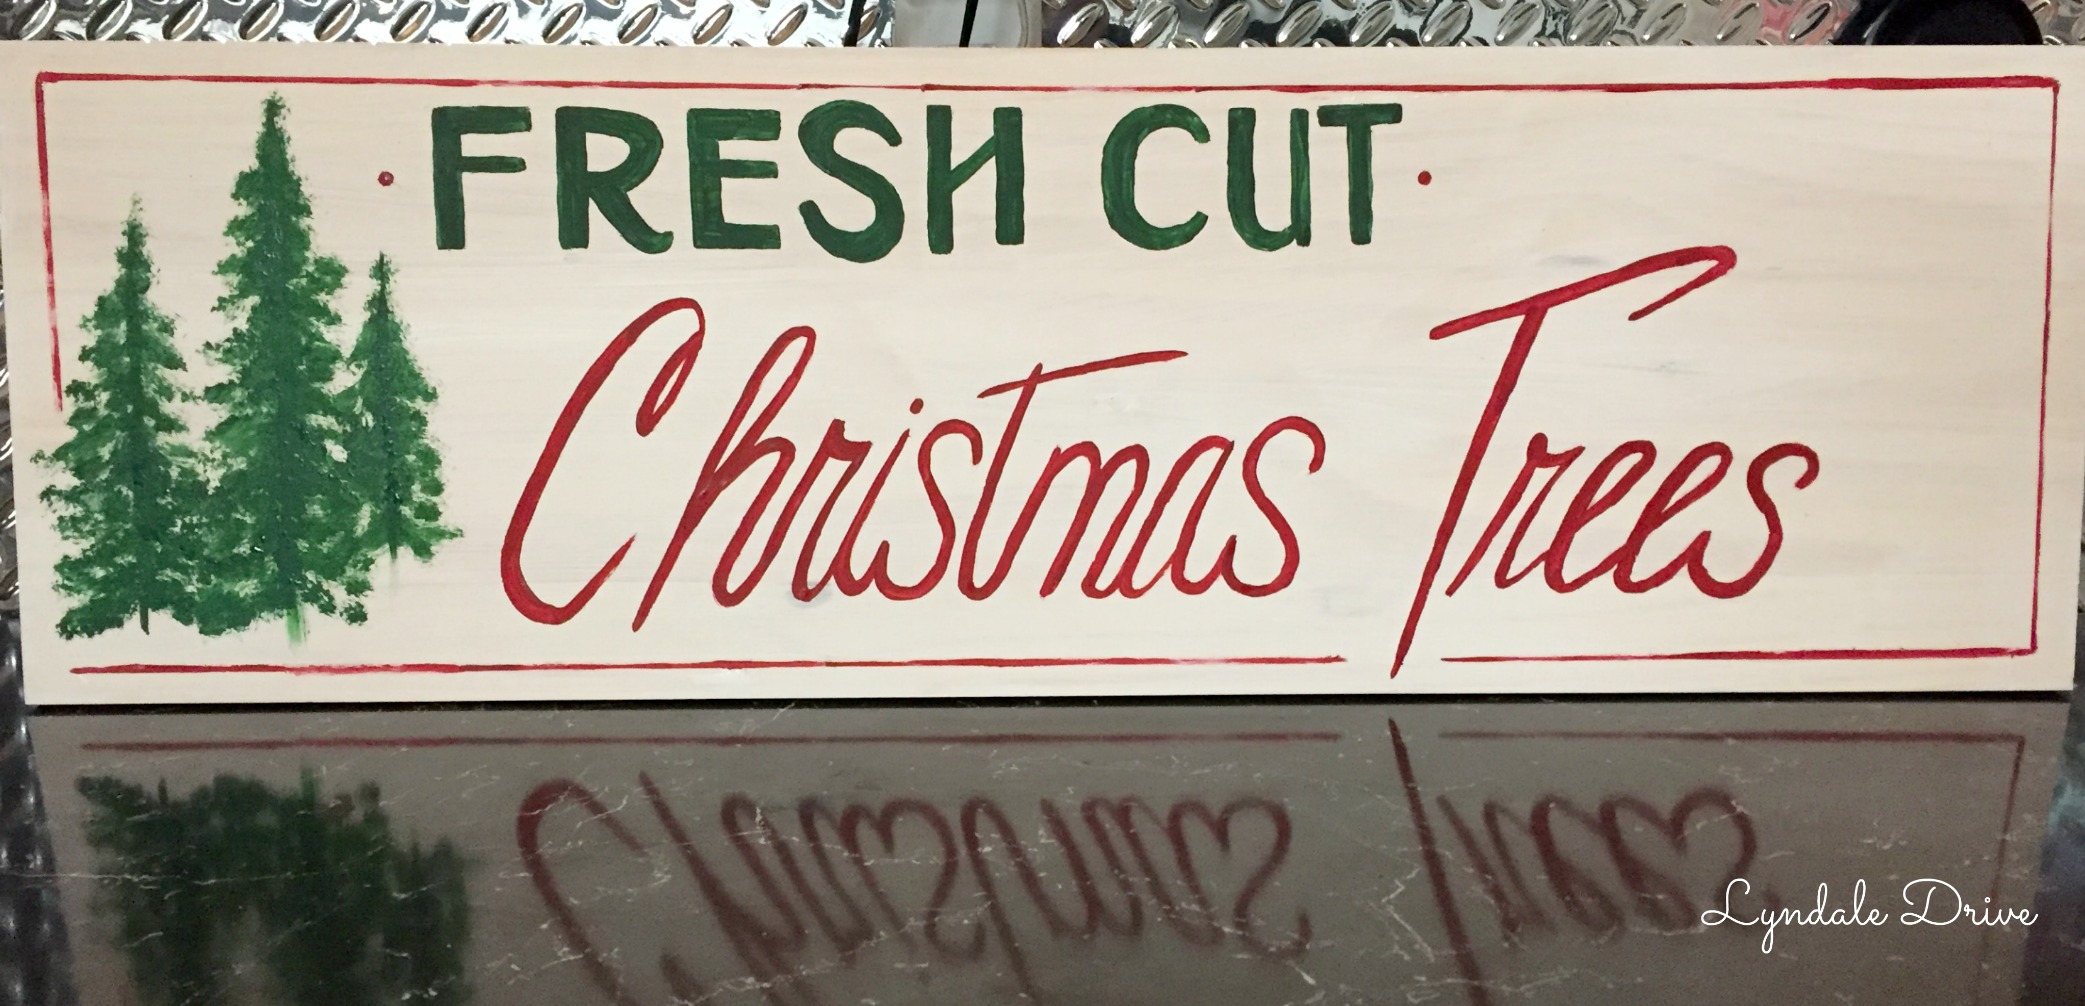
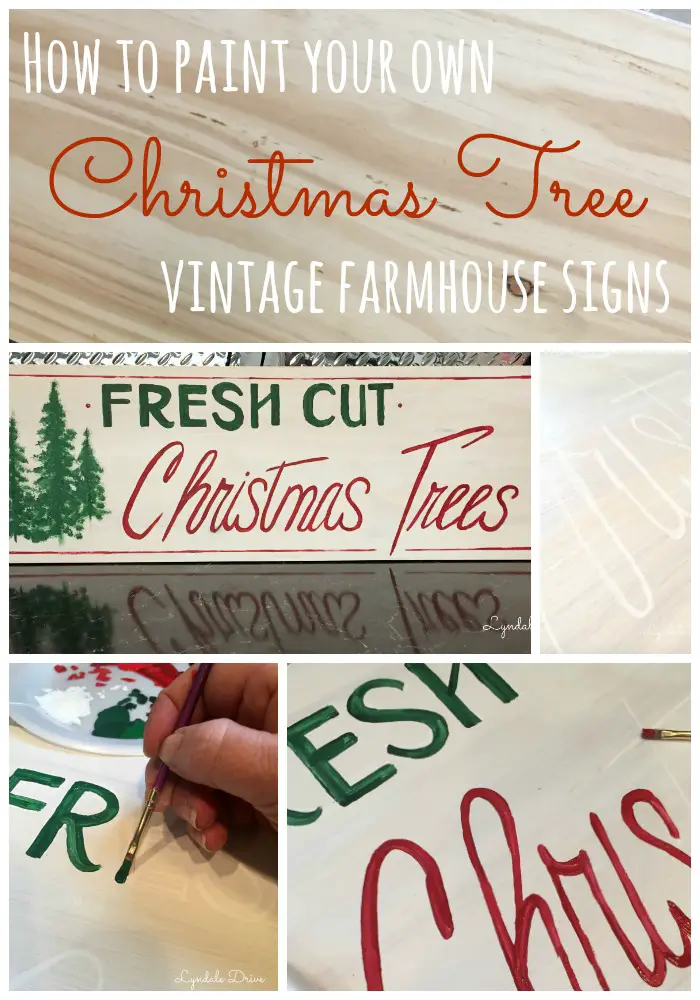
Just like all of you I absolutely fell in love with Joanna Gaines Christmas Tree sign. So this year when I decided to use a more simple vintage style for my Christmas decorating, I decided to try to make one of these signs myself. I wanted to share with you how I did it, so you can make one too!
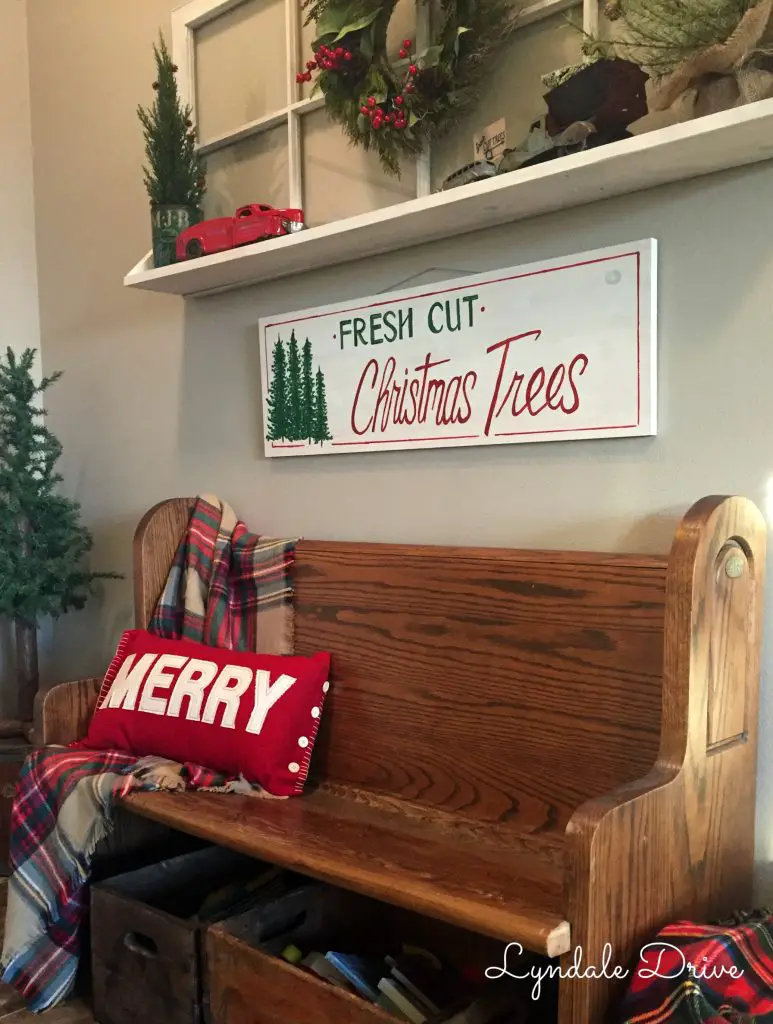
I hung my Fresh Cut Christmas Tree sign in my front entry way. You can see how I decorated this area in my Holiday Home Tour (part 1). Let’s get busy making a Fresh Cut Christmas Tree sign, should we?!
Supplies I used:
1 in x 12 in x 3 ft glue-edge pine board (I got mine at Home Depot)
White Chalk Markers
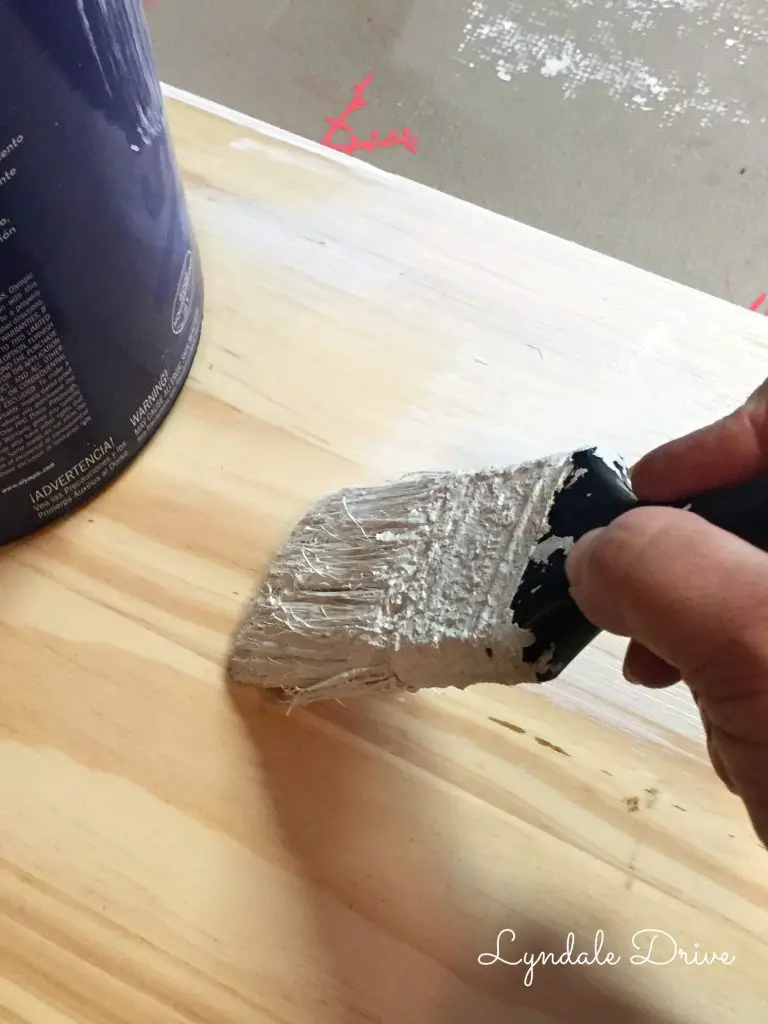
White paint (I used left over house paint)
Yard Stick
Apple Barrel Acrylic Craft Paints
Paper plate (very important)
Paint brushes
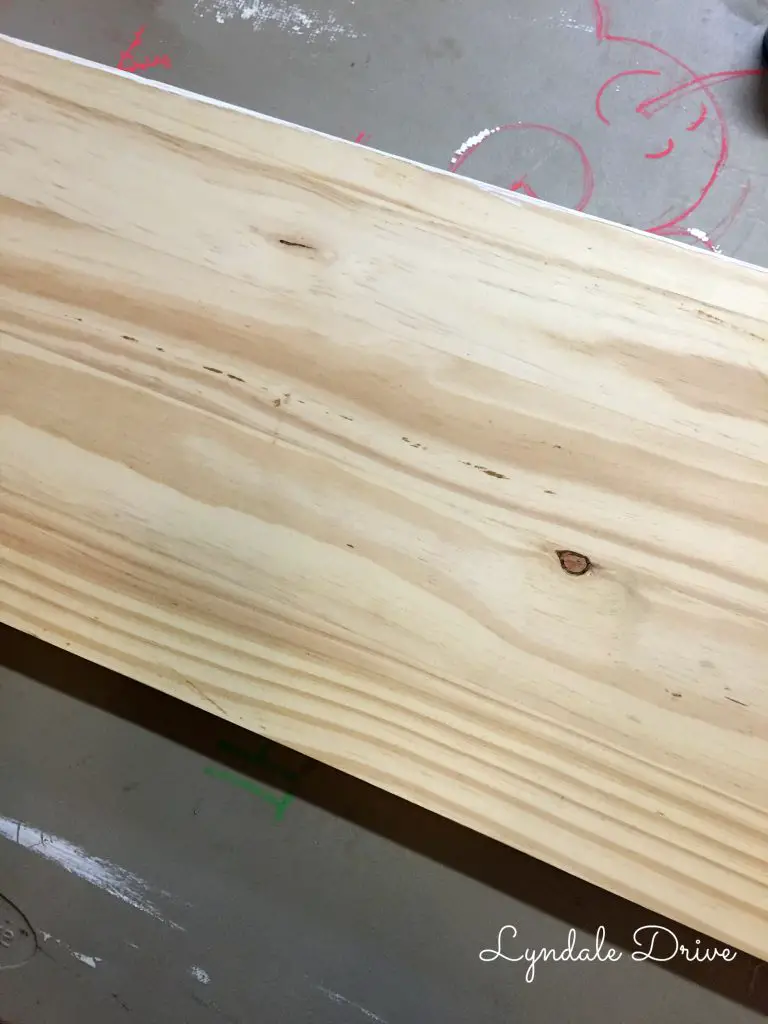
I started by painting the pine board with a light coat of white paint. I wanted some of the wood grain to show through so I didn’t paint too heavy. You may choose to paint yours with two coats. As you can see, my screen painting table comes in handy for all kinds of projects!
Next I used my yard stick as a guide to keep my lettering somewhat straight. I used a white chalk marker to draw out the lettering for the fresh cut Christmas Trees, you can see – it’s not perfect, simply a guide. If I really mess it up, all it takes is a rag and a little water and I start over!

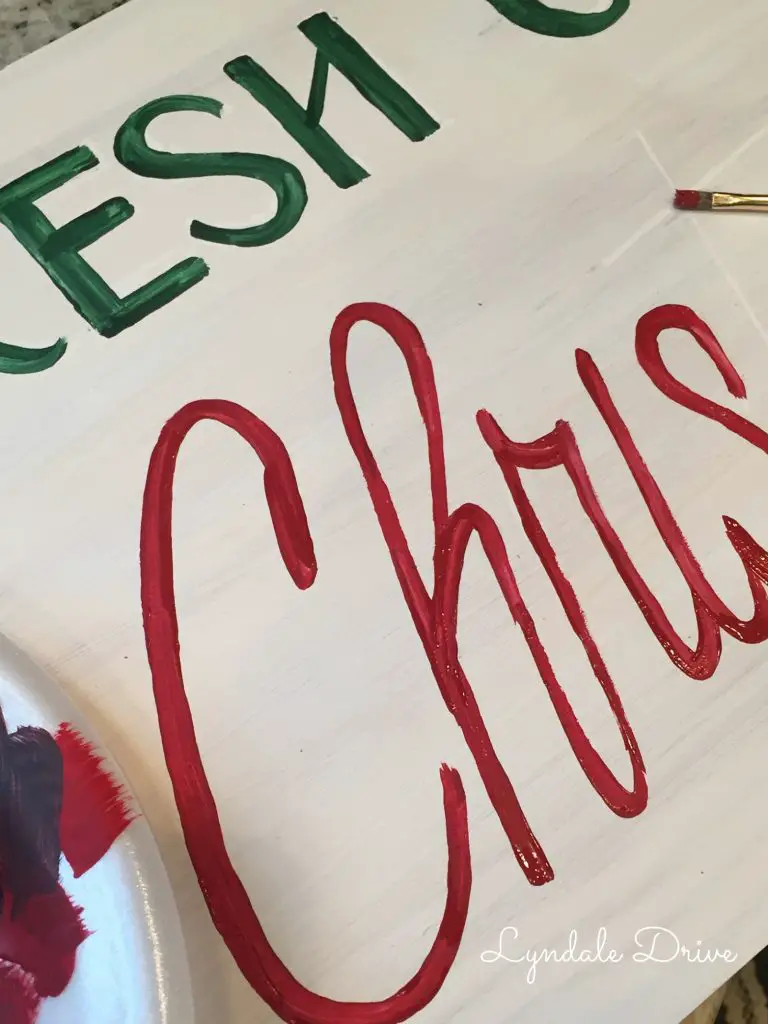
Now the important piece of equipment – a paper plate! Every artist needs a palette!!! I load up my paint on my painters palette. I like to use two tones of each color, this will give your lettering some dimension and look like it is old. I like mine to have a vintage feel and I want ti to be hand painted (and look like it) not factory made, so those little flaws and imperfections are perfect!!!
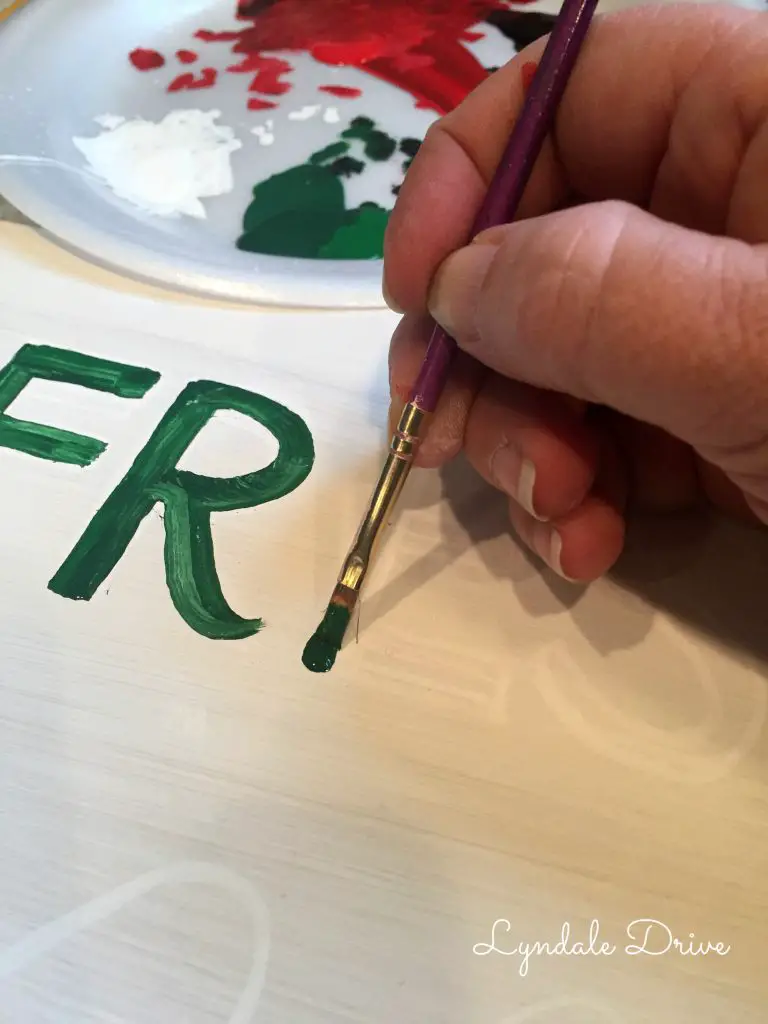
I also like to use paint brushes that are a little “stiff” and have a clean, sharp edge. You can see above, my brush is fairly small, this allows “me” to control the thickness of the line, not the brush.

Once I have the lettering as thick and dark as I like, I use the edge of my yard stick to paint the line around the edge. To paint the trees, I started by painting a straight line from top to bottom (sorry I forgot to take pictures of this part, bad blogger I know….). Then using my two colors of green I dabbed the paint from the trunk to the tip of the branch, working my way up the tree, making the branches shorter as I go. I like to start with a dark green then go over each branch with a lighter green. Again, this gives the trees some dimension.

Grab my free Guide
Discovering Your Style, Love Your Home
Decorating your home and discovering your style doesn’t have to be difficult. This guide will help you to create a home using some simple design tips that will make your house feel more like a home. A place you love to be.
Keep in mind, if this were a “real” vintage sign, some man or woman probably threw it together in the barn and hung it on the fence or side of their truck prior to selling trees that probably came from the grove on their land. So they were far from perfect!! They didn’t own a cricket or a silhouette to make their signs!!
Maybe after the holidays I will take some sandpaper to my sign to give it an aged feel and add some stain to make it look a little more vintage! Then again, who knows, I am kind of loving on it just like it is!
I hope I have inspired you to give it a shot, go paint your own Fresh Cut Christmas Tree sign! Make it your own and give your home that Joanna Gaines Farmhouse look!
Feel free to pin these images so you can come back to them later, leave me some love by adding a comment below and be sure to sign up for my post reminder…..I promise, I won’t fill your email box with junk mail!
You may also enjoy these related articles:
- How to Make Salt Dough Ornaments, What I Learned
- Farmhouse Kitchen at Christmas
- How to Upcycle Old Sweaters Into Christmas Stockings
Did you enjoy this article? Want to hear more? Stay in touch! Sign up below to receive design tips and tricks for your home.

Let’s Be Friends
Join the Lyndale Drive Community!
Sign up to receive all the latest blog details, tips & tricks and a whole lot of fun!

Cute sign. I think I will try to make one this weekend. Thanks for the instructions.
Awesome!!! I can’t wait to hear how it turns out!
Very cute, I want to try it myself. Do you remember the names of the paint colors you used?
I don’t. I would just choose colors that you like – I wanted a deep red and a green that looked like evergreens. Good luck with our project.