Simple way to transfer an image to furniture
I bought this wooden crate years ago at a flea market, I think I only paid $20 for it. I love it just the way it is, however I have always wanted to add an image to it making it look like an old shipping crate.
This is a quick and easy process, similar to how I made my Farmers Market sign.
Disclosure: As an Amazon affiliate, I earn from qualifying purchases at no extra cost to you. My blog contains other affiliate links as well for your convenience. To learn more, you may read my Disclosure Policy. Thank you for supporting my blog!
Easy way to transfer an image to furniture
I found a great blog called The Graphics Fairy. She has thousands of images you can download for free! I have to admit, I love the French graphics – but I don’t speak French so I have no idea what they say!! So I searched until I found an image I like in English!
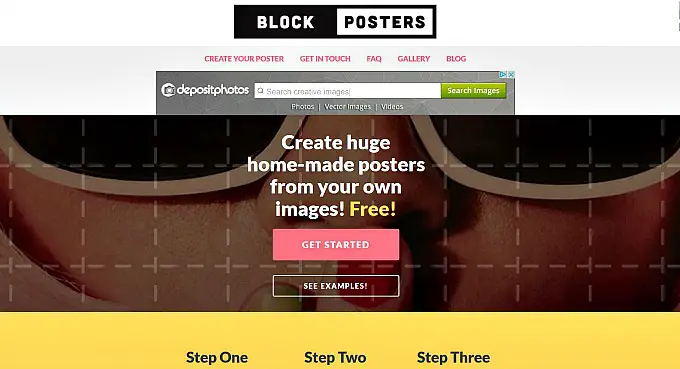
On the Graphics Fairy blog she provides tutorials on how to transfer images. I especially liked the tutorial on how to enlarge an image using a free website called Block Posters.
I did found that her instructions were a little outdated, so I added the steps I went through. It is a very simple site to use – I didn’t even have to throw out a swear word!
How to enlarge your image
Once you have logged into the Block Poster website , you will need to upload your image.

You have the option to use one of their images or upload your own. This is how my image looked after I loaded it.
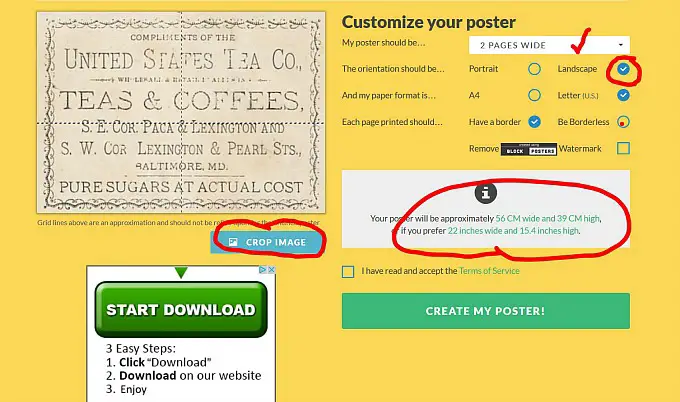
You can customize your poster by changing the number of pages your want it spread across, the orientation of the paper and if you want to print a boarder or not. You can even crop your image. As you can see, the image I downloaded had more graphics on it that I used in my project.
After you make all of the customization selections, the information box will tell you the approximate size of your print, if it works for you, Select Create My Poster!
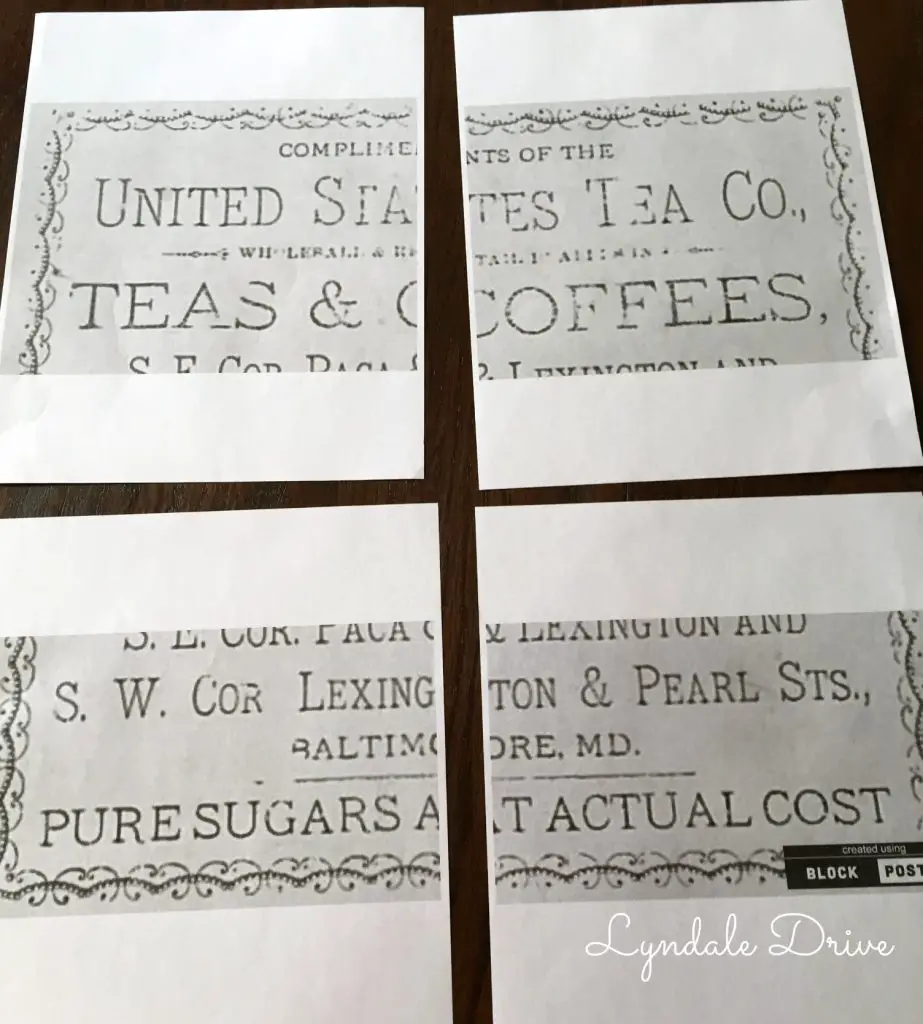
This is what mine looked like after I printed it. Before transferring the image I trimmed off the white edges and taped the pieces together.
*TIP – be sure to set your printer to landscape if that is what you selected when you customized the poster. It didn’t effect my image, but it might with yours.
How I transferred the image to the crate
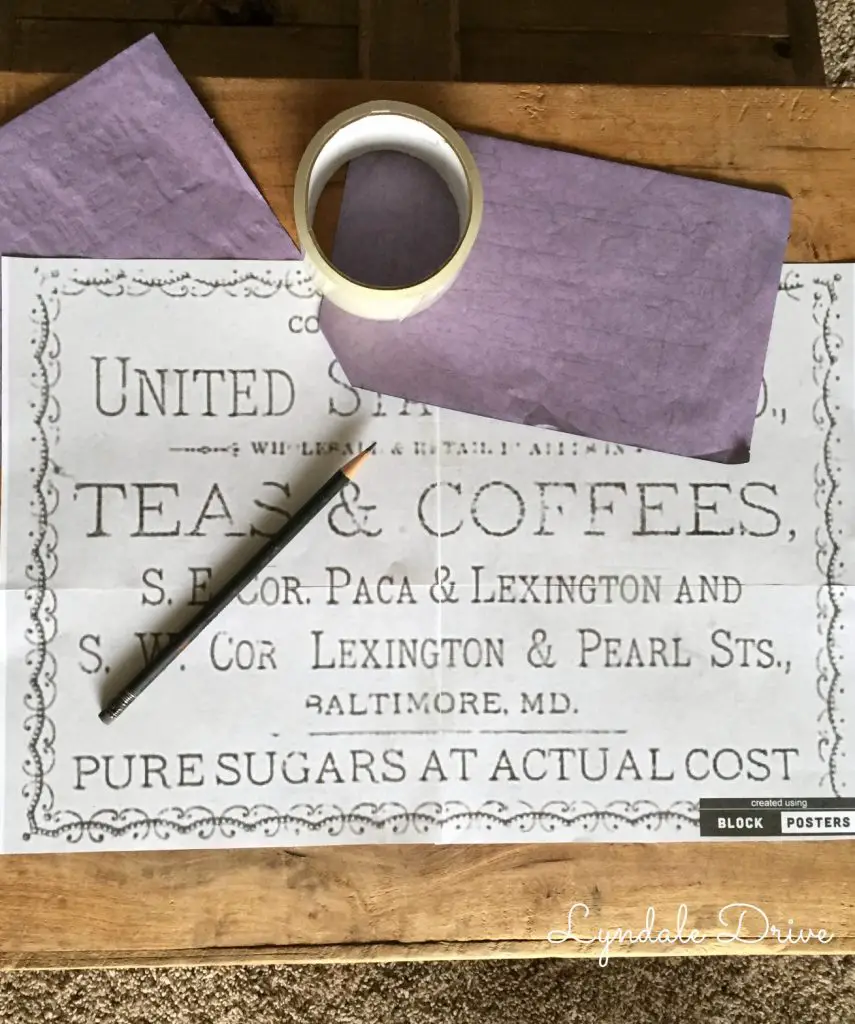
First, determine where you want your image to be transferred and tape the edges down to hold it in place. Slide a piece of carbon paper under the image and trace the outline of the image you want to transfer with a pencil (remember, I didn’t use all of the graphic image in my project).
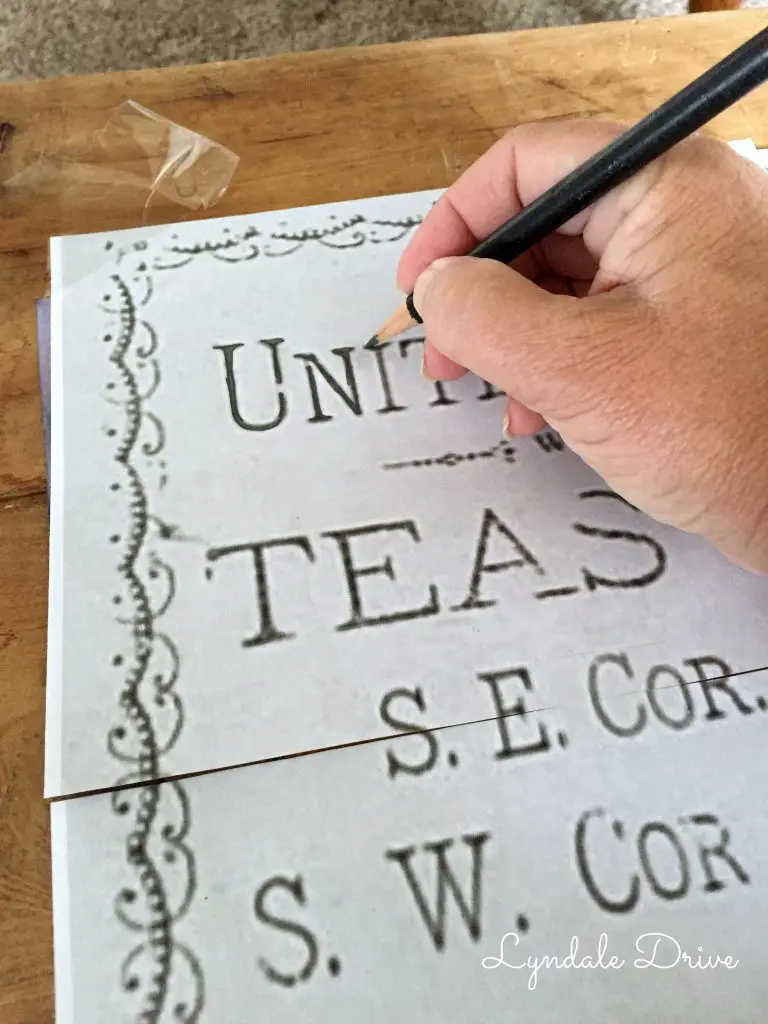
Carefully remove the copy after transferring the image.
*TIP – peek as you remove the image to ensure you didn’t forget to trace anything!
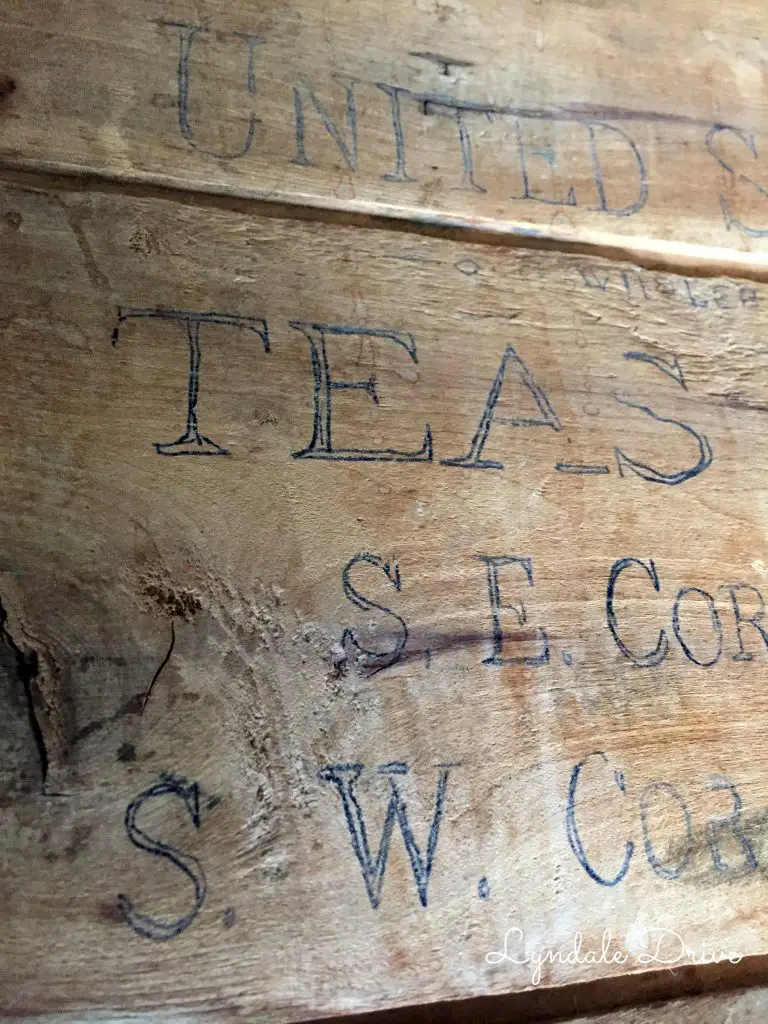
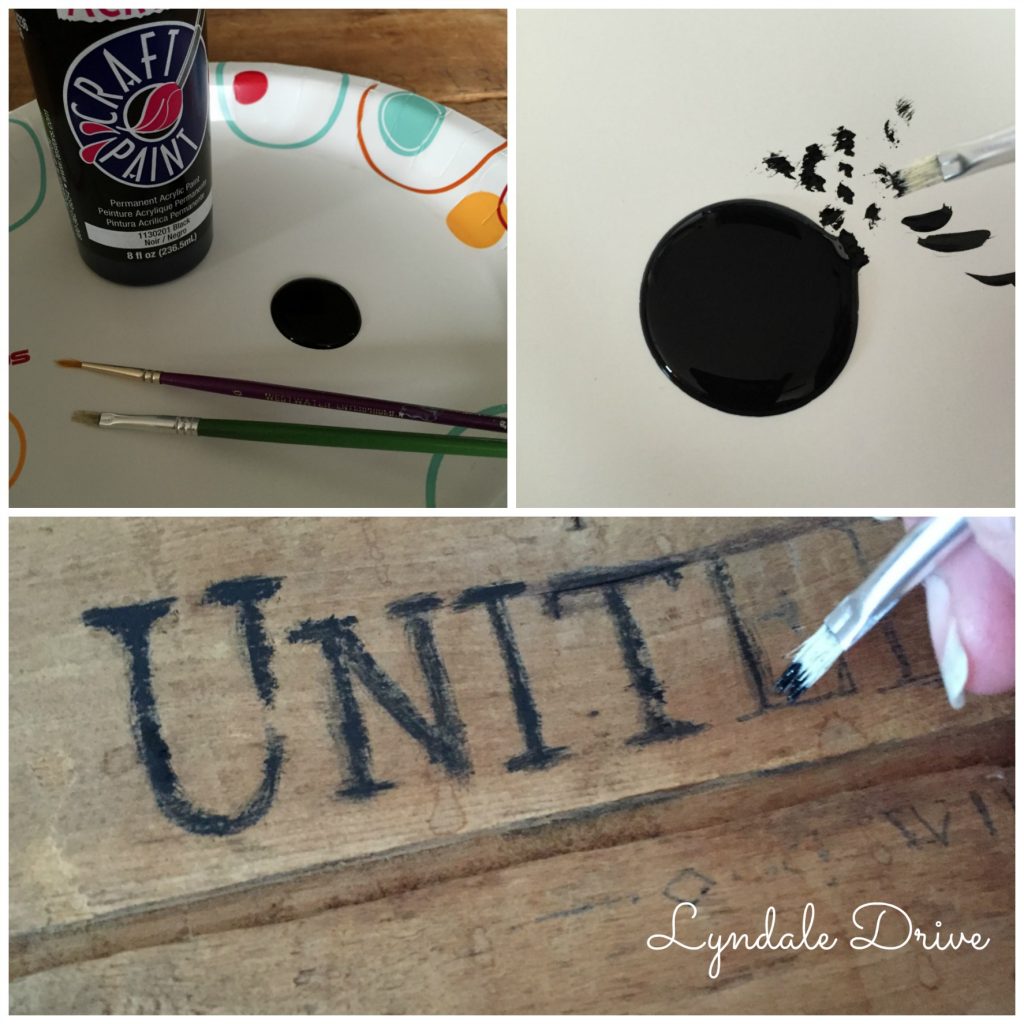
Next step is to fill in the transferred carbon image with paint. I used flat black acrylic craft paint, a stiff brush and the dry brush technique. Dipping your brush in the paint without dabbing off the excess will cause your lettering to be thick and bold. However, I wanted mine to look old and worn out, so the dry brush technique works well.
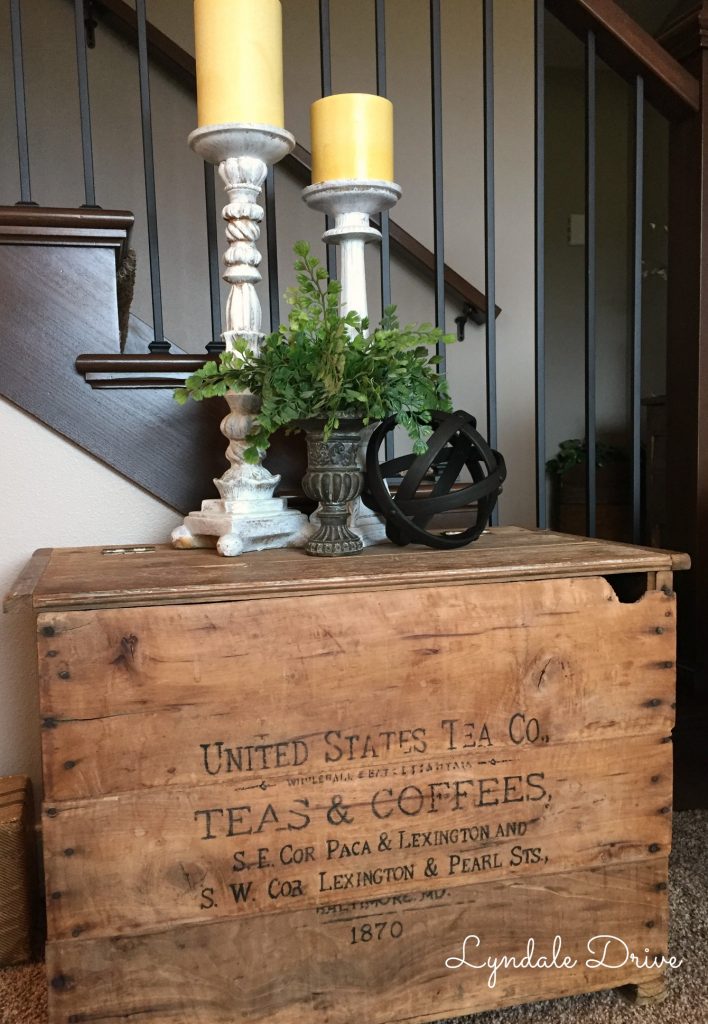
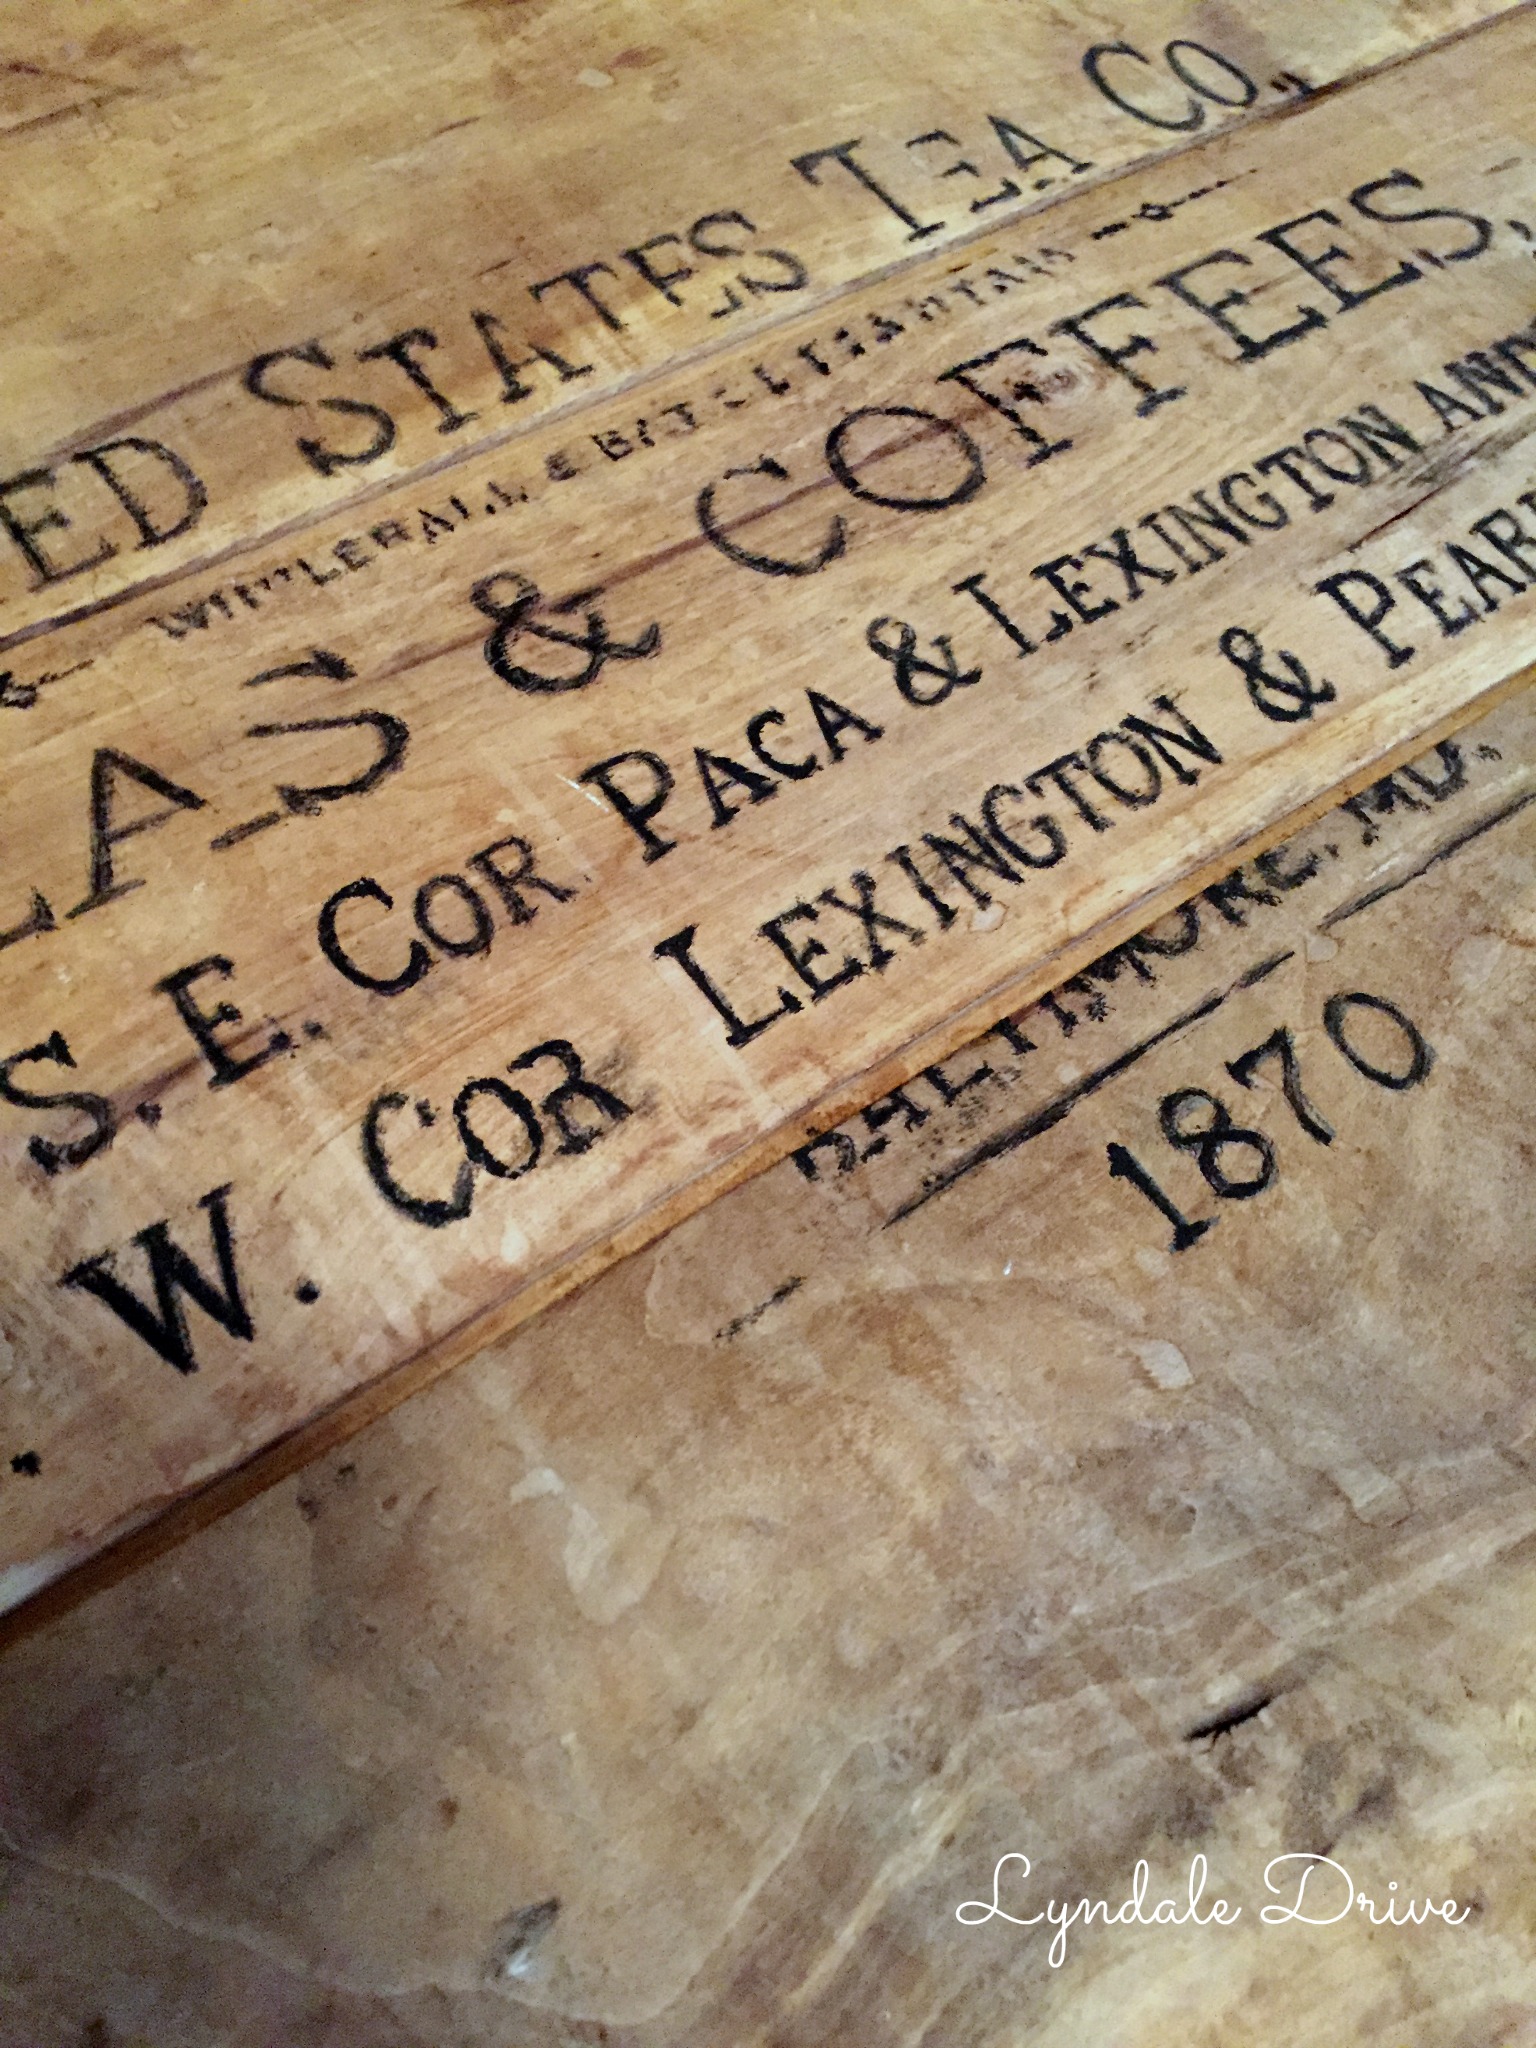
My letters aren’t painted perfectly. As you can see, some spots are missing entirely, that’s what makes it look old, without sanding! I know you are thinking “I can’t paint”. I am here to tell you anyone can trace an image and fill in the lines!!! This project is super simple and only took be about an hour to complete!!! Look at that transformation!
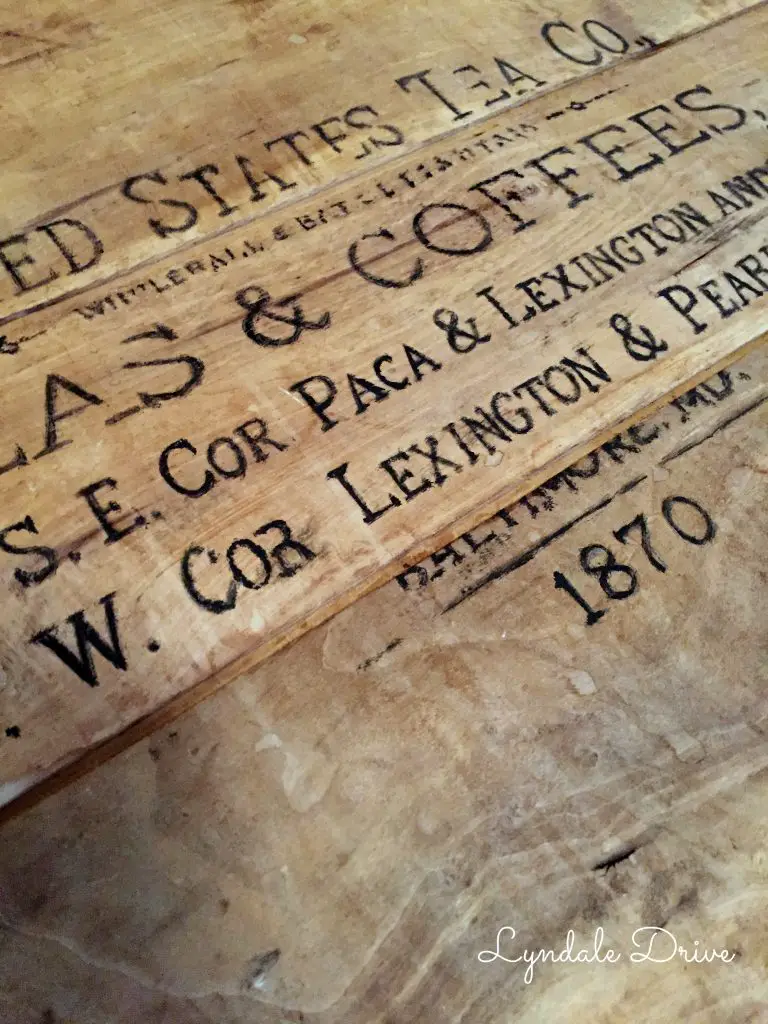
I can’t wait to create more poster size projects using Block Posters!!
You may also enjoy these related articles:
- DIY Poster Sized Word Art
- Make your own throw pillow covers, easy and inexpensive!
- How to Make Pallet Wood Look Weathered
Did you enjoy this article? Want to hear more? Stay in touch! Sign up below to receive design tips and tricks for your home.
Let’s Be Friends
Join the Lyndale Drive Community!
Sign up to receive all the latest blog details, tips & tricks and a whole lot of fun!

One Comment
Comments are closed.