How to Make Pallet Wood Look Weathered
I have been meaning to tell you my secret to making pallet wood look weathered for some time now, but dang girl – I’ve been on Vacation!! With my latest trip to Ely to build something beautiful with Dad, a trip to Atlanta for the Haven Conference and most recently, a trip to a fellow bloggers home here in Iowa to learn how to paint/shade with stain! I am so excited about all of these projects and eventually I will share them all with you so stay tuned!!
Pallet wood projects are all the rave right now and everyone wants to get their hands on them! Have you tried to rip a pallet apart? It is a challenge!! Thank goodness I have a source for pallet wood that is already torn apart – cuz, ain’t nobody got time for all that hard work!
Disclosure: As an Amazon affiliate, I earn from qualifying purchases at no extra cost to you. My blog contains other affiliate links as well for your convenience. To learn more, you may read my Disclosure Policy. Thank you for supporting my blog!
Here’s how its done!
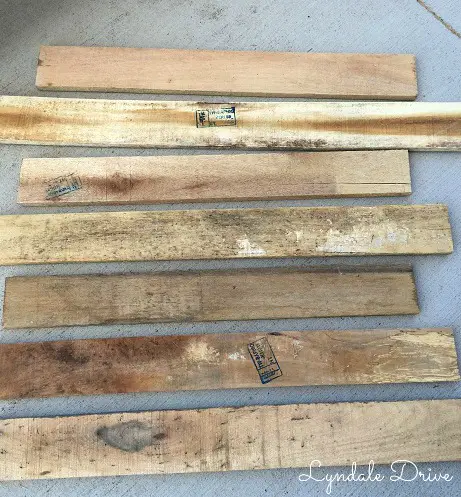
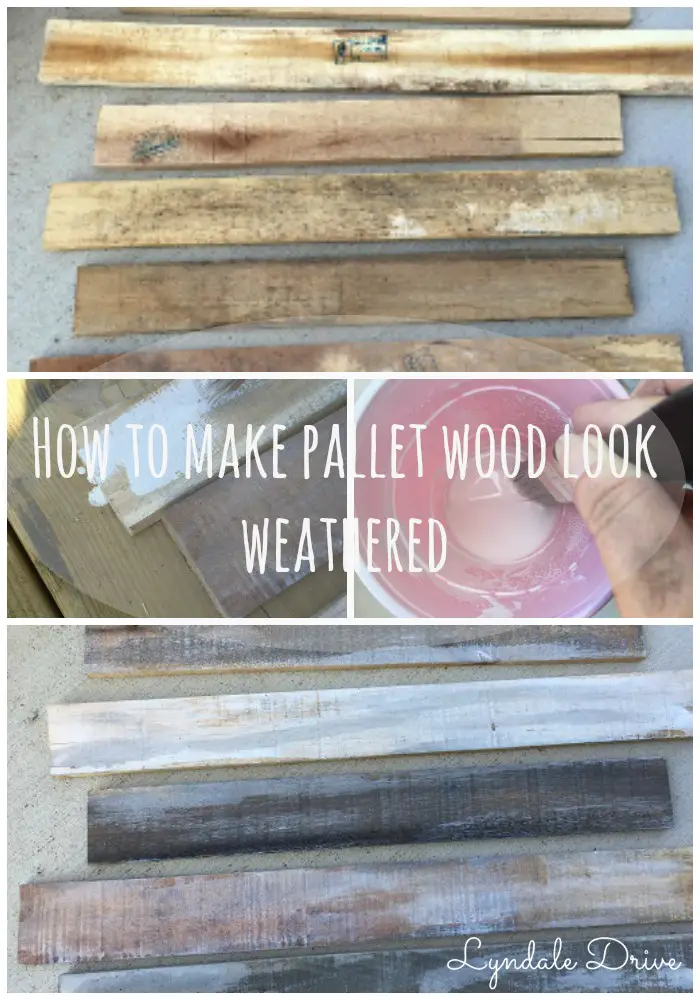
This is what the pallet wood looked like when I started, looking all “newish” and boring! I wanted the wood to look aged, like it had been out in the weather for years – so I broke out the paint!!
For this project I used black and white paint- that’s it! I didn’t even sand the boards. My project will be hung outside and the surface of the wood doesn’t matter. Now if you are aging wood to look weathered for a project you will use in your home, you better bust out the sander!
First I diluted the paint so it was very watery – this is a pretty scientific method “wink – wink”. Start with a cup of water. Next dip your brush in the paint (just the tip – you don’t need a brush full!), then swirl it around in the cup of water.
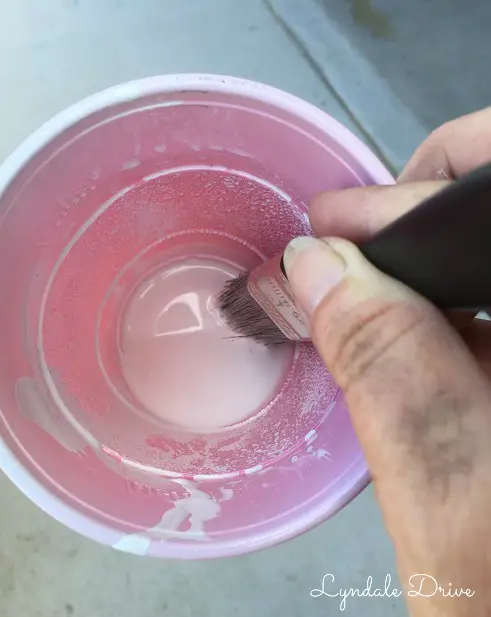
P.S. – don’t mind my dirty hand – when I paint, I wear most of it!!! This was a mild case!
Once your paint is thinned, simply apply it to some or all of the boards depending on the look you are going for. There is no need to be neat about this process, slap it on and run with it. Don’t worry about covering the entire board, its okay if some of the wood shows through. Take a look at an old picket fence, there is nothing perfect about it’s appearance. When painting the boards, if the paint mixture seems to thick, add more water………..too thin……….add more paint! I told you, it’s scientific!!
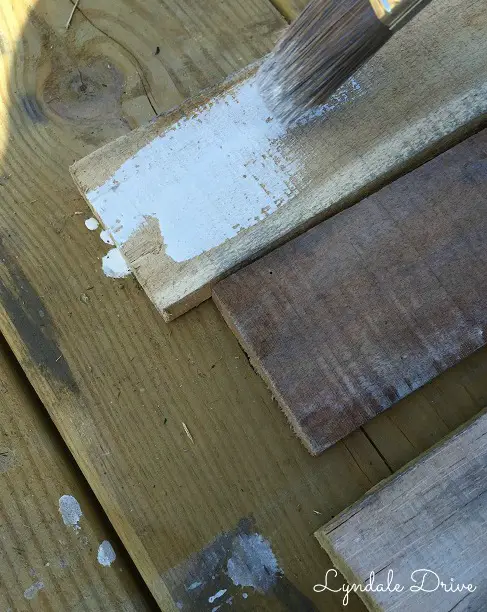
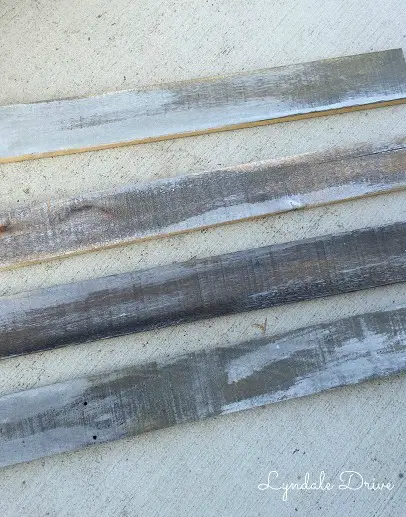
You can see that I have applied a white wash to all of my boards, keep in mind they were not all the same color (type of wood) to begin with. I added thicker white paint in a few spots and others I added diluted black paint (you can see the darker board below).
I am telling you – this is super simple and there is no need to be perfect about it!! Continue to add white or black (diluted) paint until you have achieved the look you like. If you do get too much paint, you can sand it off.
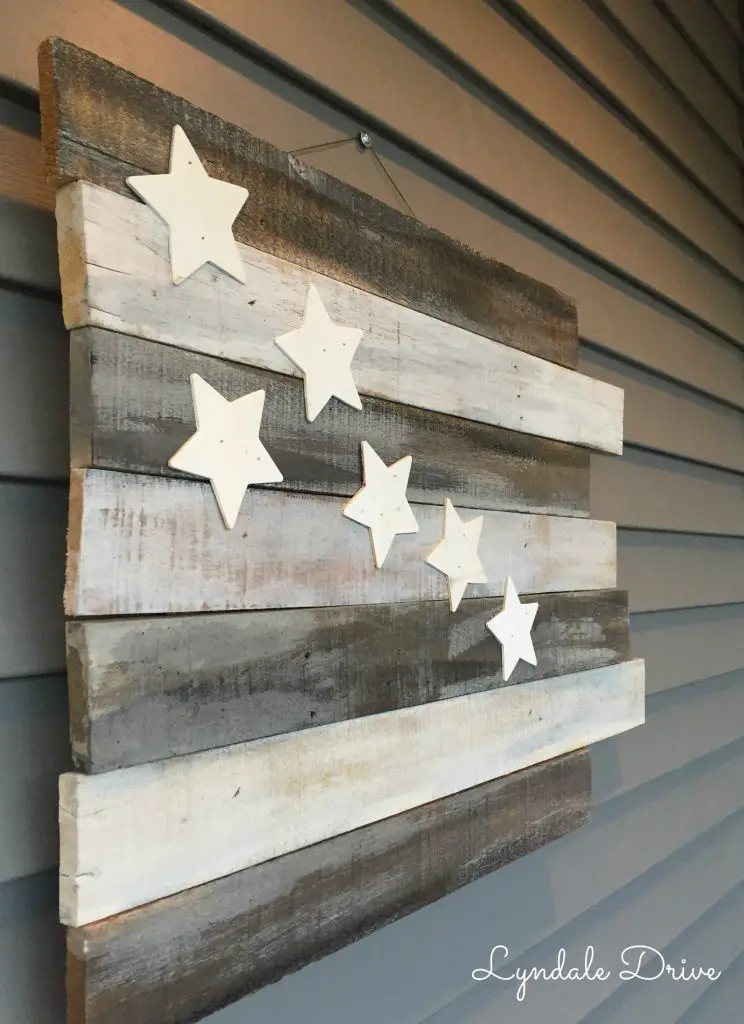
Give it a try! You can see my pallet flag in all her glory here.
Go ahead, pin it! You know you will give it a try later and will want to remember this tutorial!
That’s it for now! Happy painting and aging new wood! As always, share the love……I would “heart you” if you share my site with your friends and follow me on social media, Pinterest and Facebook!
You may also enjoy these related articles:
Did you enjoy this article? Want to hear more? Stay in touch! Sign up below to receive design tips and tricks for your home.

Let’s Be Friends
Join the Lyndale Drive Community!
Sign up to receive all the latest blog details, tips & tricks and a whole lot of fun!
