
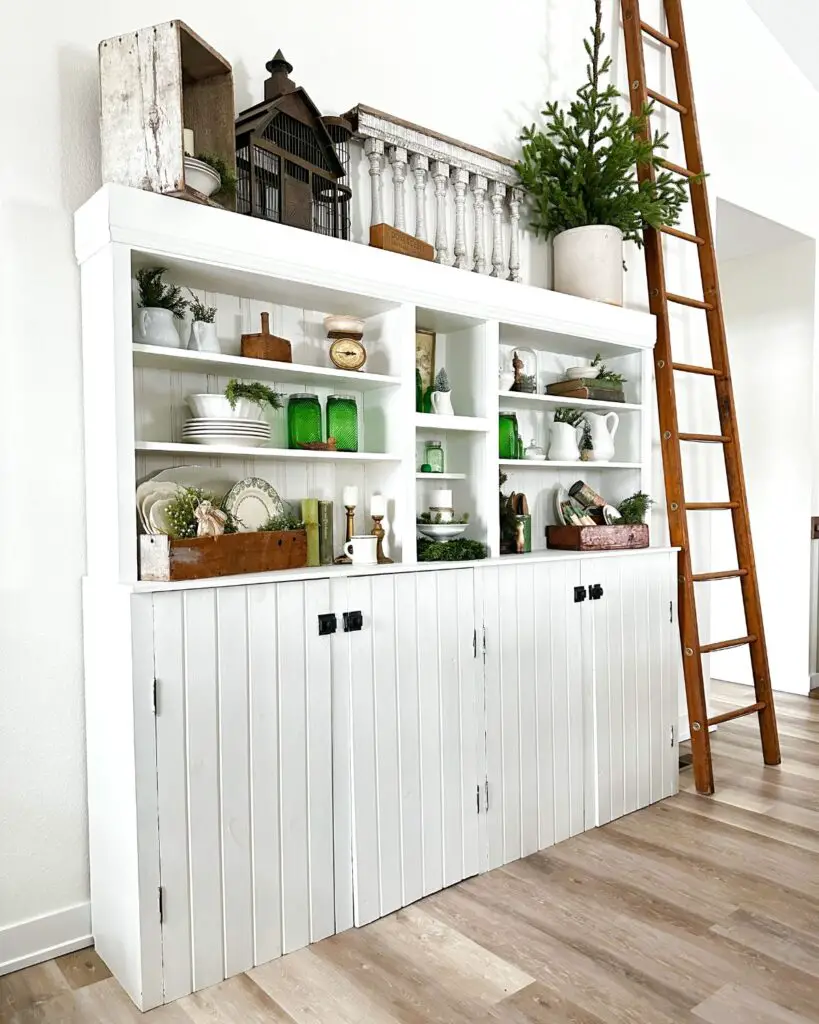
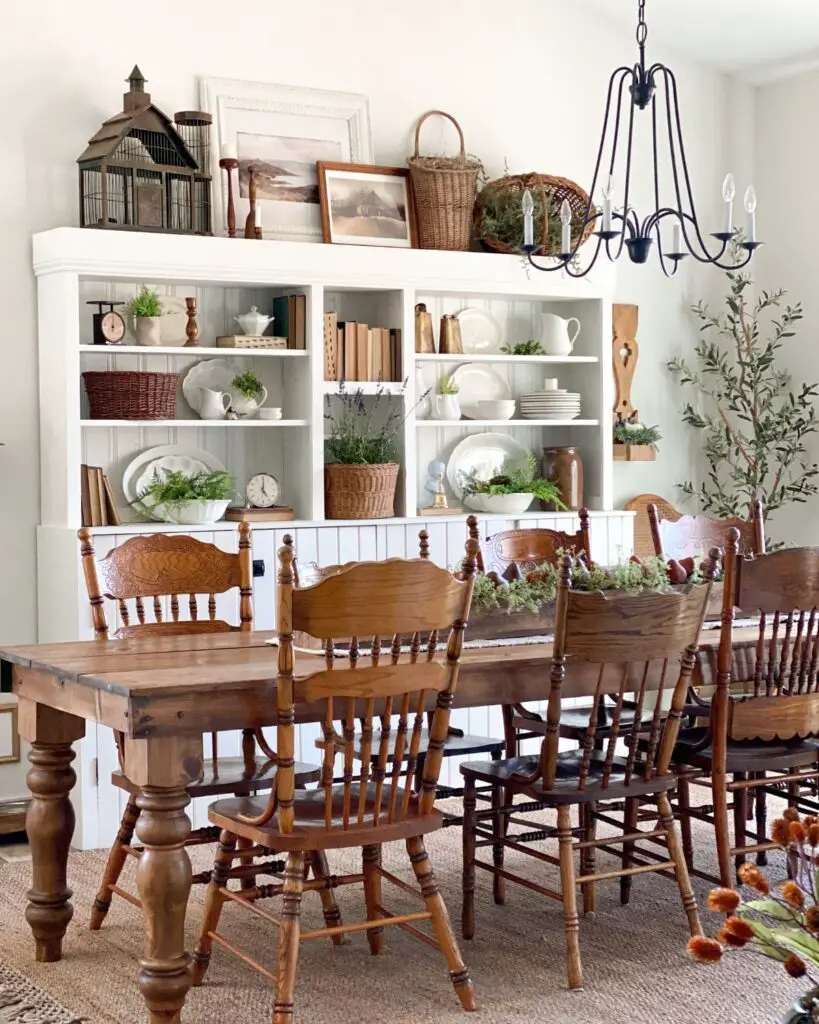
Farmhouse Hutch Makeover
People often ask about the farmhouse hutch in my dining room, wanting to know where I bought it. When I tell them that Mike and I built it ourselves, they are often surprised. We transformed an old bookshelf, originally found on Facebook Marketplace, into a farmhouse hutch. As with many of my projects, what began as a seemingly wild idea evolved into a beautiful piece of furniture. Join me on the journey of this “Farmhouse Hutch Makeover,” where wild ideas meet DIY and power tools, and a simple shelving unit becomes a statement piece in our home.
Disclosure: As an Amazon affiliate, I earn from qualifying purchases at no extra cost to you. My blog contains other affiliate links as well for your convenience. To learn more, you may read my Disclosure Policy. Thank you for supporting my blog!
Where We Started
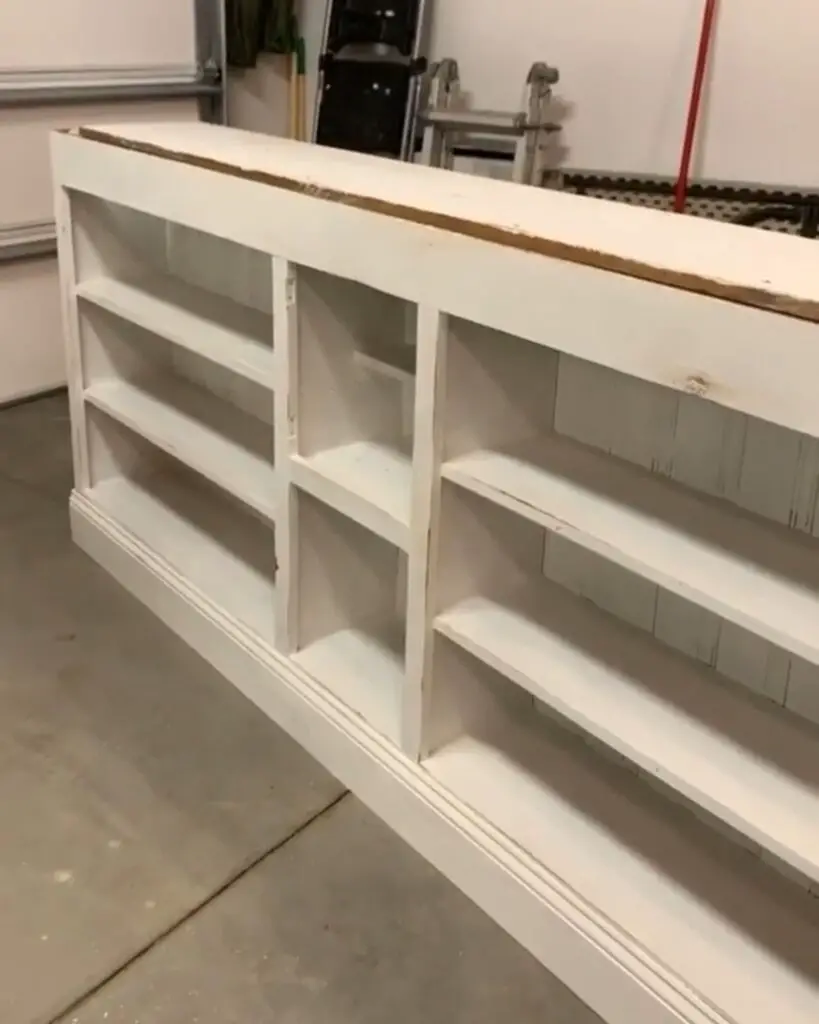
Would you believe me if I told you we started with this bookshelf, originally purchased off of Facebook Marketplace? Go ahead, scroll back up, and look at the after picture………….I’ll wait.
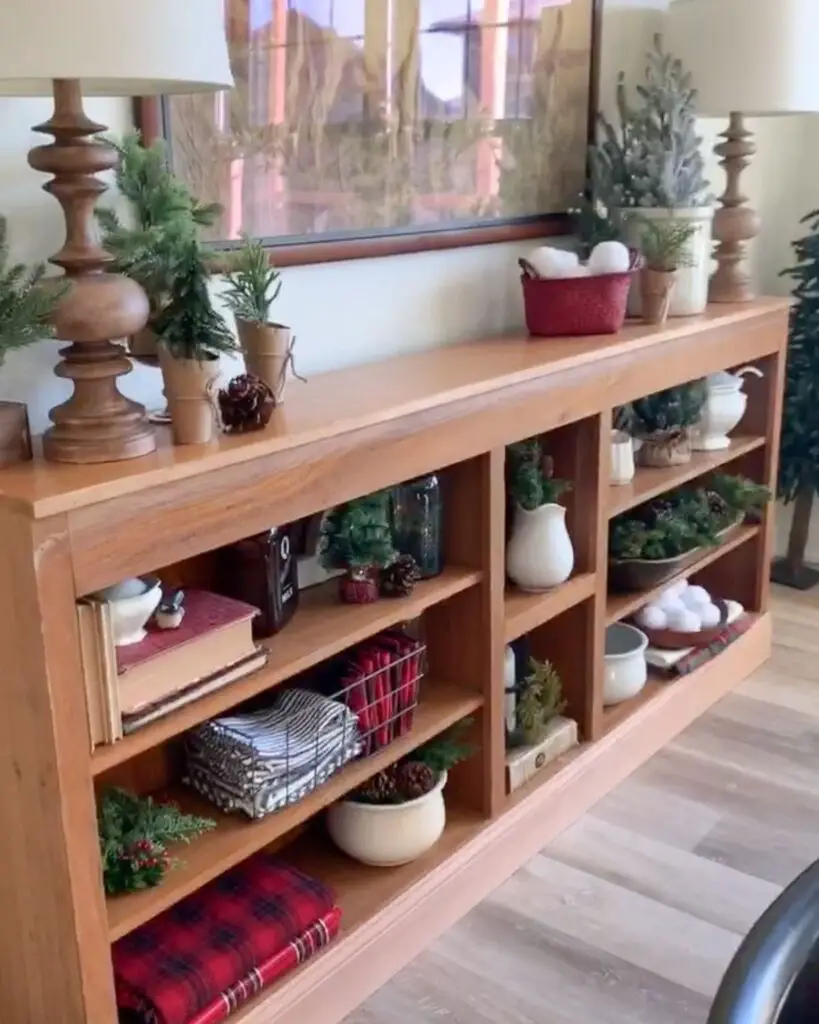
Simple, right?! Did you notice that the bookshelves base is now the top of the farmhouse hutch? The bookcase had been turned upside down.
How We Made It
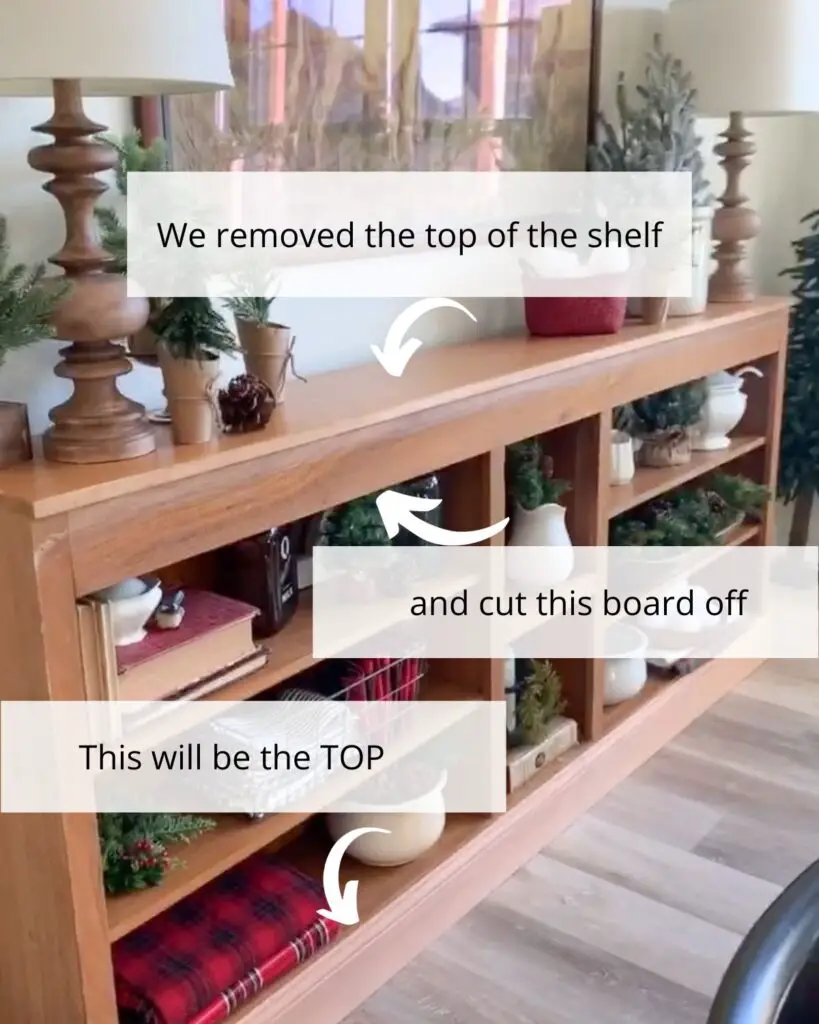
We started by removing the top of the bookcase and the 1×3 trim board it was attached to.
If you are still confused, let me see if I can clear it up a little. Believe me, Mike had the same look on his face the entire time! This is typical with our projects, you can read about how I confused him with this door project here.
I should add that I painted the shelf before I came up with this wild idea!
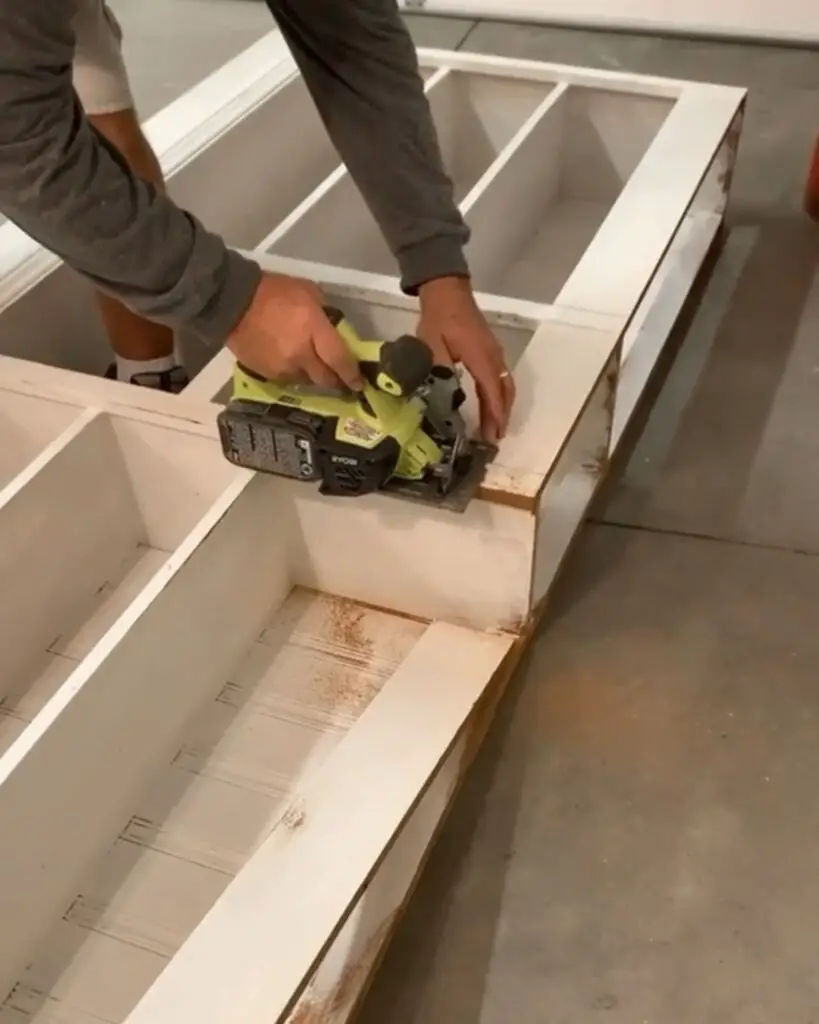
Are you seeing it now? The top piece of the bookshelf has been removed and Mike is cutting these 1×3 boards off using a Ryobi Cordless Circular Saw. The top of the bookshelf will now be the bottom and will sit on the new base we built for the farmhouse hutch. Are you still confused? Keep reading.
In the photo above, we have removed the top of the bookshelf and it is now sitting upside down. Do you see it now?

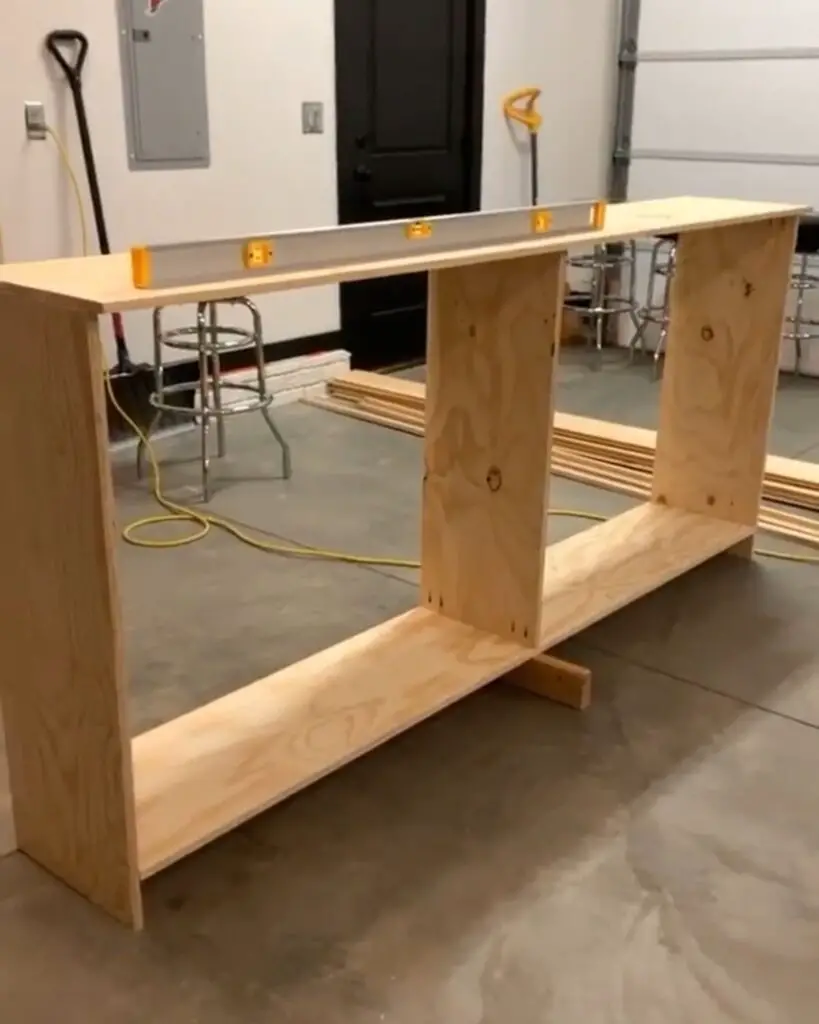
Building the Base
To build the base, we used 1x10s for the sides and base and a 1×12 for the top, we built a base cabinet that is slightly larger than the bookshelf. The Kreg Pocket Hole System is perfect for projects like this. The joints are hidden and we know they are strong enough to hold the weight of the top section. Each section has two shelves and double doors made out of tongue and groove boards.
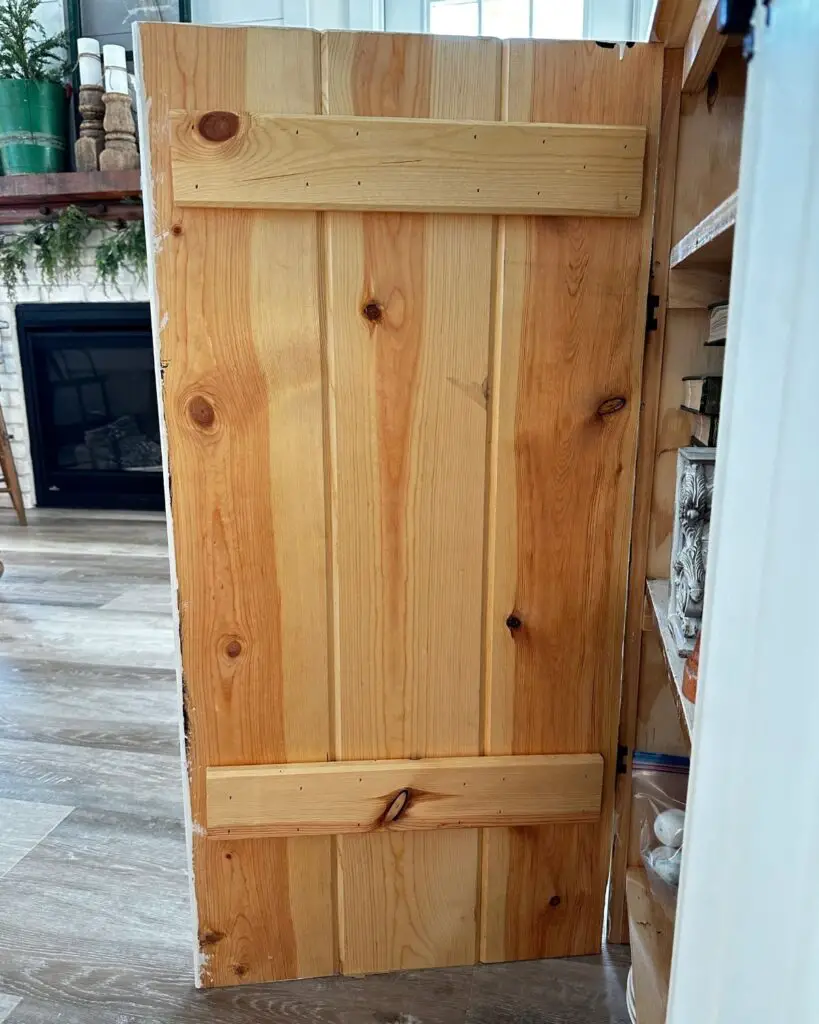
To make the doors, we used 1×6 by 8-foot long tongue and groove boards that we cut to length. After cutting the boards to length, we ran the outer edge boards through the Table saw to remove the tongue and groove so the door would be square.
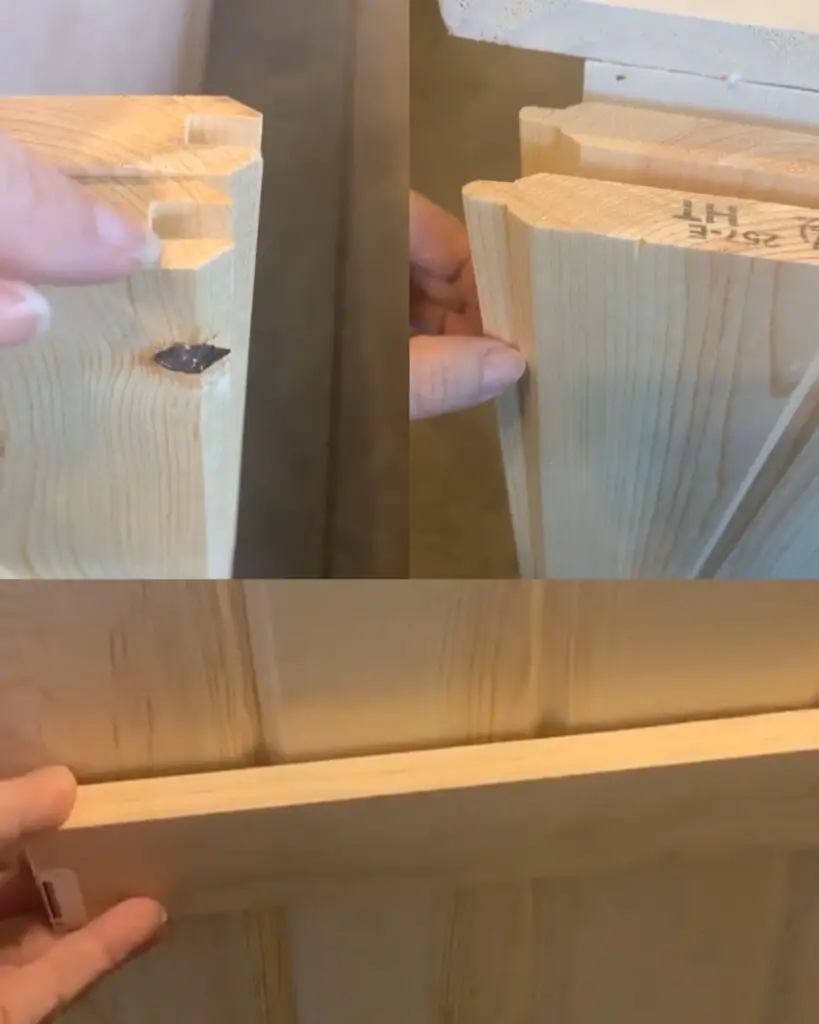
Next, we attached 2 – 1x3s using our Cordless Ryobi Nail Gun to the inside of each door for stability and to keep the 1x6s together.
Grab my free Guide
Discovering Your Style, Love Your Home
Decorating your home and discovering your style doesn’t have to be difficult. This guide will help you to create a home using some simple design tips that will make your house feel more like a home. A place you love to be.
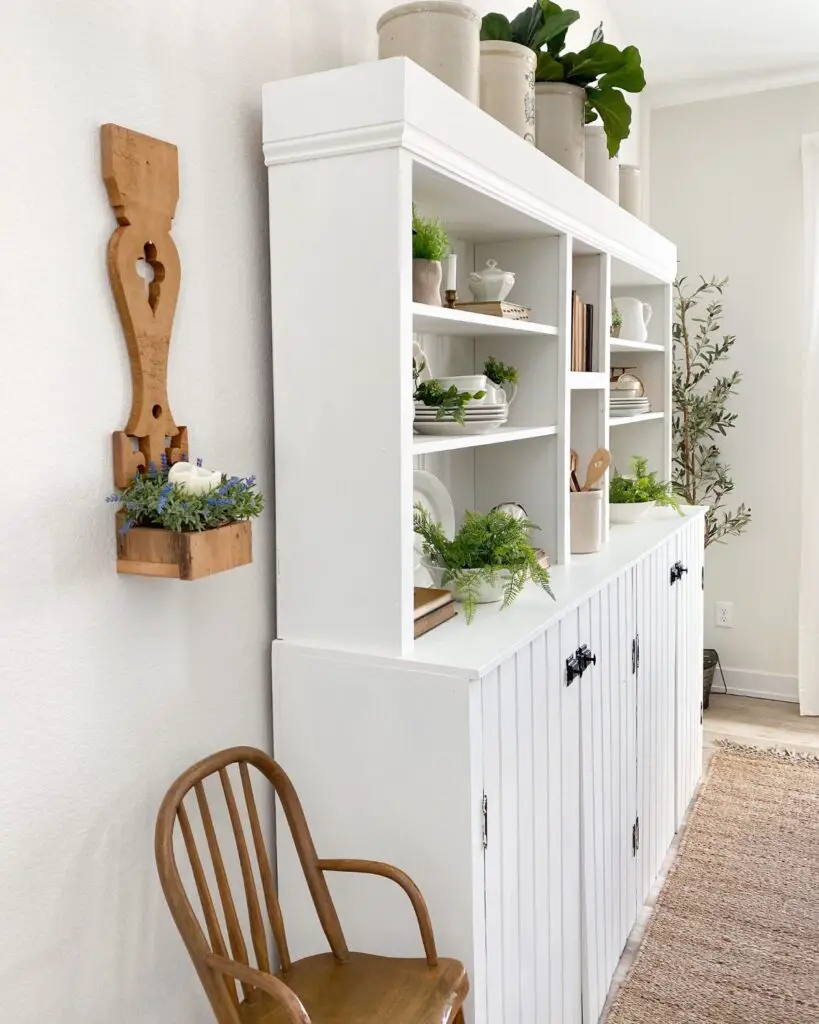
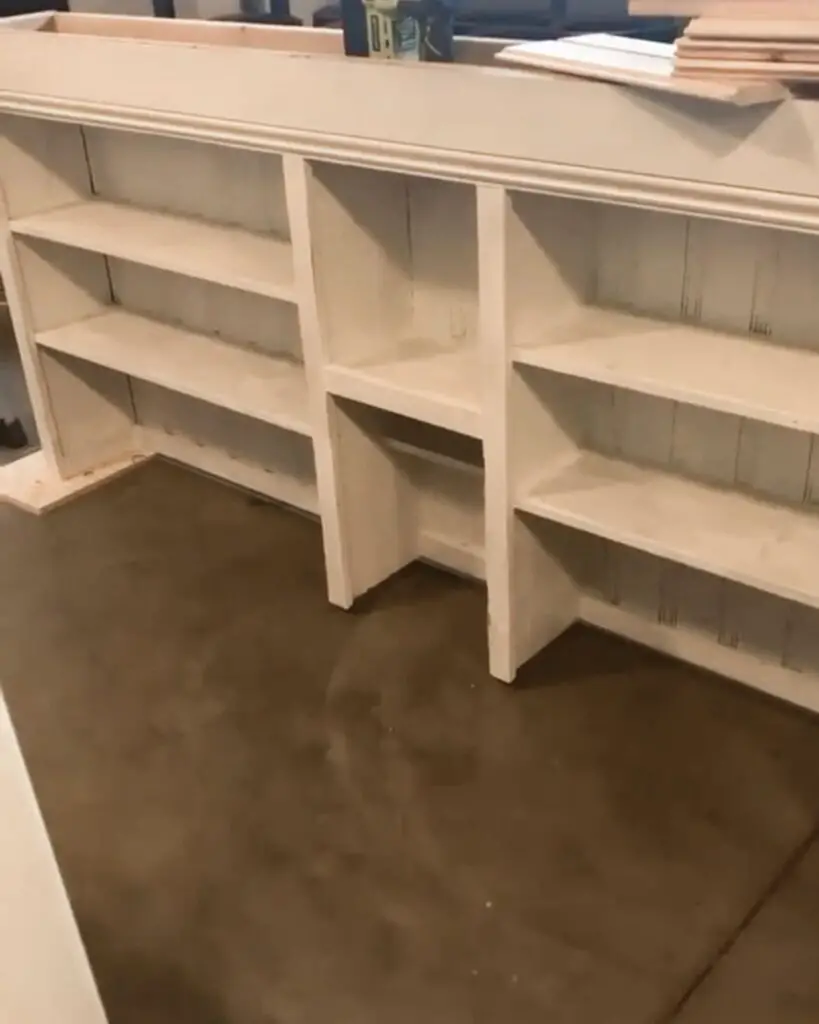
Next, we added shelves to the inside of the base hutch covered the back with plywood, and painted it. I added these beautiful latches to the doors, I love how vintage they look.
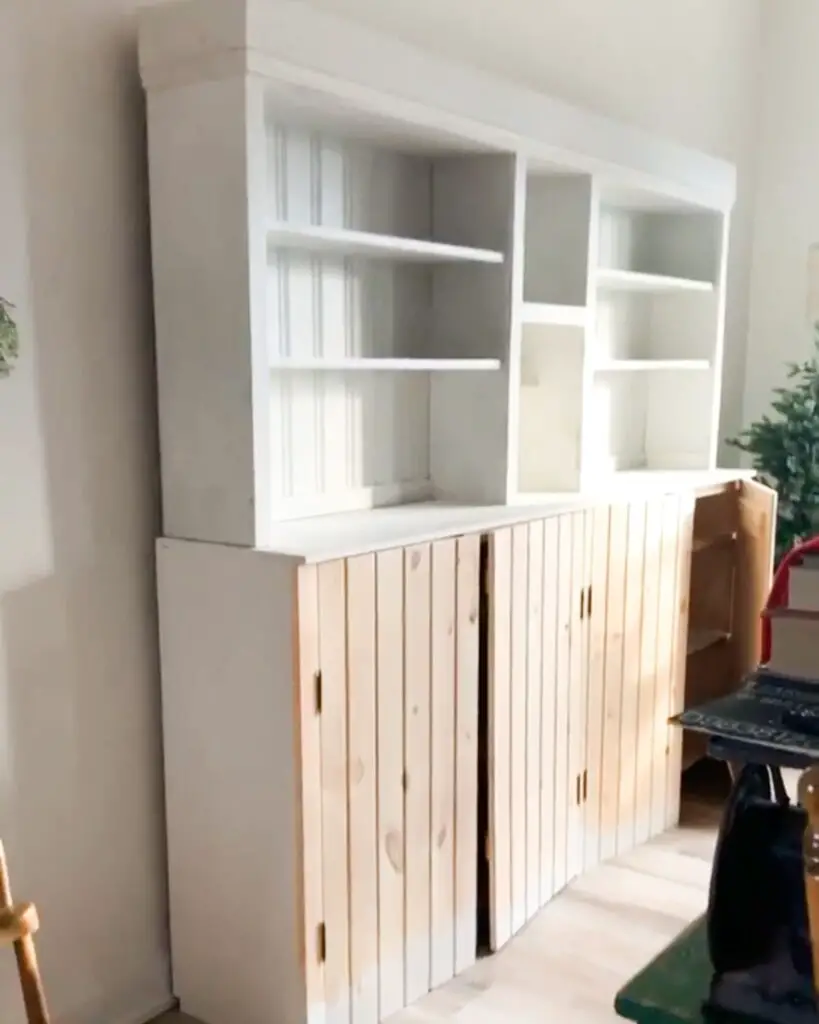
The Finished Farmhouse Hutch
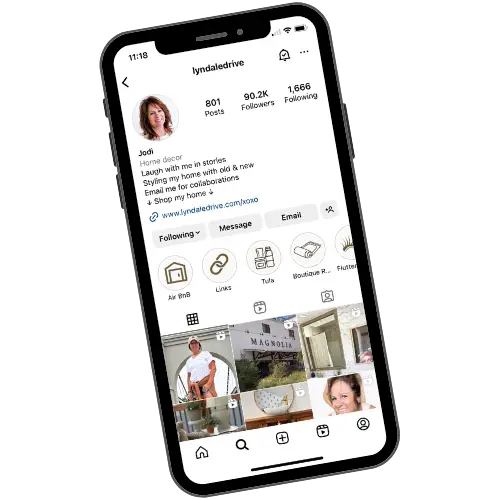
If you are more of a visual learner, I have a highlight saved on my Instagram. There I talked through the building process as Mike and I built the base for this farmhouse hutch.
Remember to think outside the box, and build something new. Try new things. Don’t know how to use power tools? Start with a small project and learn. I learned how to use several tools when I built this Shiplap Shelf.
I hope you continue to follow along as I share with you more projects that I know you will love and learn to create on your own!
You may also enjoy these related articles:
Did you enjoy this article? Want to hear more? Stay in touch! Sign up below to receive design tips and tricks for your home.
Let’s Be Friends
Join the Lyndale Drive Community!
Sign up to receive all the latest blog details, tips & tricks and a whole lot of fun!
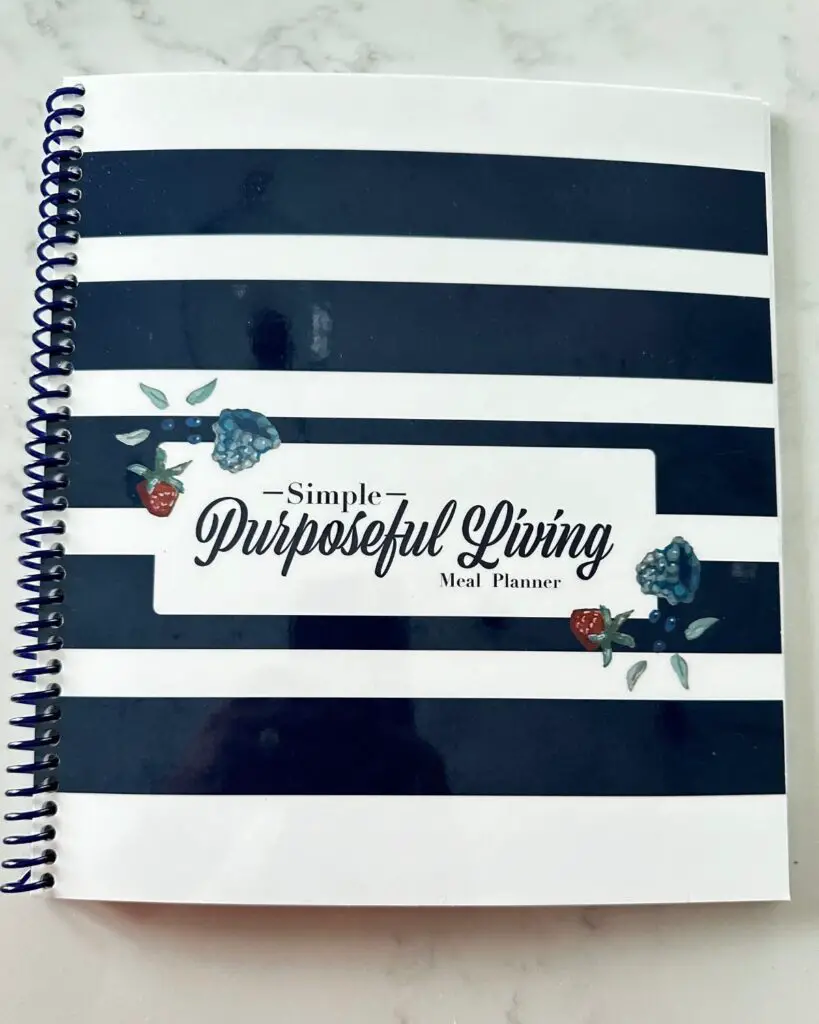
Meal Planner
My favorite meal planner is a must-have!
The meal planner includes 52 Weekly meal plan sheets (3 Lines for Meals + 1 Line for Snacks). Each page includes a weekly grocery list section that is perforated. Makes it easy to rip out and take to the grocery store. It also has 75 Dinner ideas on the back cover to help you meal plan.
by Simple Purposefully Living