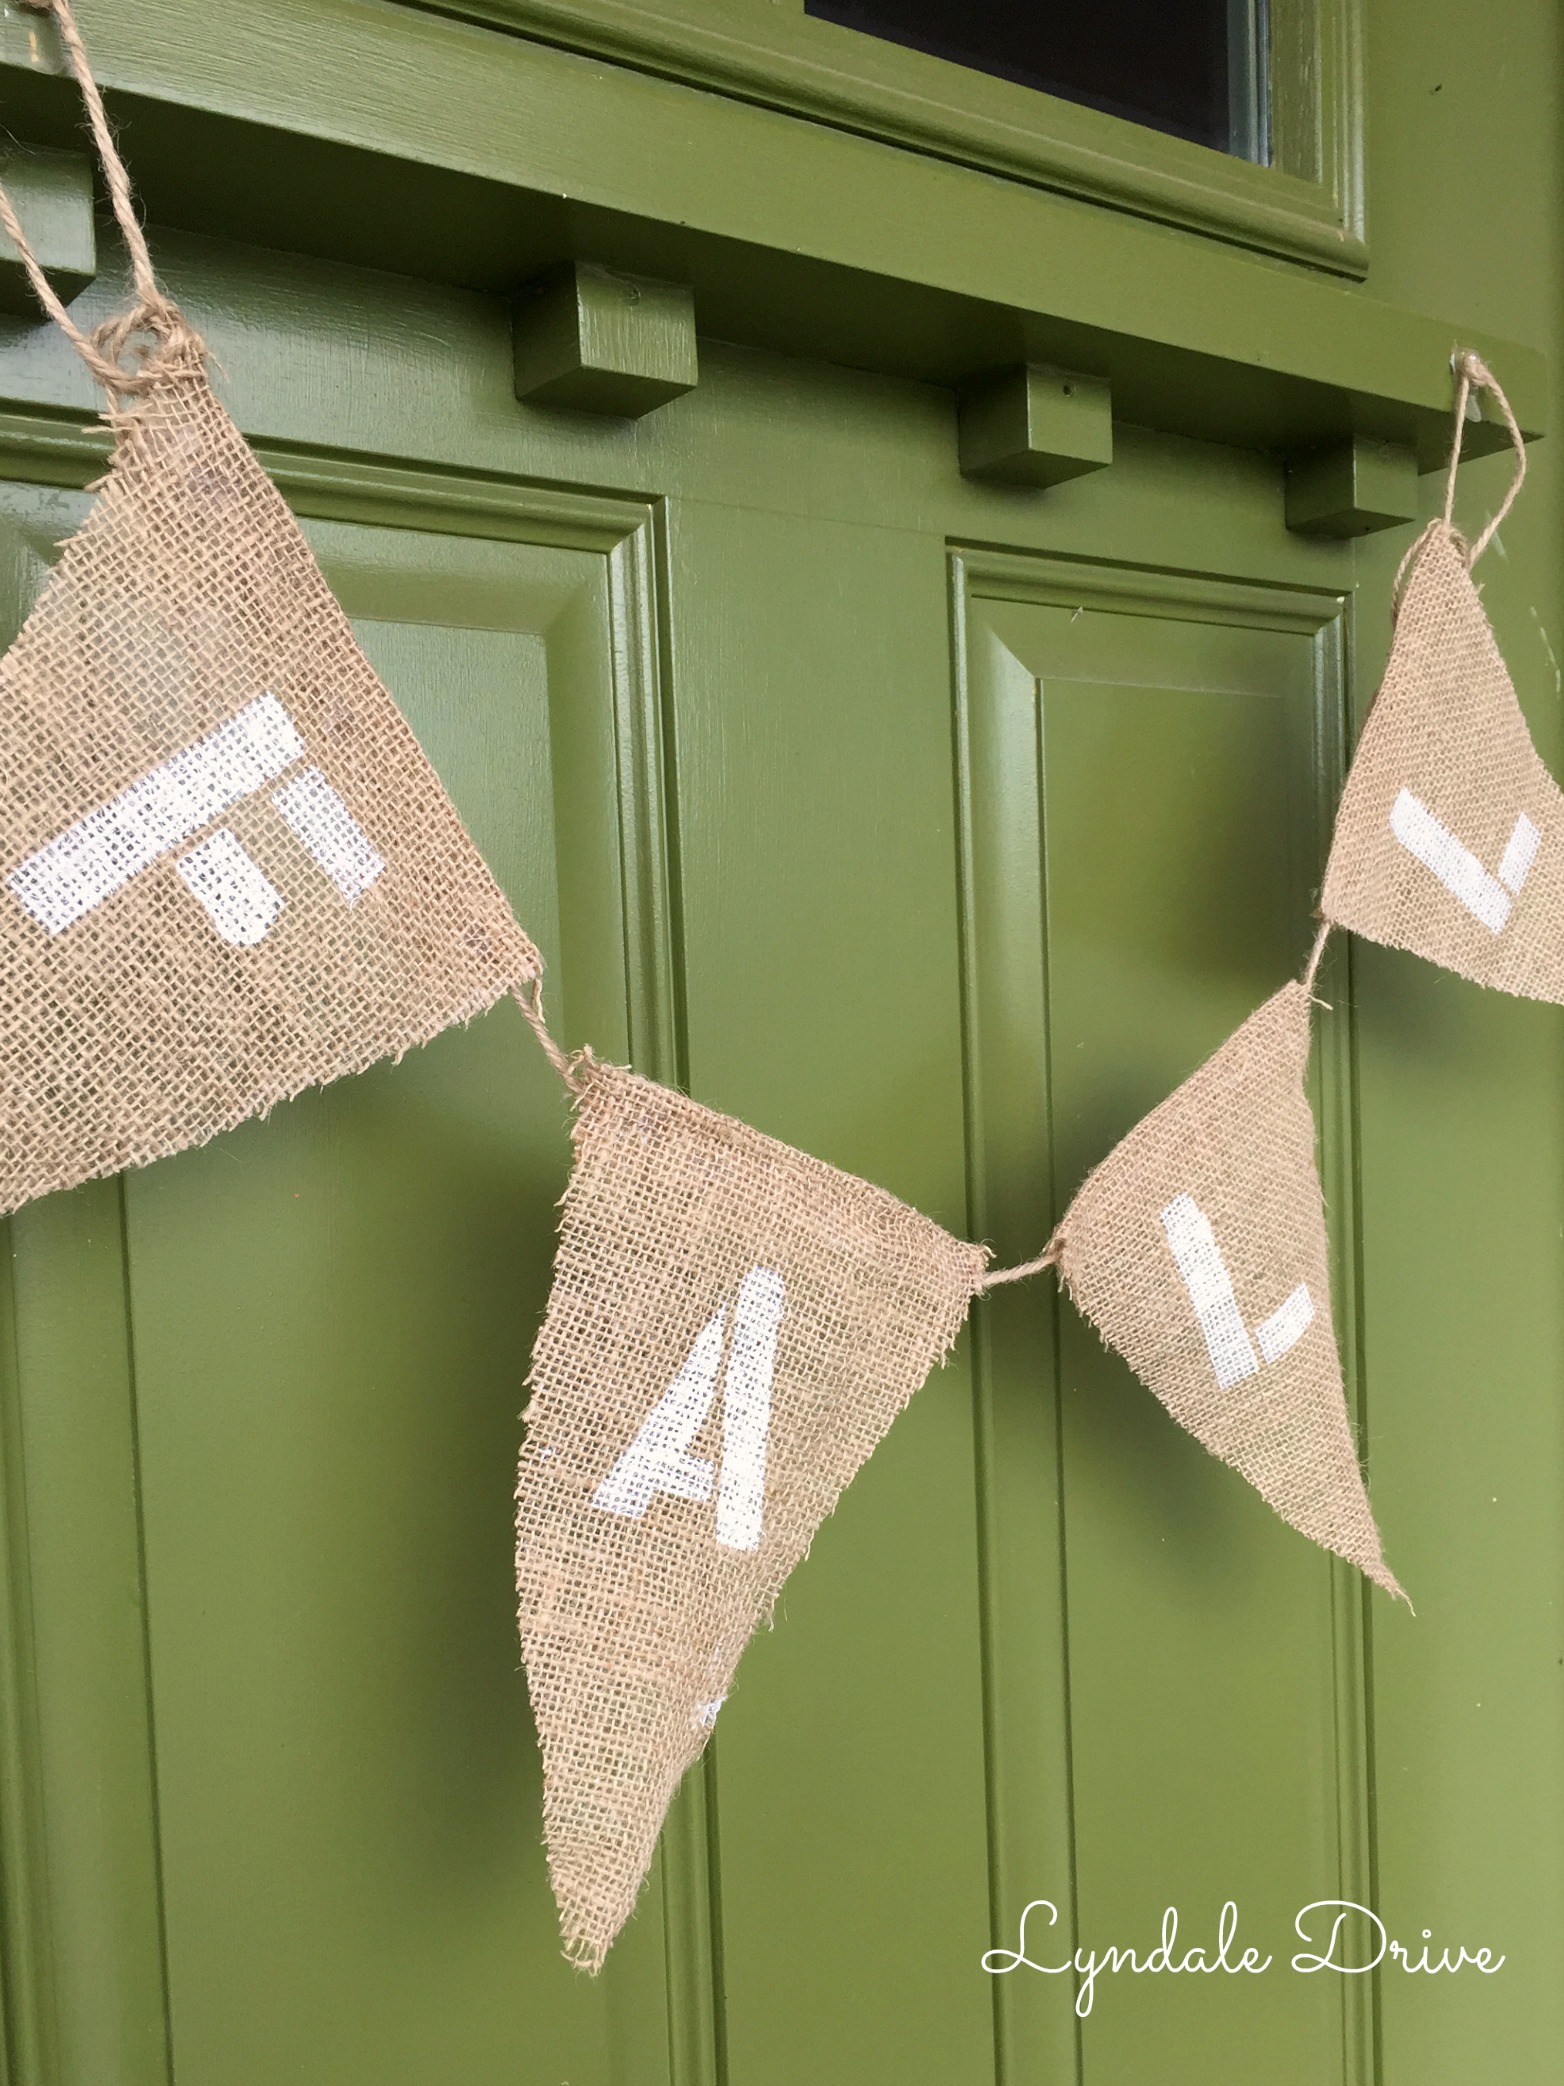
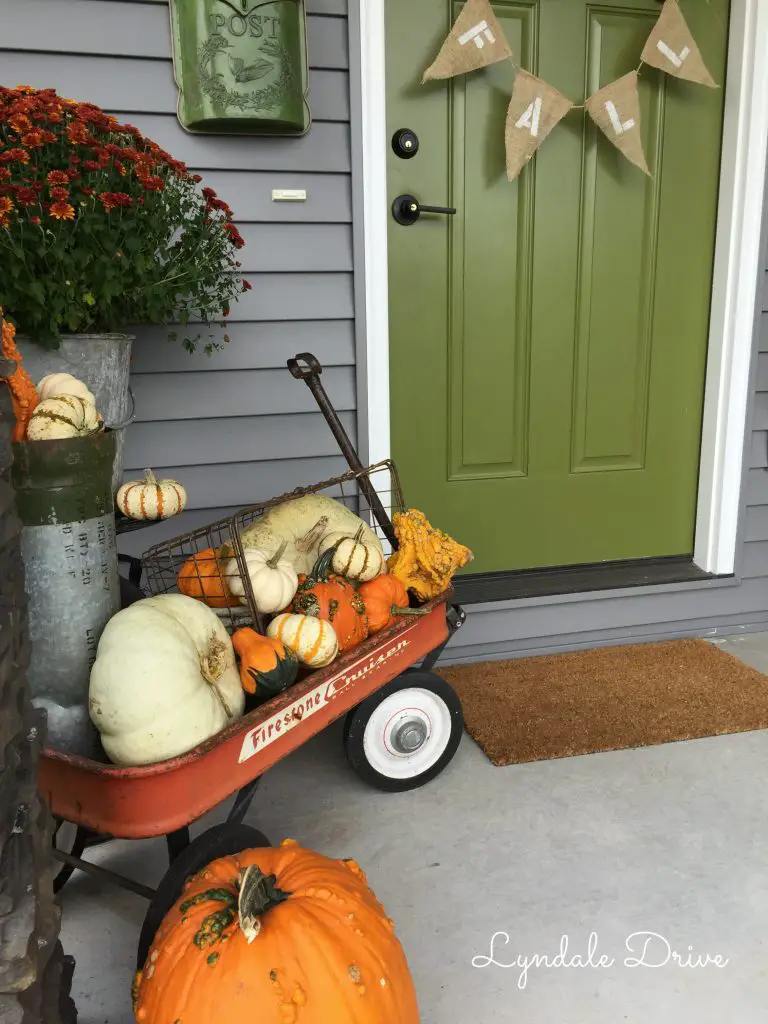
How to Make a Burlap Pennant Banner for Fall
It’s time to change the porch decorations and add a touch of fall! I thought I would share with you how I made this simple burlap FALL pennant banner.
Disclosure: As an Amazon affiliate, I earn from qualifying purchases at no extra cost to you. My blog contains other affiliate links as well for your convenience. To learn more, you may read my Disclosure Policy. Thank you for supporting my blog!
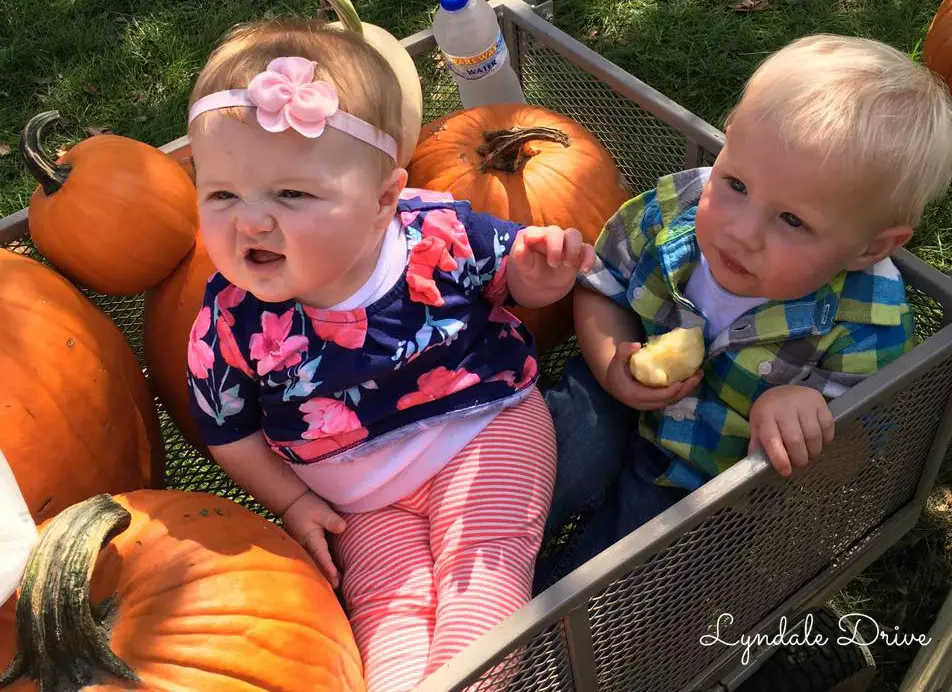
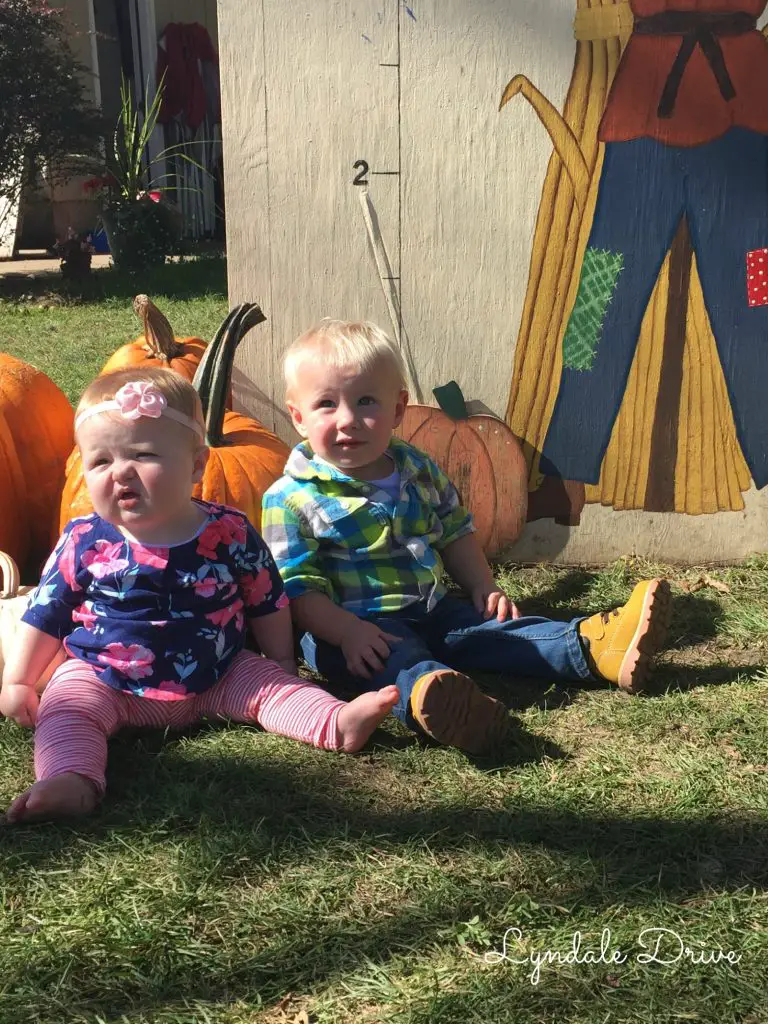
I scored an awesome deal on a few pumpkins and a ton of gourds off of our local Facebook swap page, however I still needed more pumpkins to decorate the porch for fall! So last weekend the kids and I took Daxten and Ava to the apple orchard for apples and more pumpkins! After a failed pony ride by one not so enthused young boy and a couple tears in failed picture attempts, we checked out of the pumpkin patch with 110 lbs of pumpkins…………..I think we got enough! Best part, my wagon had two of the cutest pumpkins of all!
Disclosure: As an Amazon affiliate, I earn from qualifying purchases at no extra cost to you. My blog contains other affiliate links as well for your convenience. To learn more, you may read my Disclosure Policy. Thank you for supporting my blog!
Stuff You’ll Need To Make This!
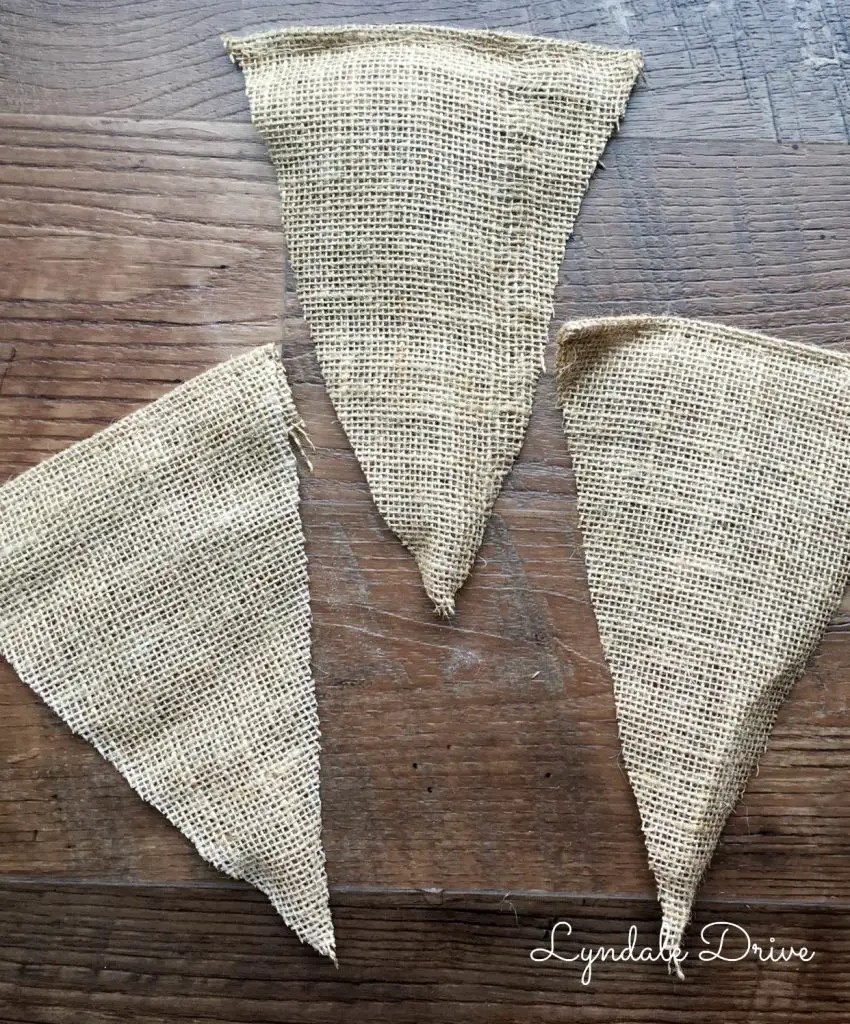
To make this simple Fall Burlap pennant banner I started with some burlap and twine I already had on hand, but you can buy pennants here if you want to skip this step!
I started by marking off a triangle shape of the pennant with a straight edge and chalk. (remember to keep a tab at the top so you can attach the twine)

You can get all technical like I did and use a paint stick for a straight edge! Or whatever you have that is kinda straight! After you cut out the pennants, use the stencils to spell out your message. I chose FALL! I obviously used stencils (you can get them here) or you could free hand the lettering if you’re feeling it!
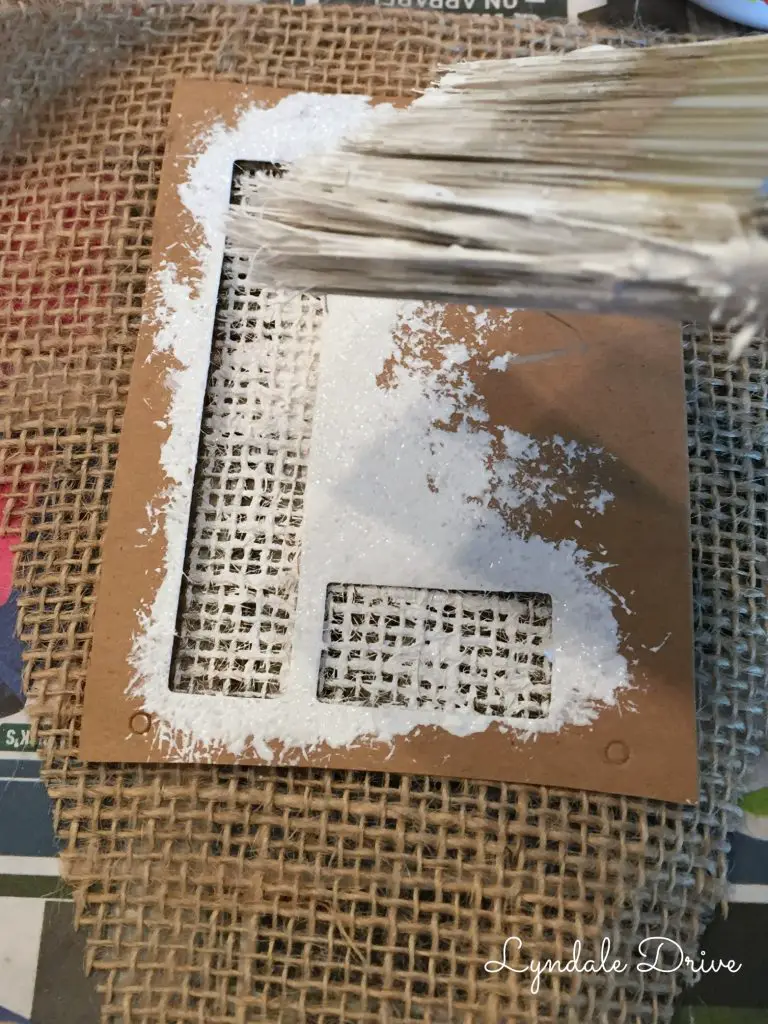
Be sure to put down paper or plastic to catch the excess paint that will bleed through the burlap. When using stencils, remember to dab on the paint with your brush by tapping the brush straight down on the stencil and not “brushing” the paint on. This will keep it from bleeding under the stencil. Once the paint is dry on the pennant, turn them over and attach the twine with a hot glue gun. (remember to reverse the order of your lettering or you will end up with a pennant that is spelled backwards) I may or may not be speaking from experience!
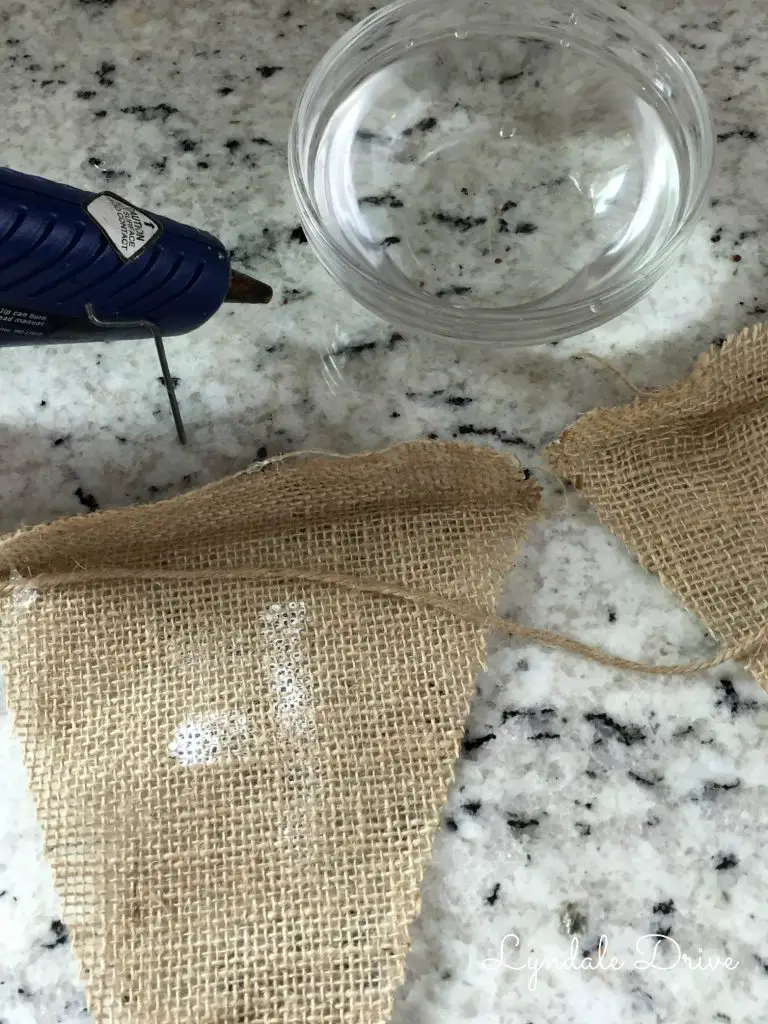
Most important step (the dish of water)!! Remember my hot glue burn while making the wreath?! Check it out here (how I made the wreath, not my burnt my fingers!). You can see in this picture the “extra tab” I talked about earlier. I didn’t want to glue my twine on the back of the pennants I wanted it hidden, so the “tab” allowed me to fold the burlap over the twine and then glue it down.
Grab my free Guide
Discovering Your Style, Love Your Home
Decorating your home and discovering your style doesn’t have to be difficult. This guide will help you to create a home using some simple design tips that will make your house feel more like a home. A place you love to be.
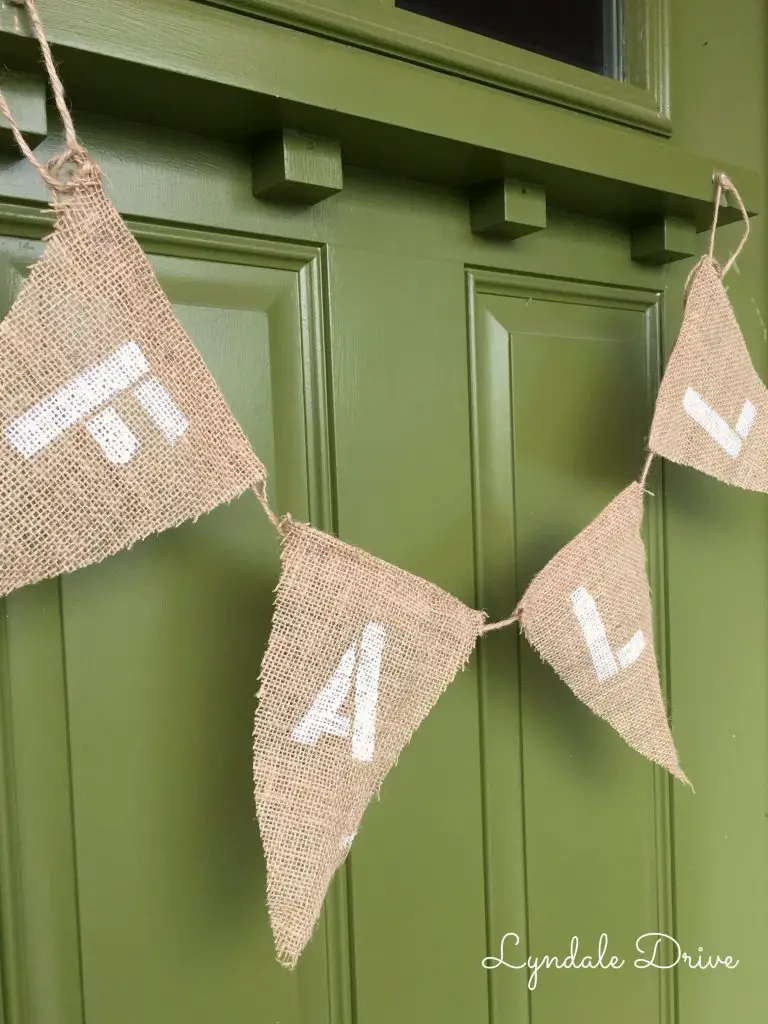
There you have it, a super simple and inexpensive project that adds a touch of fall to any space!
One more picture of my cute little pumpkins!
Happy Fall……….Ya’ll!
You may also enjoy these related articles:
Did you enjoy this article? Want to hear more? Stay in touch! Sign up below to receive design tips and tricks for your home.
Let’s Be Friends
Join the Lyndale Drive Community!
Sign up to receive all the latest blog details, tips & tricks and a whole lot of fun!
What a cute idea! I especially loved your “special pumpkins”!!!!