• Home
  • Meet Us
  • Our Home
    • Master
      • Shiplap Shelf
      • How to keep your white sheets white
      • How to upcycle old sweaters into Christmas stockings
      • Dimming the light that shines in the night
      • Master bedroom night stands
      • Our Master “Pinterest” bedroom……
      • Shiplap wall for less than $50
    • Mancave
      • How to build a sliding barn door
      • The Dog’s House
      • A Shiplap Ceiling
      • Painting a Faux Brick Wall
      • Upcycle old frames….I’ll show you how!
      • A bi-fold door in disguise……….
      • A place to call his own……..kind of!
      • how i made industrial lights for the bar
    • Front Porch
      • Hydrangeas are in the air
      • Red, White and Gray-It’s almost Independence Day!
      • Say Hello
      • Holiday Home Tour (Part 1)
    • Kitchen
      • Upholstery 101
      • Harvest Table – Part one
      • Harvest Table – Part Two
      • Holiday Home Tour (Part 2)
      • How to organize a mini office space in your pantry
      • New Bling {Cabinet Hardware} for the Kitchen
      • Transform your dining room table
      • Trays, not just for carrying your lunch in grade school anymore!
    • Living Room
      • Designing a fireplace makeover
    • Garage
      • Got Paint?
  • DIY Projects
    • Painting/Crafts
      • DIY Poster Sized Word Art
      • Fresh Cut Tree Sign
      • Farmers Market….
    • Simple Sewing
      • Add your favorite recipe to a tea towel
      • How to upcycle old sweaters into Christmas stockings
      • Vintage Stockings for $3 or less
      • Upholstery 101
    • Trash to Treasure
      • How to paint on old screens
      • New life for an old brass fixture
    • Miscellaneous
      • How to keep your white sheets white
      • New Bling {Cabinet Hardware} for the Kitchen
    • Electircal
      • how i made industrial lights for the bar
    • Woodworking
      • How to build a sliding barn door
  • Contact Me
    • Disclosures
    • Facebook
    • Instagram
    • Pinterest
    • Twitter

Lyndale Drive

04/26/16

Painting a Faux Brick Wall

How I painted faux brick walls in the Man cave:

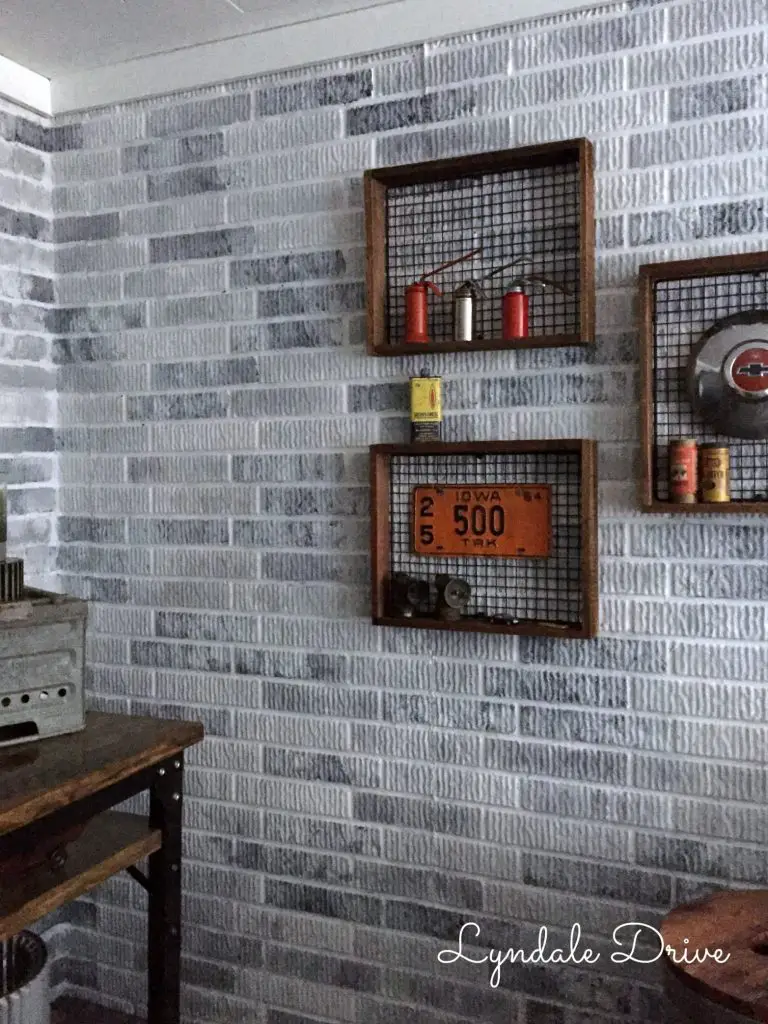
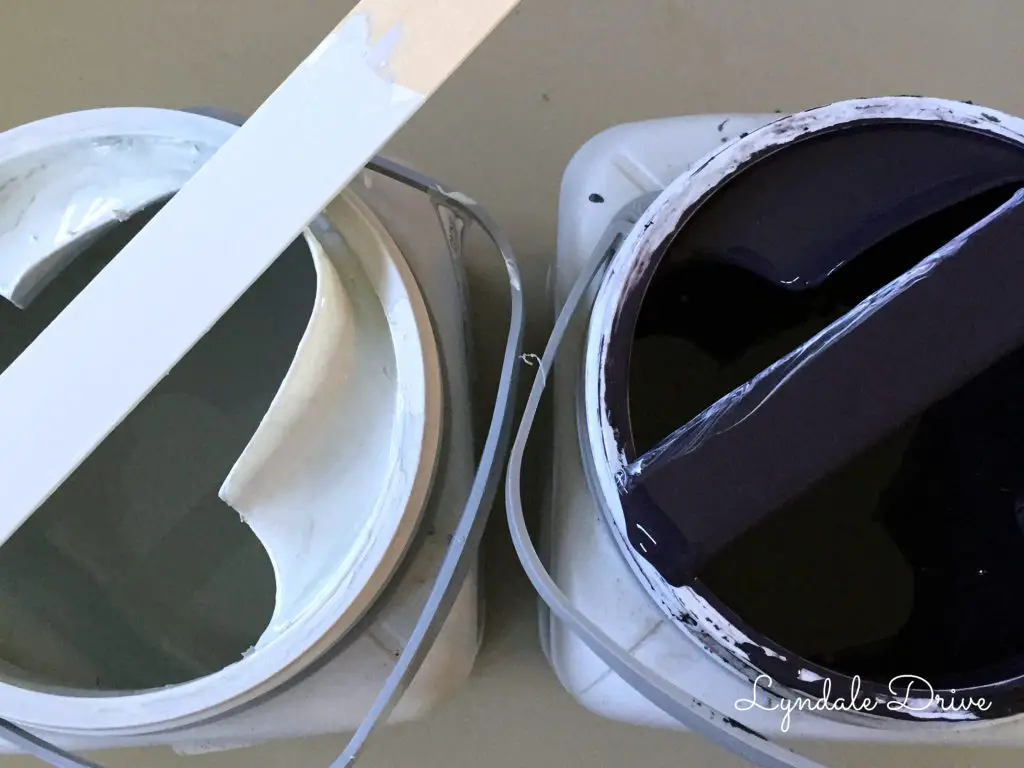
I wanted an industrial warehouse looking wall and I wanted a white washed look.  I like the gray and white, so I chose Black and White paint – That’s it!  Best part, all of the paint was left over from other projects so it was essentially free!

whitewashed-brick-walls


Our basement walls were poured using a form that made the walls look like brick, so all I had to do was paint them!

concrete-wall

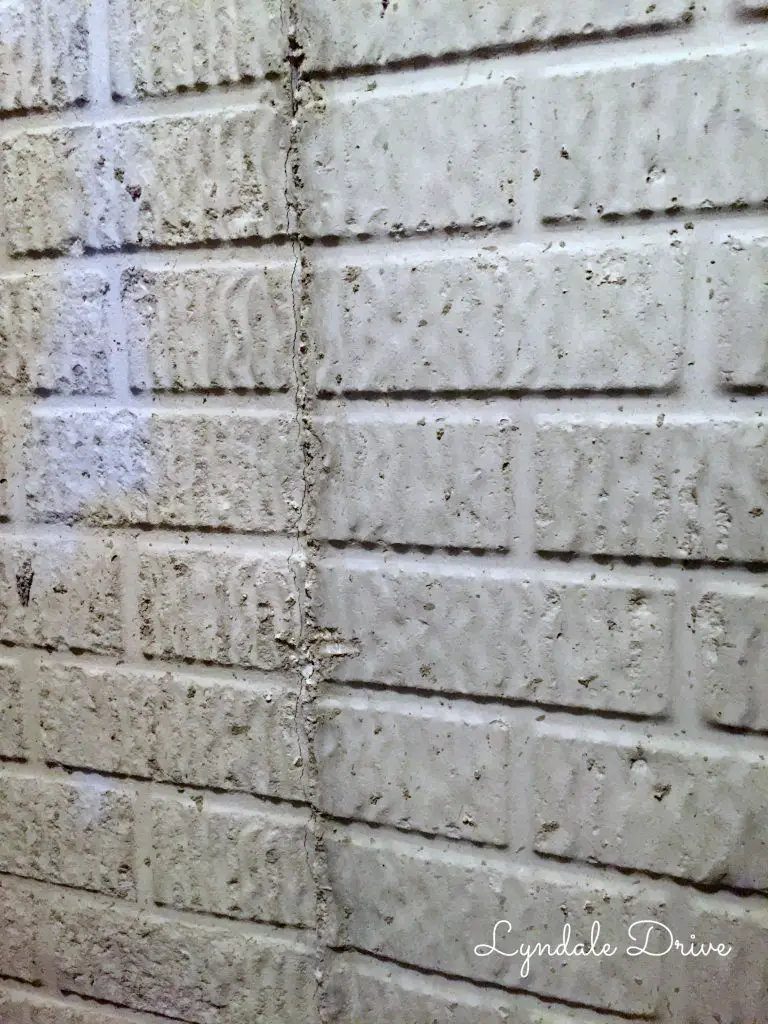
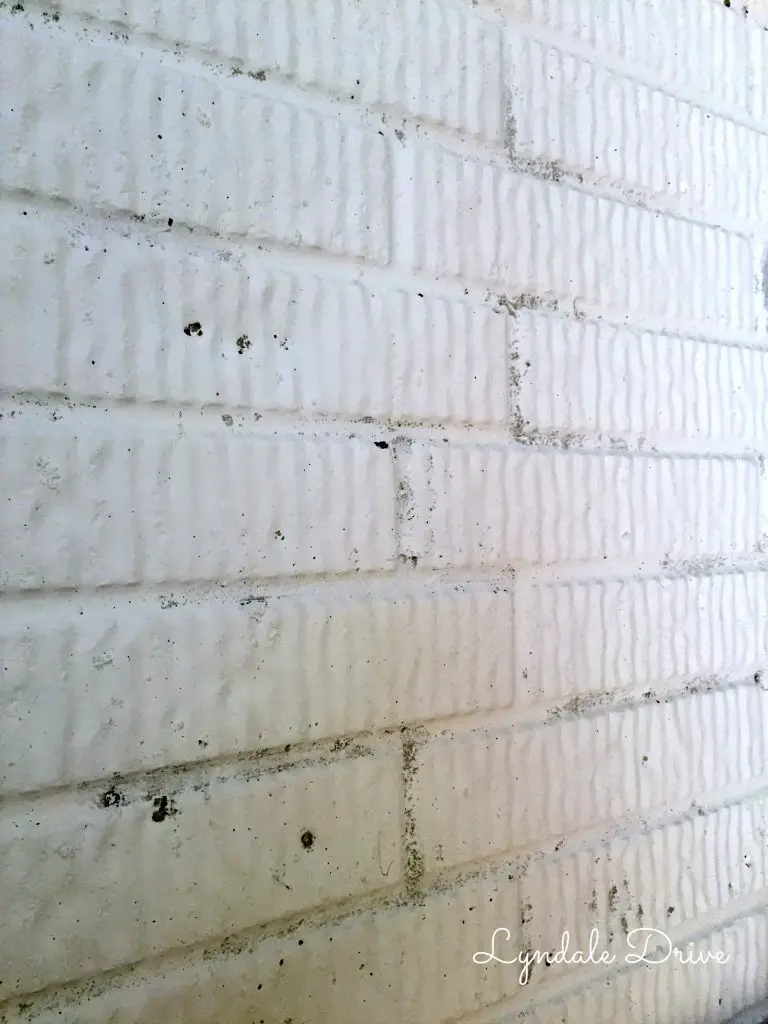
Step 1 – paint all exposed concrete walls white.  I had plenty of paint for this, thanks to the builder leaving a 5 gallon bucket of white primer, Thanks Kyle!  As you can see, I wasn’t too worried about getting it in all the cracks and crevices, I knew I would be adding more paint later.

white-painted-brick

Step 2 – randomly choose some bricks to be painted black.

paint-bricks-black

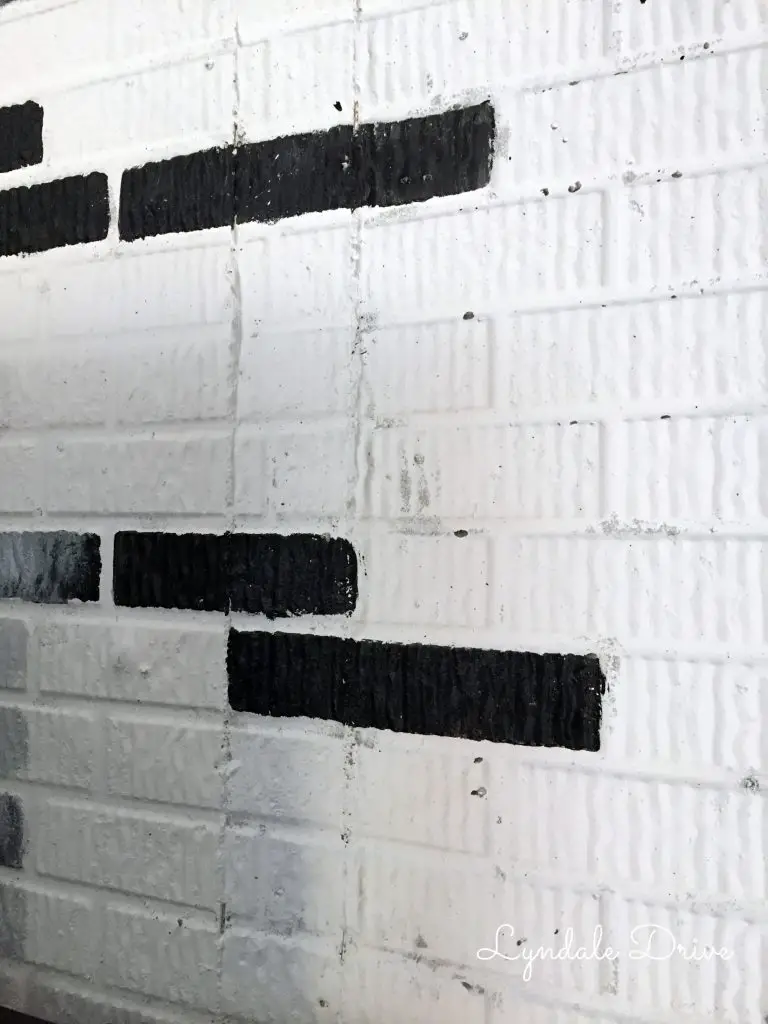
Step 3 – I used a dry brush technique to lighten the black and darken the white – so my concrete wall started to look like a painted brick wall.  As I said before all I used was black and white paint.

black-white-paint

To dry brush (barley dip your brush tip in the paint and dab it on the wall) I added white paint to the black bricks and covered it in until I achieved the color I wanted

drybrush


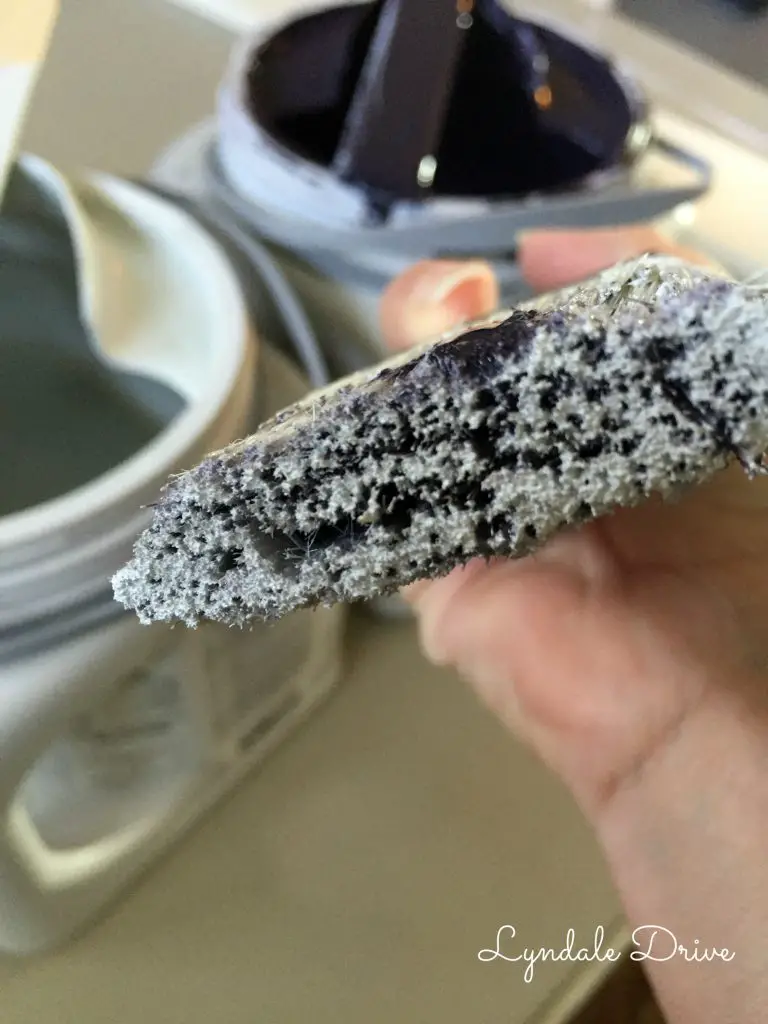
Then using the same brush, I lightly dipped it into the black paint and I dry brushed it on the white bricks to add various tones of gray.  I repeated this process until the wall was covered. By alternating between the black and white paint as you go, it gives you various colors of gray.

how-to-paint-faux-brick-concrete-walls

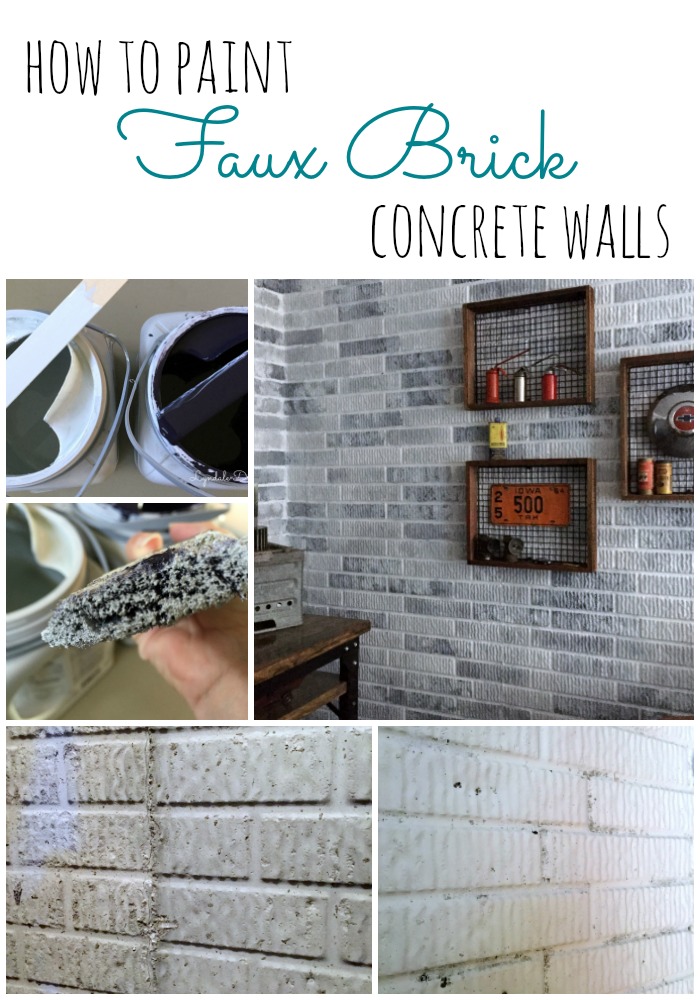
The process was time consuming and messy,  but easy.  You don’t have to be exact, just have fun with it.  If you get a little out of control you can always go back and clean up your lines with a quick swipe of white paint.  The part I love the most about this process – if I think it is too dark, I keep adding dry brush white to lighten it up!  You can see more pictures of the finished space here.

Supplies I used:

White paint

Black paint

Dry brush

Paint roller

Paint pan liner

P.S. – I love to paint, but hate cleaning brushes, rollers and paint pans.  My solution, I buy cheap brushes, rollers and paint pan liners and I throw it all away when I am finished with the project!  (if I don’t think I will finish the project the same day, I store my wet brushes in a zip lock bag)!

Signature LD

  • Tweet
  • Email
  • Print

11 Comments
DIY// Mancave

« Got Paint?
My love of old things……….. »

Comments

  1. tammie says

    April 27, 2016 at 12:05 am

    Looks great!

    Reply
    • admin says

      April 27, 2016 at 3:51 am

      Thanks Tammie!

      Reply
      • Kent says

        March 11, 2018 at 7:03 pm

        Did you have to go back on your work to lighten or darken any squares, or would that be a mistake? I’m not as artistic as you, so little worried it will look good. By the way your walls look fantastic, better than dozens on Google images or Pinterest.

        Reply
        • Jodi says

          March 11, 2018 at 8:46 pm

          Kent,
          Thank you for the compliment. I did go back and lighten some of the bricks. My best advice is to use the dry brush technique I describe in the post. Don’t be afraid of the paint. If you get it too light, add a little black and if it’s too dark go back over it with white! Worst case, paint it all white and start over! Good luck.

          Reply
  2. Stephanie says

    April 27, 2016 at 3:22 am

    Love this!!! Definitely going to recommend this to a friend!

    Reply
    • admin says

      April 27, 2016 at 3:49 am

      Thanks Steph! I hope both you and your friend will continue to follow me! I have so much more to share!!

      Reply
  3. Adam says

    June 18, 2018 at 5:06 pm

    Looks awesome! I am looking to do this to our basement as we have the stamped concrete wall as well. I have just a few questions. Was it just a basic white primer you used for the initial coat? Did you have to fill any pockets with caulk or anything before painting? Lastly, for the black and white paint, was it just a flat paint or something else? Thanks so much!

    Reply
    • Jodi says

      July 18, 2018 at 8:38 am

      Hi Adam,
      I used a flat primer and would suggest using flat black and white also, it will make the bricks look more realistic. I didn’t prep the walls at all, however ours were in pretty good shape.
      Good Luck!

      Reply

Trackbacks

  1. A place to call his own……..kind of! – Home of DIY says:
    May 18, 2016 at 8:10 am

    […] Check out this post to see how I painted my faux brick wall. […]

    Reply
  2. A place to call his own........kind of! - Lyndale Drive says:
    September 25, 2016 at 8:20 am

    […] Check out this post to see how I painted my faux brick wall. […]

    Reply
  3. A man cave to call his own - kind of says:
    September 25, 2016 at 8:54 am

    […] Check out this post to see how I painted my faux brick wall. […]

    Reply

Leave a Reply Cancel reply

Your email address will not be published. Required fields are marked *

This site uses Akismet to reduce spam. Learn how your comment data is processed.

Hello! I’m Jodi

I'm glad you're here! This is where I make my dreams of DIY projects, home renovations and crafty ideas become reality. {I am serious - I dream of these things} I hope you decide to stick around, and follow along as my husband Mike and I make these dreams a reality.

Never Miss Another Post

If you love what you see now and don't want to miss another post....Join Me! I promise I won't flood your email with junk, only a friendly reminder that I published a new post!

Categories

Archives

how-to-paint-faux-brick-concrete-walls
painting-your-garage-door-black
  • Home
  • Meet Us
  • Our Home
    • Master
      • Shiplap Shelf
      • How to keep your white sheets white
      • How to upcycle old sweaters into Christmas stockings
      • Dimming the light that shines in the night
      • Master bedroom night stands
      • Our Master “Pinterest” bedroom……
      • Shiplap wall for less than $50
    • Mancave
      • How to build a sliding barn door
      • The Dog’s House
      • A Shiplap Ceiling
      • Painting a Faux Brick Wall
      • Upcycle old frames….I’ll show you how!
      • A bi-fold door in disguise……….
      • A place to call his own……..kind of!
      • how i made industrial lights for the bar
    • Front Porch
      • Hydrangeas are in the air
      • Red, White and Gray-It’s almost Independence Day!
      • Say Hello
      • Holiday Home Tour (Part 1)
    • Kitchen
      • Upholstery 101
      • Harvest Table – Part one
      • Harvest Table – Part Two
      • Holiday Home Tour (Part 2)
      • How to organize a mini office space in your pantry
      • New Bling {Cabinet Hardware} for the Kitchen
      • Transform your dining room table
      • Trays, not just for carrying your lunch in grade school anymore!
    • Living Room
      • Designing a fireplace makeover
    • Garage
      • Got Paint?
  • DIY Projects
    • Painting/Crafts
      • DIY Poster Sized Word Art
      • Fresh Cut Tree Sign
      • Farmers Market….
    • Simple Sewing
      • Add your favorite recipe to a tea towel
      • How to upcycle old sweaters into Christmas stockings
      • Vintage Stockings for $3 or less
      • Upholstery 101
    • Trash to Treasure
      • How to paint on old screens
      • New life for an old brass fixture
    • Miscellaneous
      • How to keep your white sheets white
      • New Bling {Cabinet Hardware} for the Kitchen
    • Electircal
      • how i made industrial lights for the bar
    • Woodworking
      • How to build a sliding barn door
  • Contact Me
    • Disclosures

Copyright © 2021 · Dainty theme by Restored 316

loading Cancel
Post was not sent - check your email addresses!
Email check failed, please try again
Sorry, your blog cannot share posts by email.