
New Life For an Old Brass Fixture
Is it just me or does the new year ignite the designer in you too? I don’t know what it is about new beginnings, but I find myself pinning new design ideas (if you don’t already, you should be following me on Pinterest – you can do it by clicking here)! I dream of being more organized, I attempt to declutter the house and like everyone else……..I plan to loose a few pounds! Not sure how successful I will be at dropping the pounds (my diet on Wednesdays) didn’t work so well in 2016…maybe I will try Tuesdays this year and see how that goes! You can see my weight loss story here.
Disclosure: As an Amazon affiliate, I earn from qualifying purchases at no extra cost to you. My blog contains other affiliate links as well for your convenience. To learn more, you may read my Disclosure Policy. Thank you for supporting my blog!
My house is looking a few pounds lighter after all the Christmas decorations came down and all this “bare-ness” makes my inner designer itchy! One project I have been wanting to do since we moved in is to update the light fixture in the foyer! After binge watching Fixer Upper for most of the long holiday weekend I have all kinds of ideas swirling in my head and LOVE of anything that reflects Joanna Gaines style. And if she would hang it in her foyer, so would I, right?! Problem is, I don’t have her unlimited budget!
Let me show you what I am dealing with here! There is no good way to take a beautiful picture of an UGLY space, so you are going to have to roll with me here. This is what the the foyer looked like “last year”!
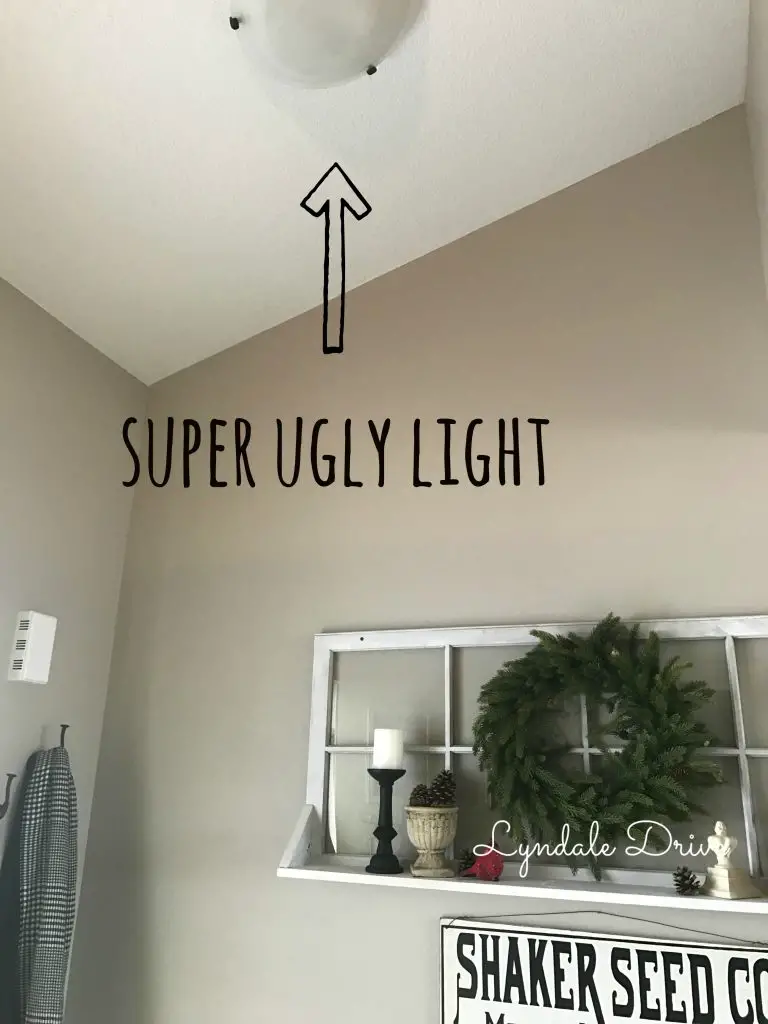
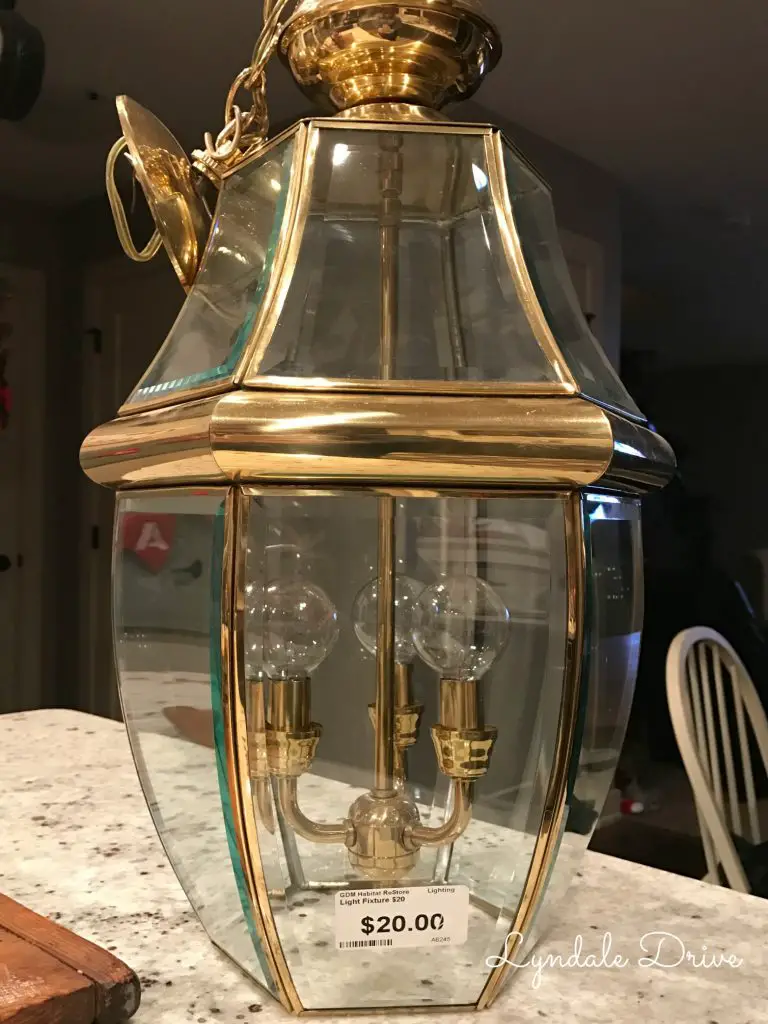
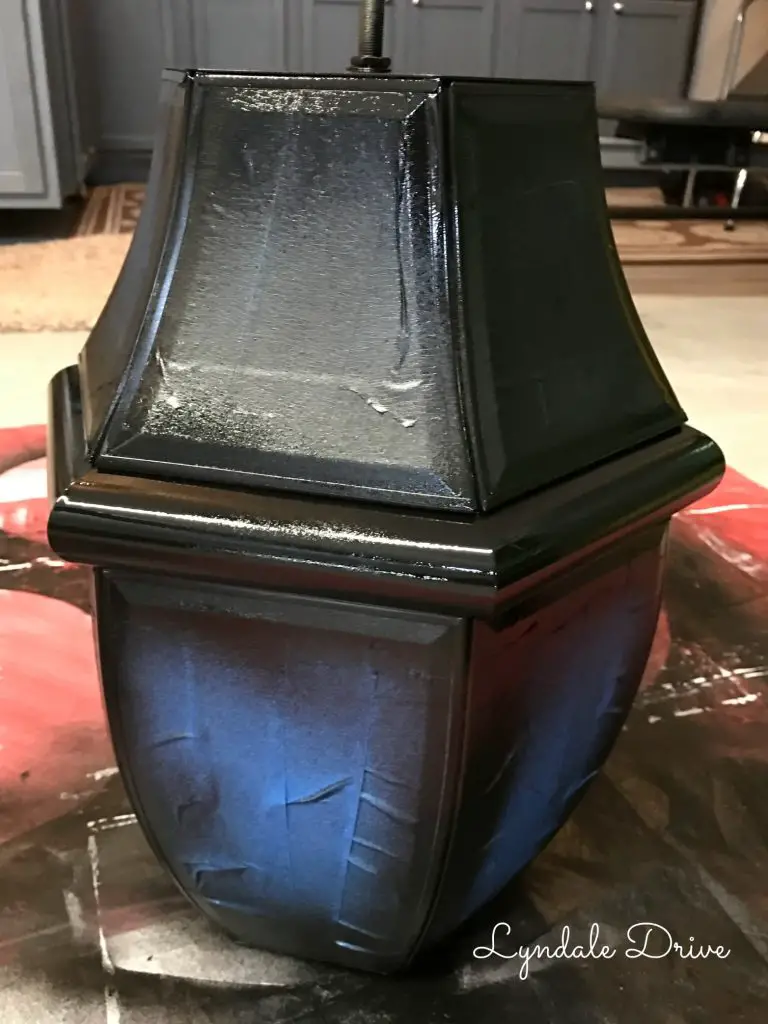
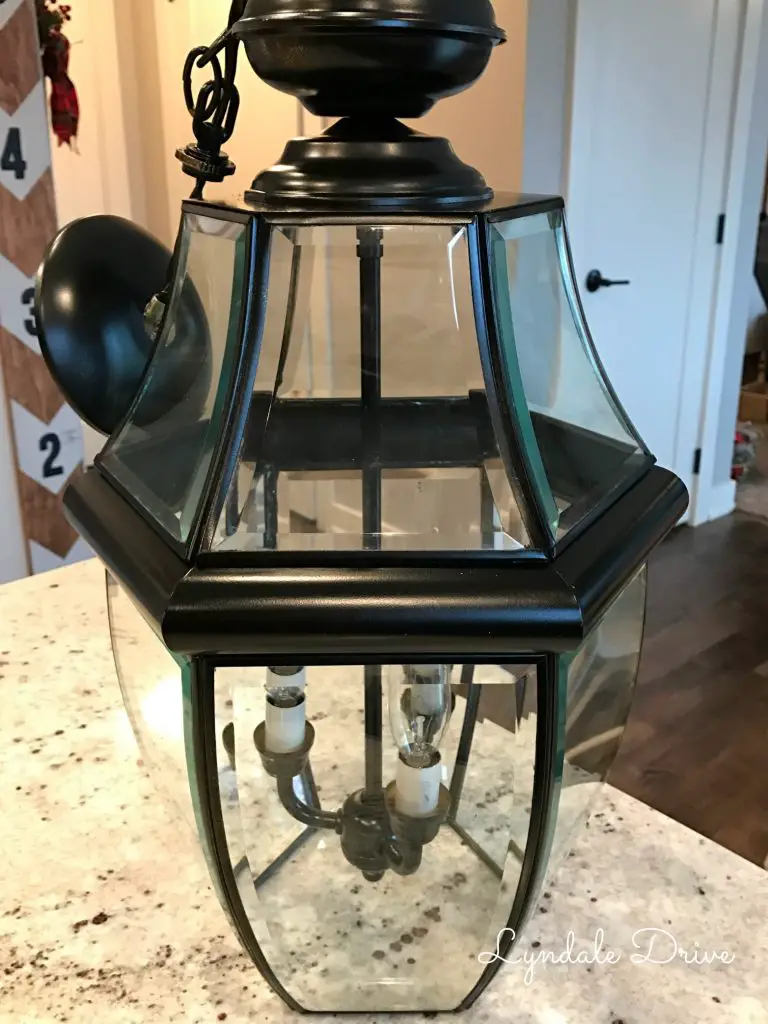
Not only is this light fixture a “boring builder grade” style, it really didn’t give off much light. I’ve been swooning over those lantern style chandeliers, however, like I said before I don’t have the Gaines’ budget, so I headed to our local Habitat For Humanity Re-Store to find a fixer-upper! Check out what I found…………the tag said $20, but I got it for $10!! Bonus!
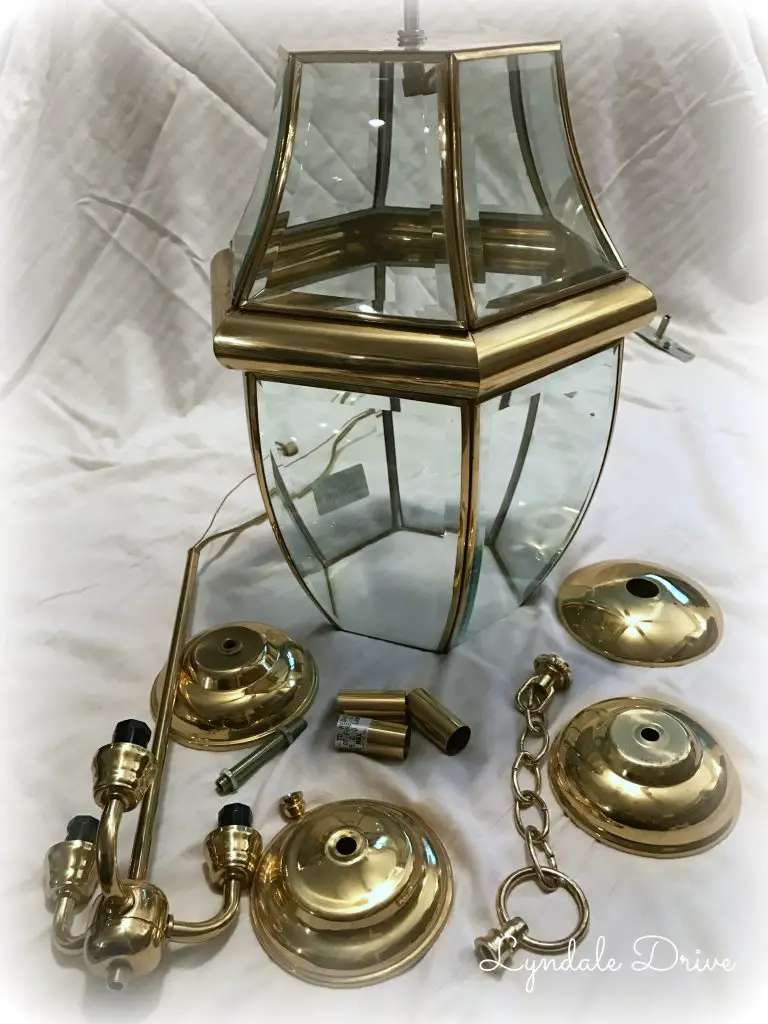
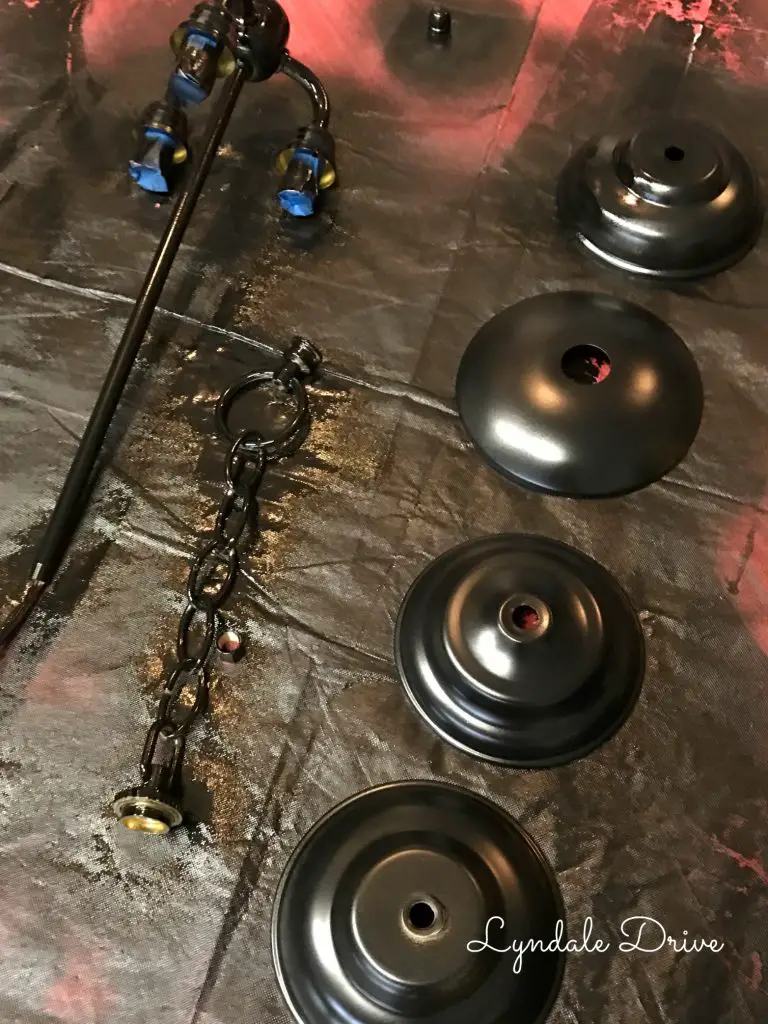
You’re thinking this light looks worse than what I started with! But just wait! I tore it all apart (note to self – make sure you take pictures or make notes during this step) I may or may not have had a couple of spare parts when I was done!
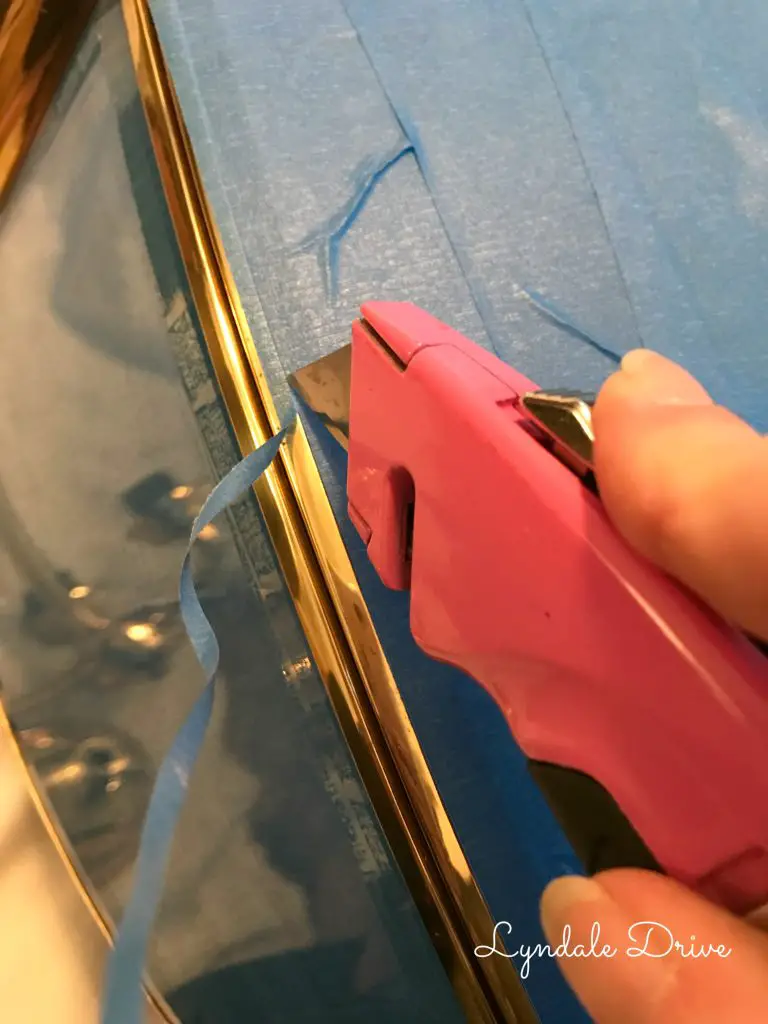
Next step – tape off all that glass so I can give her a new paint job. I was so excited I started taping the “outside” glass first. Things they don’t tell you on Pinterest – If you tape all the outside glass first, you can’t see what you are doing on the inside. Maybe you guys are smarter than I am and thought of this, thank God I thought of it after taping ONE outside pane and not ALL of them.
Now that I was feeling much smarter I taped the inside (this is no easy task, but with a little patience it can be done) I also found it was easiest to tape over the brass and use my knife to cute the tape away. This gave me a nice clean edge.
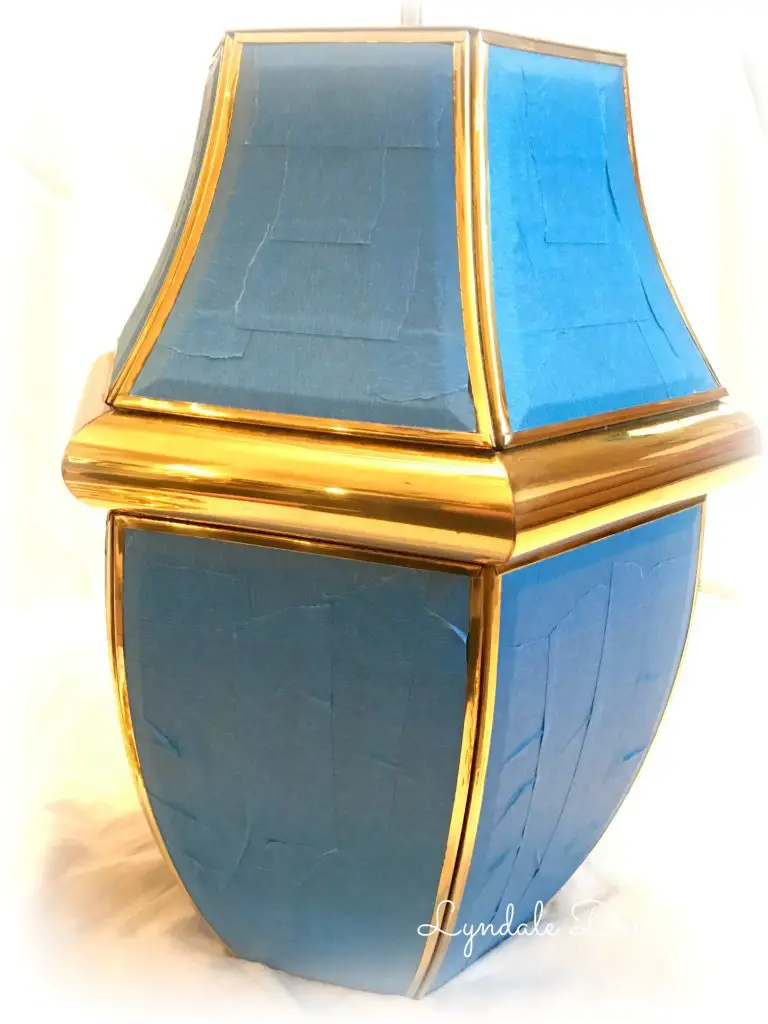
I think it took me about 3 hours to tape it all off, but who is counting? Now we paint – the fun part! To see this chandelier transform into something beautiful…………eeekkk!!!! Ok, it may not be “that” exciting. Did I tell you I only paid $10 bucks for this? With my all in budget of $20, that left me with $10 for repairs…………..haha, I had to say it.
Grab my free Guide
Discovering Your Style, Love Your Home
Decorating your home and discovering your style doesn’t have to be difficult. This guide will help you to create a home using some simple design tips that will make your house feel more like a home. A place you love to be.
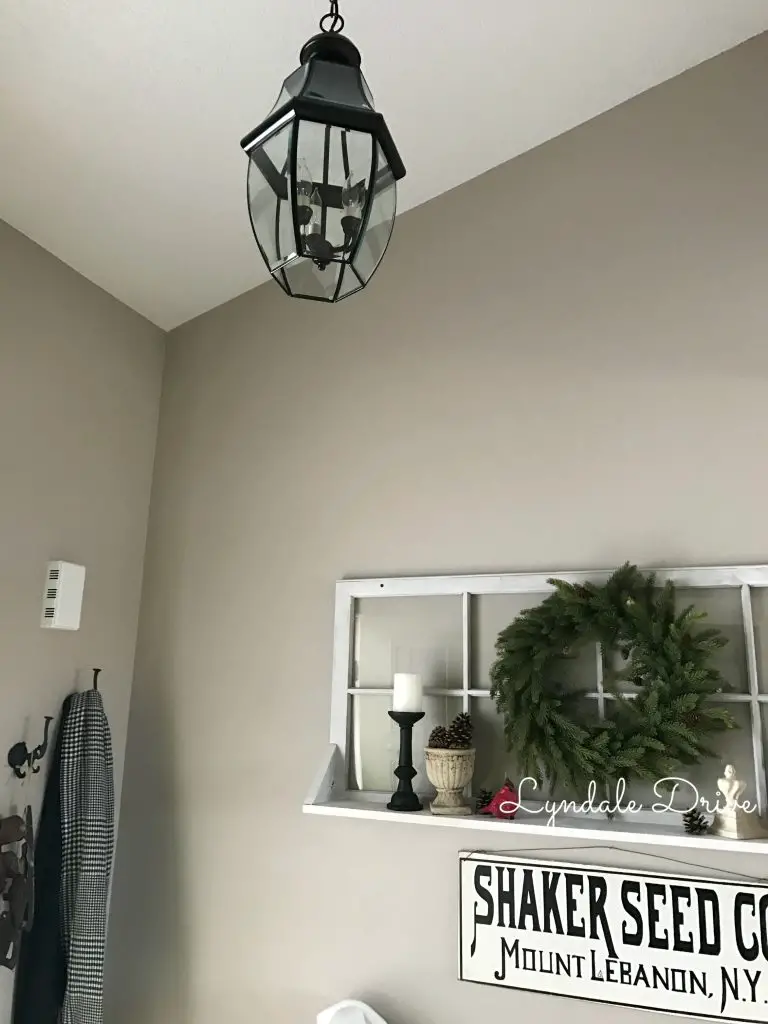
It is amazing how a little paint can transform an ugly old brass chandelier into something as beautiful as this! I even painted the “candles” (they were brass) I painted them cream and switched out the round out dated bulbs with candle light bulbs. I think it turned out beautiful…………….for TEN BUCKS!!!
This is where she really shines! Mike helped me hang it in the foyer, let me tell you, working with heavy objects above my head is NOT my idea of a fun filled Sunday, but the end result was worth the pain!
Thanks for rolling with me on this post, I hope you can see why I was so excited over this project and how cool this transformation is. The foyer is not the easiest place to get a good picture, however I think you get it! Pretty sure I will be keeping my eyes peeled for another ugly brass chandelier, I need a fixer upper for the dining room!
My new light fixture make over makes such a statement in the foyer that I think I should add shiplap to this wall! I could use the same process as I did in the master bedroom! What do you think? Should I add shiplap?
Thanks for pinning…………….

You may also enjoy these related articles:
Did you enjoy this article? Want to hear more? Stay in touch! Sign up below to receive design tips and tricks for your home.

Let’s Be Friends
Join the Lyndale Drive Community!
Sign up to receive all the latest blog details, tips & tricks and a whole lot of fun!
Love it!
Great job Jodi!
take those coat hooks off and put on cool painted board and maybe add another hook then back on to wall
Love this new project! It looks great in your foyer. Shiplap…….not sure…..where would you end it?
I will take it all the way to the fireplace wall
I wish people would stop doing this to brass stuff 🙁 The original fixture was gorgeous. If people want a black plastic-looking fixture, those are super cheap to buy new. Instead, they’d prefer to spray paint something beautiful and make it look like a cheap one
What type of paint did you use?
I’m confused as to why you refer to this as Old. It’s new and never been installed. Just because you found it in a Thrift Store, does not make it “Old”. I love what you’ve done, but your term, is misleading and incorrect.