
A Shiplap Ceiling
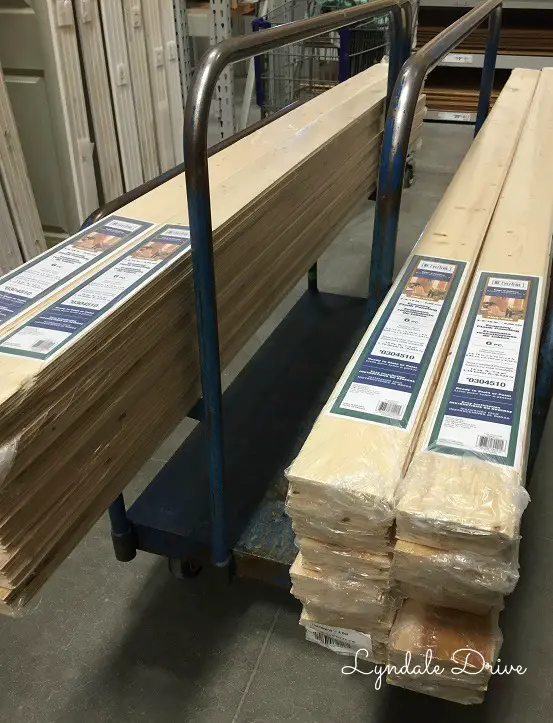
Getting closer to sharing the final reveal of the man cave – until then I am excited to show you what we did to continue the industrial design on the ceiling. I didn’t want the usual drywall and loved the look of the ceilings in my old home. So I talked Mike into planking (his-term) or Shiplap (my term) the man cave. At our old house had original tongue and groove ceilings, where the boards were about an 1-1/2 wide. Here we chose a product that is 3-9/19 in wide. We found this awesome product at Lowe’s. 6 – 8ft boards per package, runs about $11 per package. ** hint – you find this awesome product by the doors, we almost left thinking they didn’t have it any more.
We bought everything they had, we needed almost 300 sq ft. This product is great to work with, lightweight, easy to cut and paints or stains beautifully. Mike and I painted ours for this project, I will soon be sharing a little project I used it on where I applied stain. It comes with 6 pieces in a package, I would say that at least one board in each package had a broken tongue, groove, or a large knot hole. We ended up using the broken/bad pieces as our cut ends.
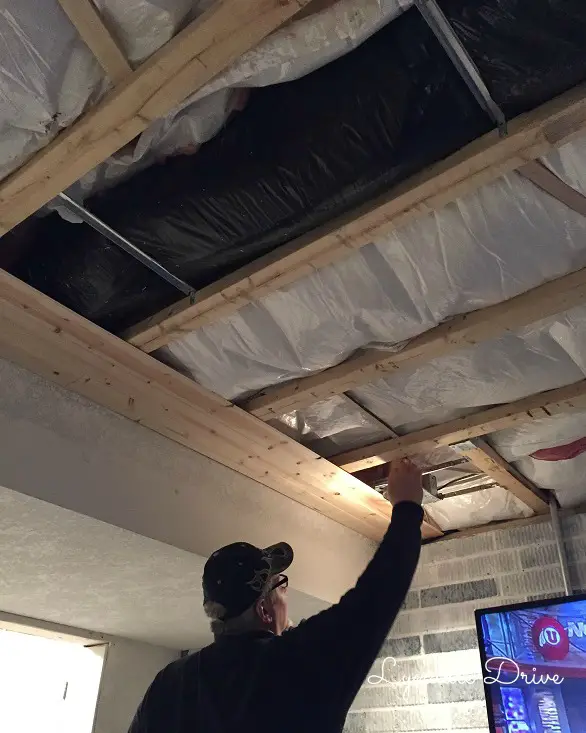

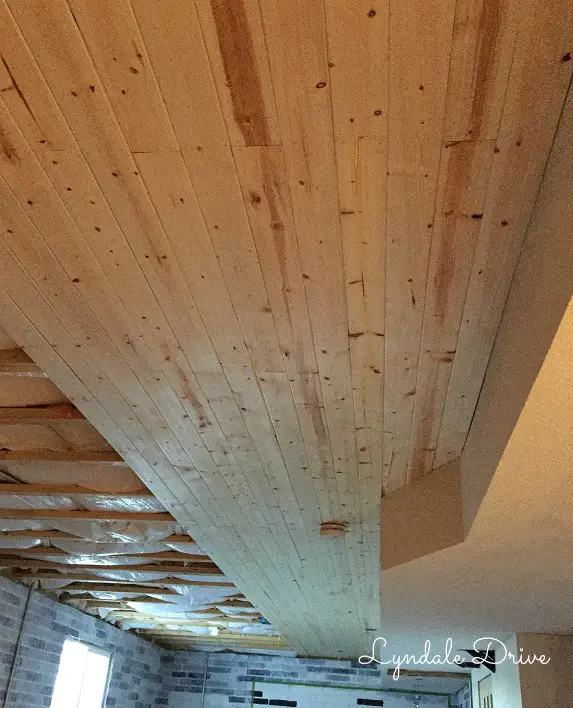
We considered staining it, but since it is a basement we decided to paint it to keep it light.

You can see the final man cave photos here. Be sure to check out this post on how we made these cool lights for the bar!
