A Bi-Fold Door in Disguise……….
Do you remember my sliding door post where I said we have 4 doors (three of them are pictured below) in this space and they are all different? And I wanted to attempt to make two of them appear the same? I also said that this project caused Mike lots of sleepless nights and heart palpitations and for me…….tears! I knew what I wanted to do with this door all along, although I didn’t really have a plan or I kept changing my mind (this caused Mike issues). Every time I brought up the project idea for the door, Mike would get frustrated, actually it made him angry. Finally I told him…..with tears in my eyes I think – FINE! Just leave this project for me! I will do it!
Disclosure: As an Amazon affiliate, I earn from qualifying purchases at no extra cost to you. My blog contains other affiliate links as well for your convenience. To learn more, you may read my Disclosure Policy. Thank you for supporting my blog!

Let me start by telling you that the entire reason for this door is to cover an electrical panel that is located right at the bottom of the stairs. *Note to builders Please put these things in a place where we don’t have to cover them up! Thank You
Before I took over the project, Mike bought the door at the local Rehab store. (these places are awesome for getting building supplies that are gently used, sometimes new!) He was so proud of himself for picking it out and having it all hung up when I got home. Sorry honey, I had a different plan. I didn’t want a bi-fold door, I wanted a French door. So down it came for the (1st time). Mike, removed the center hinges, added hinges to each side and hung it again.
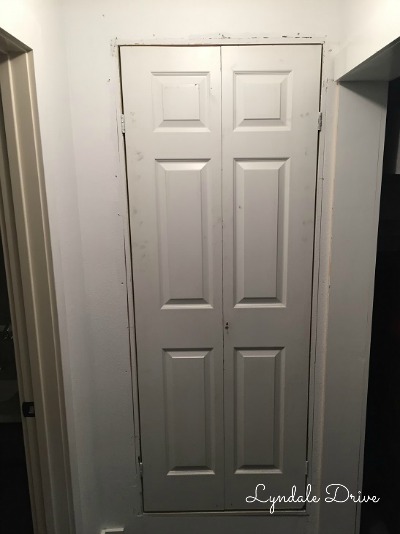
Next idea out of me……..can we turn the doors around? I don’t want the raised panel showing and would rather see the flat (back side of the door) So down it came for the (2nd time). This time as Mike hung it, there were several words that shouldn’t be repeated and the door didn’t go up as evenly as it did the first time. (He never really did get over this) I told him it would be OK, because I was going to cover it anyway………..we was still mad. I probably should tell you that Mike has all the trim hung, I had it painted (once black and then back to white) and now I asked him to take it down………….this about ended our marriage! …..he did take it down for me………
I don’t need to tell you all the gory details of our arguments over this door, I will tell you though, the door came down at least 2 more times before we were done. Because Mike has a hard time “seeing” my vision (on every project) we tend to have “heated discussions” over them and I sometimes pull out the big guns……….tears……….he usually sees it my way after some water works! “wink wink” Also keep in mind, I said “FINE! Just leave this project for me! I will do it!” Yeah, well – I do need his help, remember…… me………power tools……….makes for a scared Mike. <— we don’t need that!
How to transform your bi-fold doors:
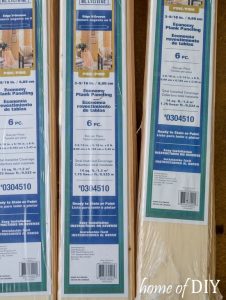
Remember this great stuff from Lowe’s? Unfortunately it is no longer available. Today, we use underlayment and cut our own shiplap planks.
Here is what I used:
- I bought two packages (6-pc/pkg)
- 4 – 1x4x8 pine boards
- 1 4×8 sheet of fiberboard (I am not actually sure the name of the stuff we got, Mike bought it off he dinged and dented pile)
- tube of liquid nails
- pecan stain (cheap brush)
- black paint
- rag
- nail gun
- saw
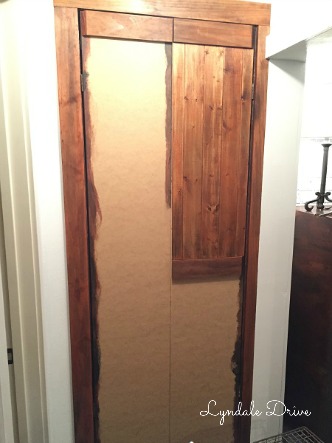
We started with this door:
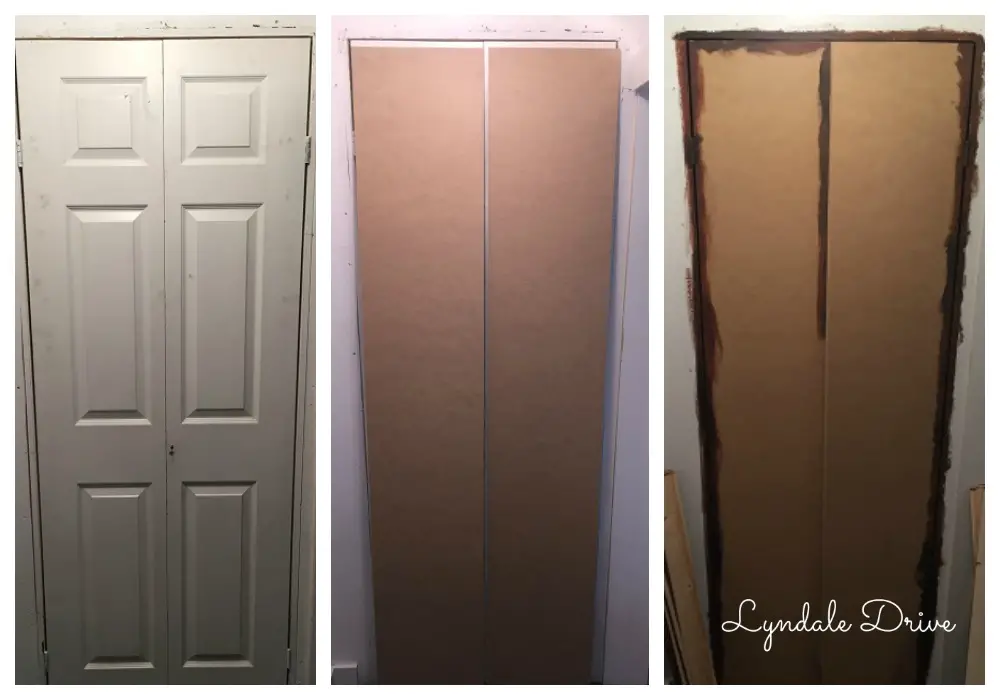
I used liquid nails and an nail gun to apply the fiber board and painted the edges around the door casing. I knew when I added the new molding the white paint from my first idea would be visible.
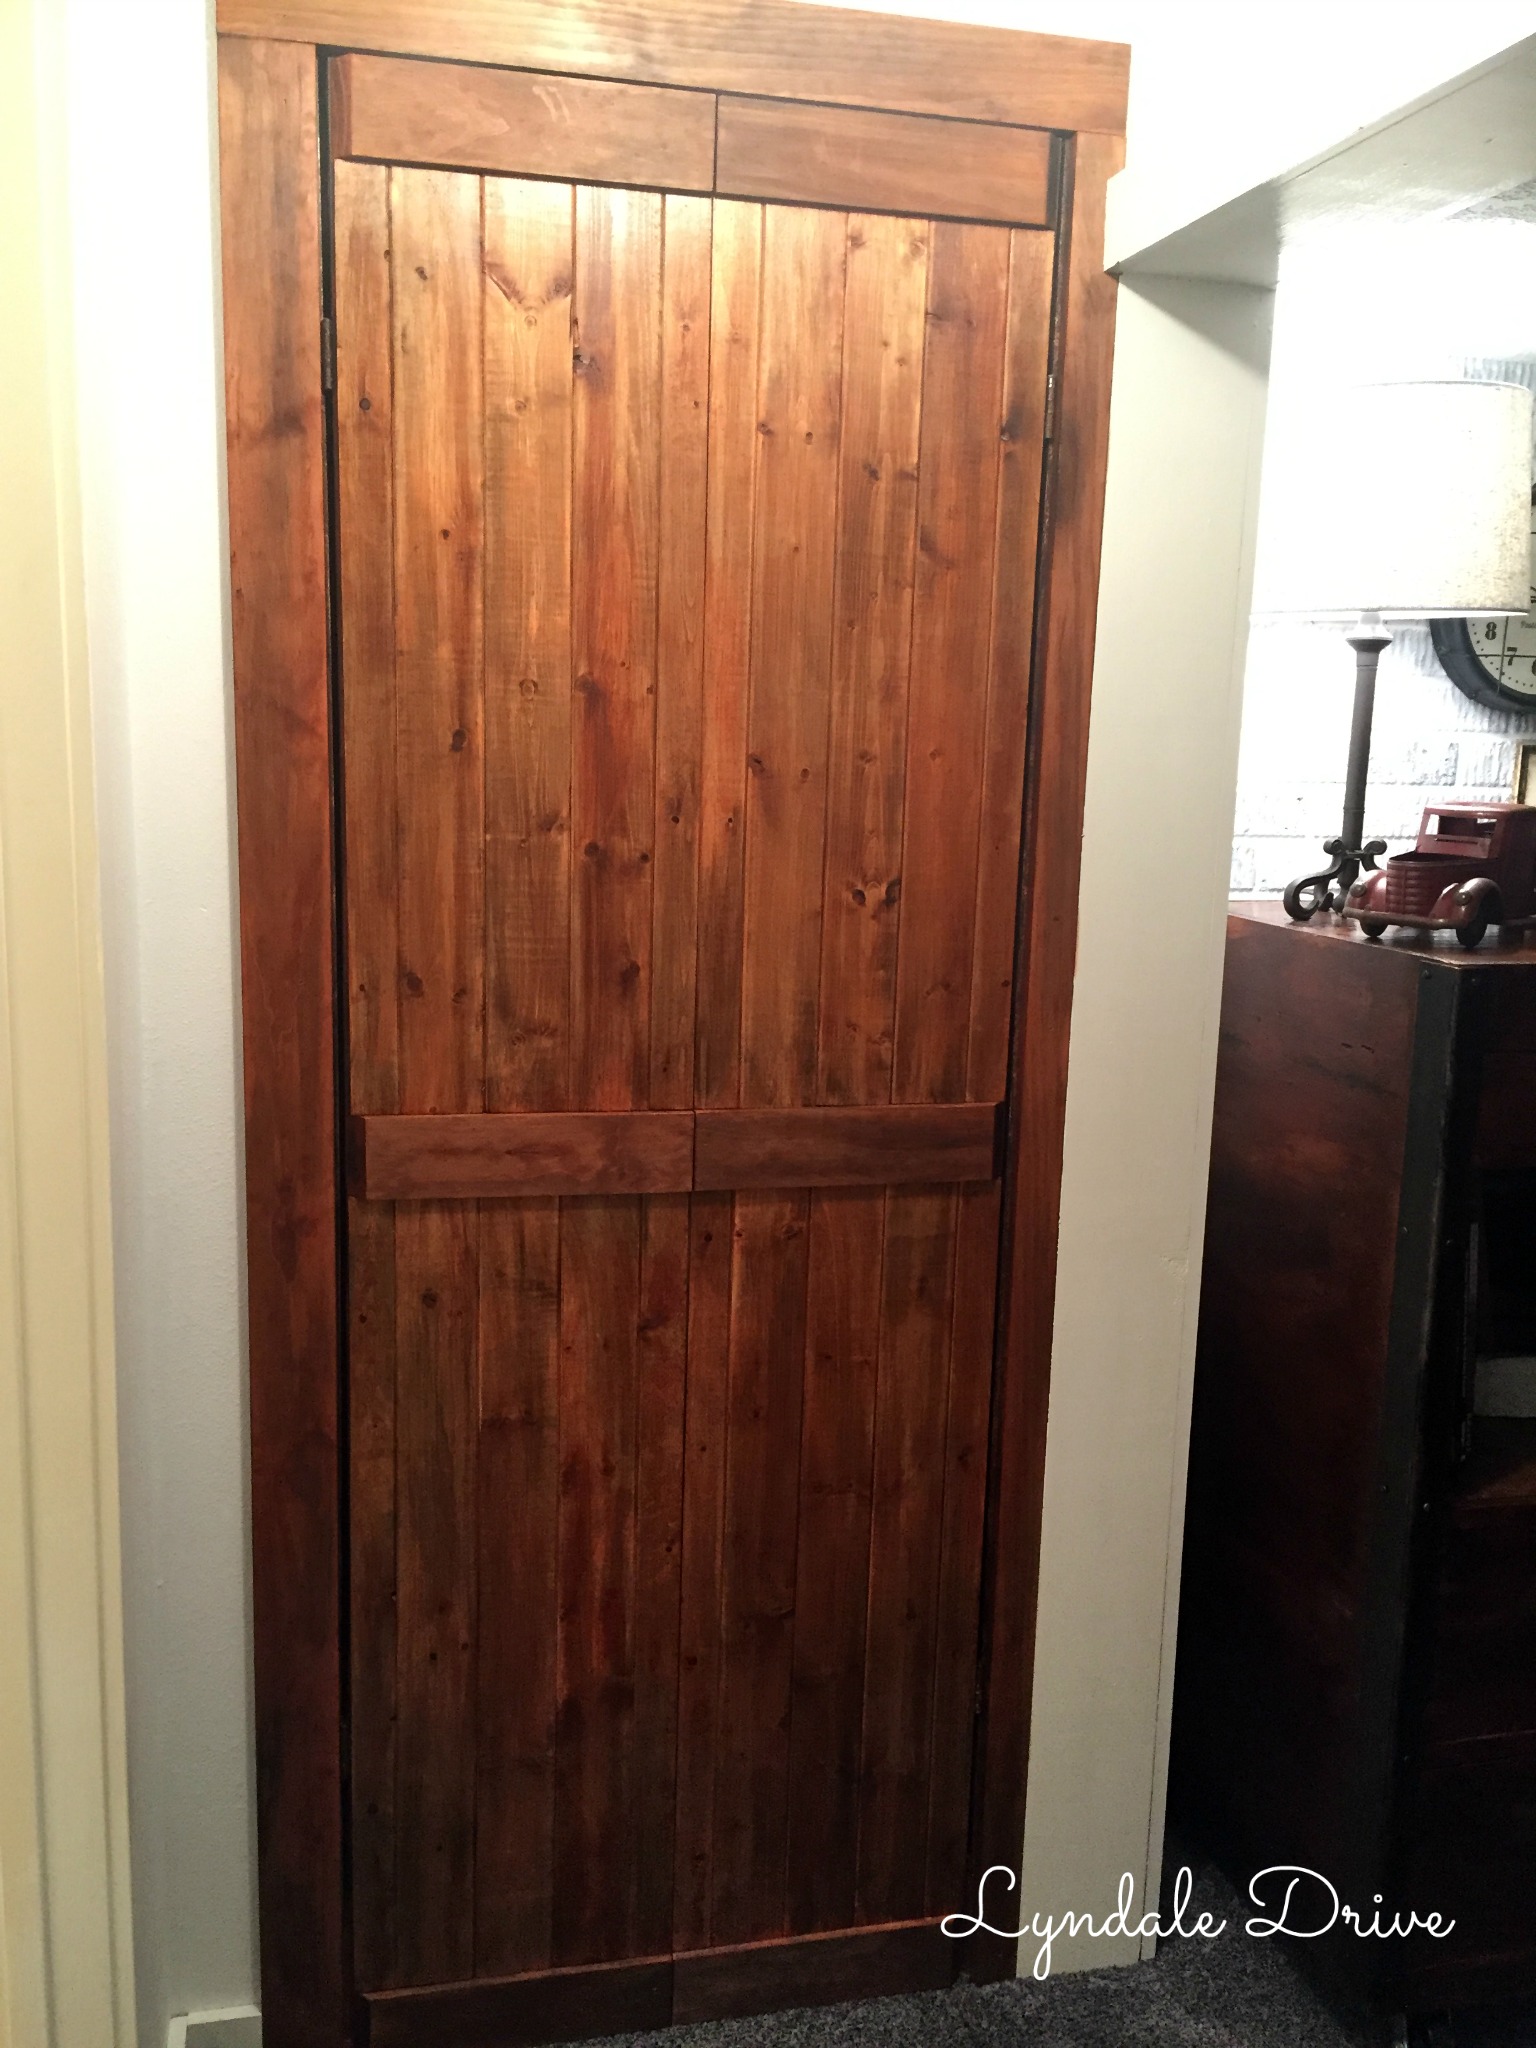
I stained the boards just like I did for the sliding door. To make this bi-fold (now french) door look like the sliding door, I had to make some adjustments to the design. As you will see in the first photo, the door doesn’t go all the way to the floor, we had to hang it high so the electrical panel door would open and not hit the new door frame……..grrrrr!!!
Mike helped me measure everything and cut the wood planks to length. For the cross boards, we needed to cut a 45 degree angle on the outside edge so the door will open.
Mike and I nailed it up……….I was getting so excited seeing it come together I could hardly control my excitement!!
And here it is – the Bi-fold door in disguise! Hope you love it as much as I do!!!

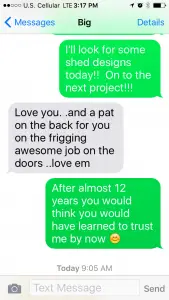
P.S. Mike can finally see my vision!!! He sent me the following text…….
.
I love this idea. Are you putting a knob or a pull on it? This would be cute instead of a traditional pantry door in my kitchen to give it that farm house look!
I am adding a handle to the side – even though it will be just for looks – to open the door you just use the raised center panel. It would be very cute on a kitchen door!!!
What stops it from swinging inward?
PS – love and miss you tons!
Love this! How was the added weight to the bifold door?
Weight? Or Wood? I added the wood by using liquid nails and an air nail gun. hope this answers your question
Good question Ginger! When you remove the center hinges you need to add a magnet stopper to the top of the door frame. You attach one part of the magnet to the door the other to the frame – this keeps the door from swinging inward and keeps it shut! P.S. I miss you too!!