
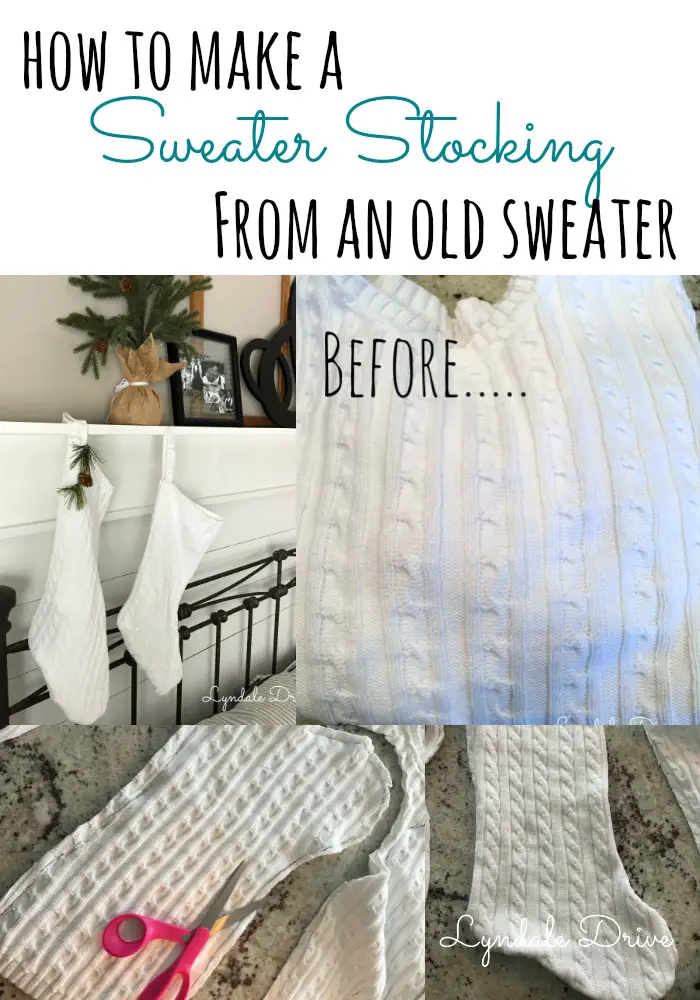
How to Upcycle Old Sweaters Into Christmas Stockings
Please tell me I’m not the only person that will peruse a craft show or local boutique and think to myself……”I can make that” and over 90% of the time I never do. Until now!! I’m on a mission to check things off my list and make some stuff!
First thing marked off my list are these adorable sweater stockings. I am here to tell you they were so simple to make, I promise!!!! REALLY – EASY!!!
Disclosure: As an Amazon affiliate, I earn from qualifying purchases at no extra cost to you. My blog contains other affiliate links as well for your convenience. To learn more, you may read my Disclosure Policy. Thank you for supporting my blog!
First things first, go shopping in your closet……..I know you have an old sweater that you don’t wear anymore, Check your hubby’s closet too, if you use one of his sweaters you will get a bigger stocking!! “wink” “wink”
I bought a pile of old sweaters a long time ago at goodwill for a $1.99 each, seriously can’t remember what I had in mind for them. Don’t judge, I have a memory issue, at least I remembered I had them for this project!
Let’s get busy!
Items Needed For This Craft:
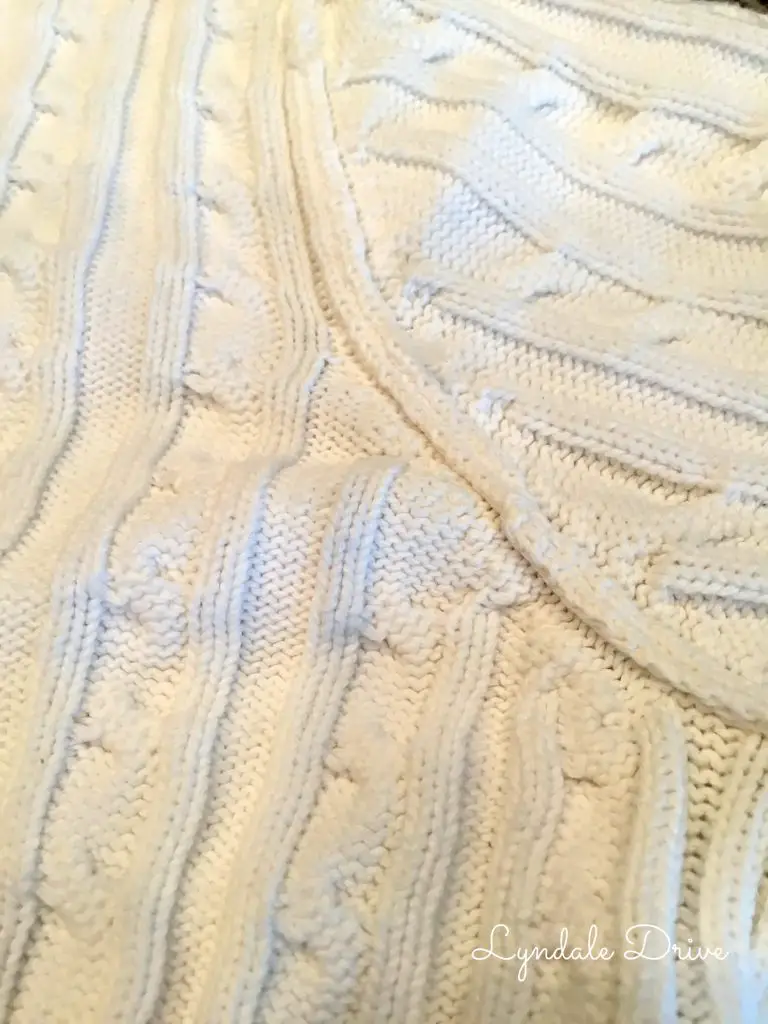
Old Sweaters
Thread
Sewing Machine
Pins
Scissors
Marker
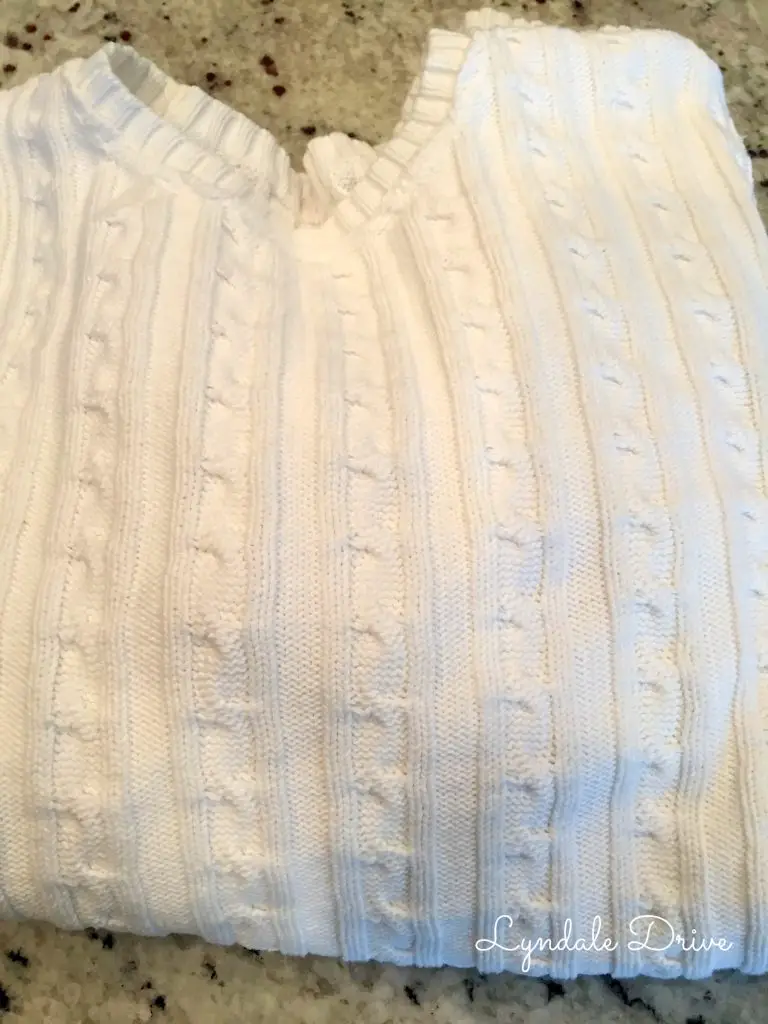
I started by turning my sweater inside out. (In case you are wondering – I washed it first)
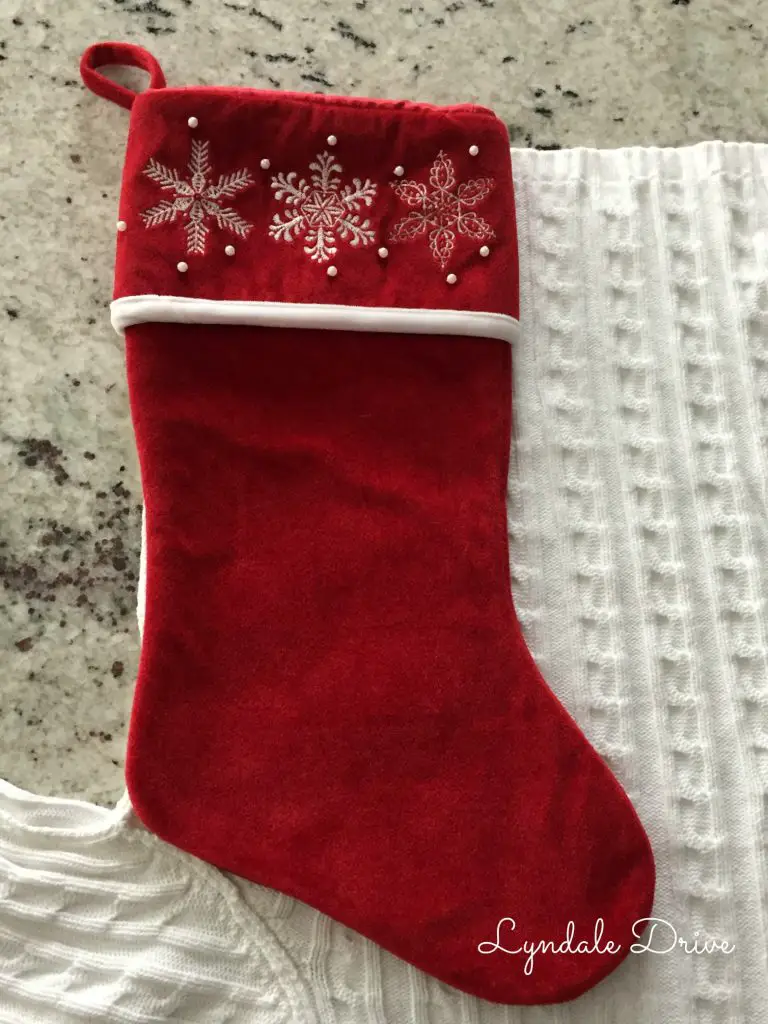
Using the same old stocking I used for my feed sack stockings, I laid it out on my sweater using the waistband as the top of my stocking.
Next I drew an outline of the stocking and added a 1/2 inch to the edges to allow for a seam.
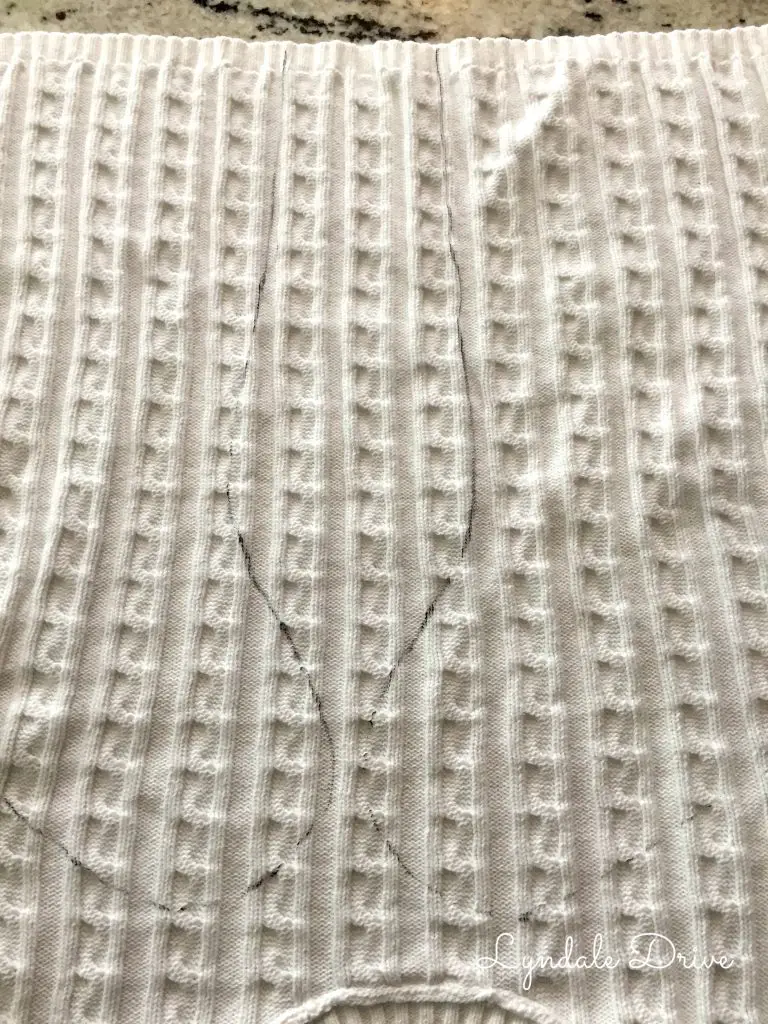
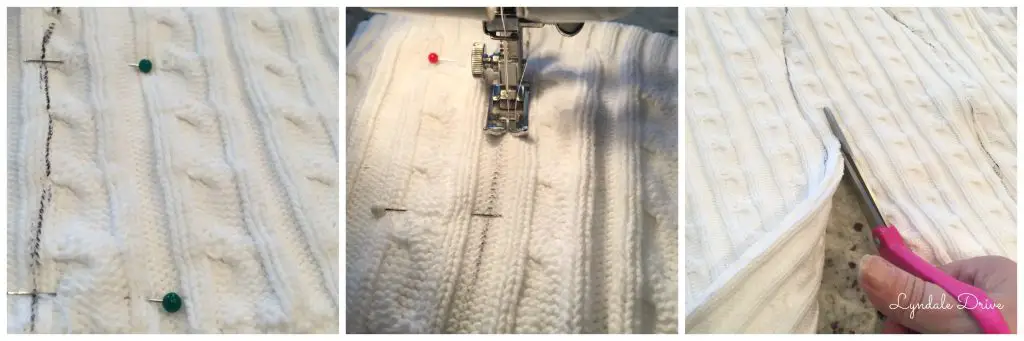
I pinned the sweater together so it wouldn’t move while sewing. (I like to pin AFTER I draw the outline, I have found that if I pin before I draw the outline the sweater is bulky around the pins and I can’t draw straight) So, draw, pin, sew, then CUT!

Grab my free Guide
Discovering Your Style, Love Your Home
Decorating your home and discovering your style doesn’t have to be difficult. This guide will help you to create a home using some simple design tips that will make your house feel more like a home. A place you love to be.
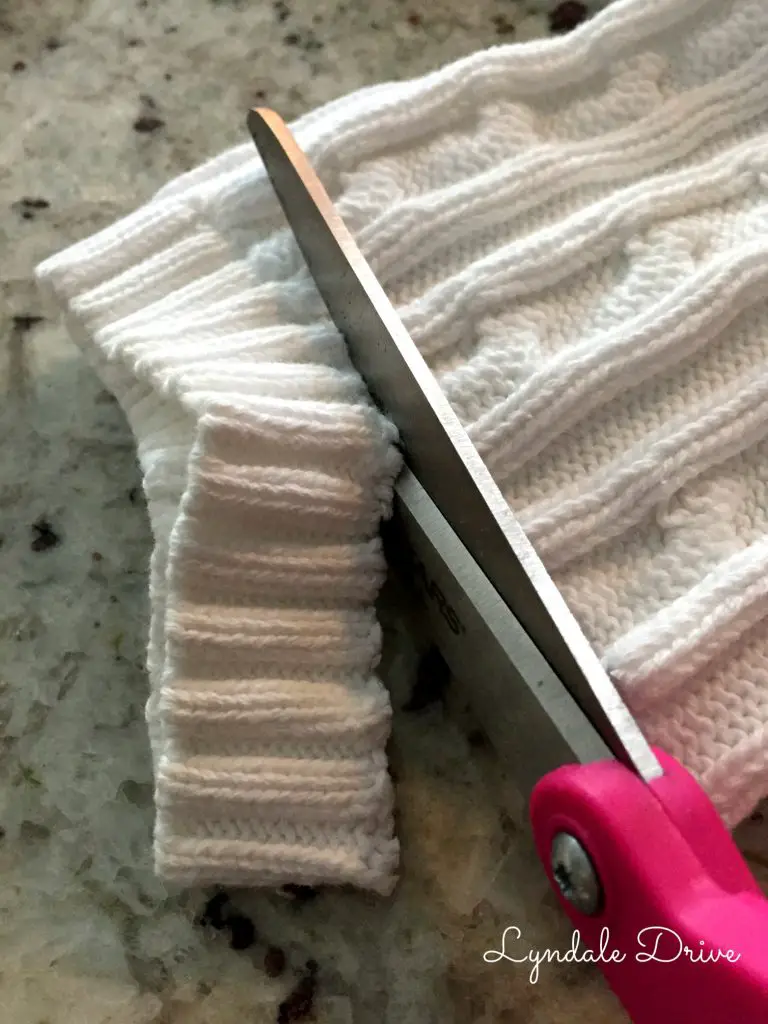
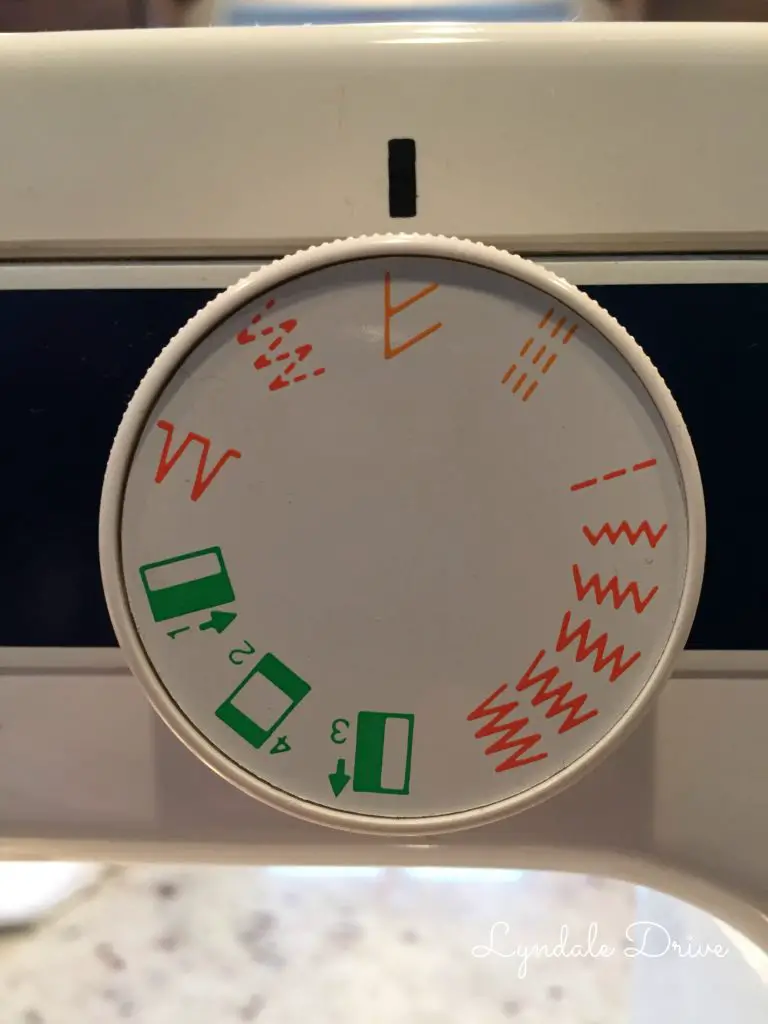
For the stocking hanger, I used the cuff end of the sleeve. One end is finished already (because it is a sleeve), for the side that I cut I used this setting (I am no pro at the sewing machine) so I have no idea what it is called or if it even works, but I used it! I left the hanger (sleeve end) in a circle – no need to cut it apart.
I added the hanger to the top of the sweater (making sure I attached it to the HEEL side of the stocking….lessons learned) and started sewing. When sewing the edges, make sure you sew a double seam to keep the sweater from fraying.
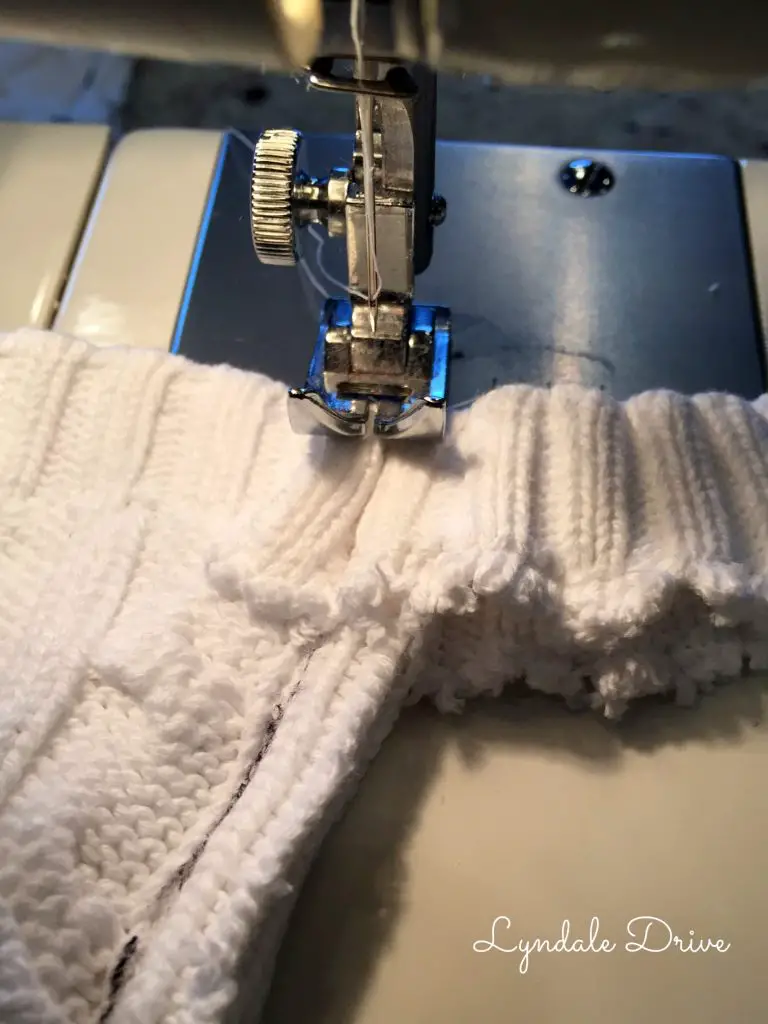
Important – cut the stocking out AFTER you sew the edges. Some sweater fabric will unravel right before your eyes, so make sure you keep it in the shape you want by sewing it FIRST!
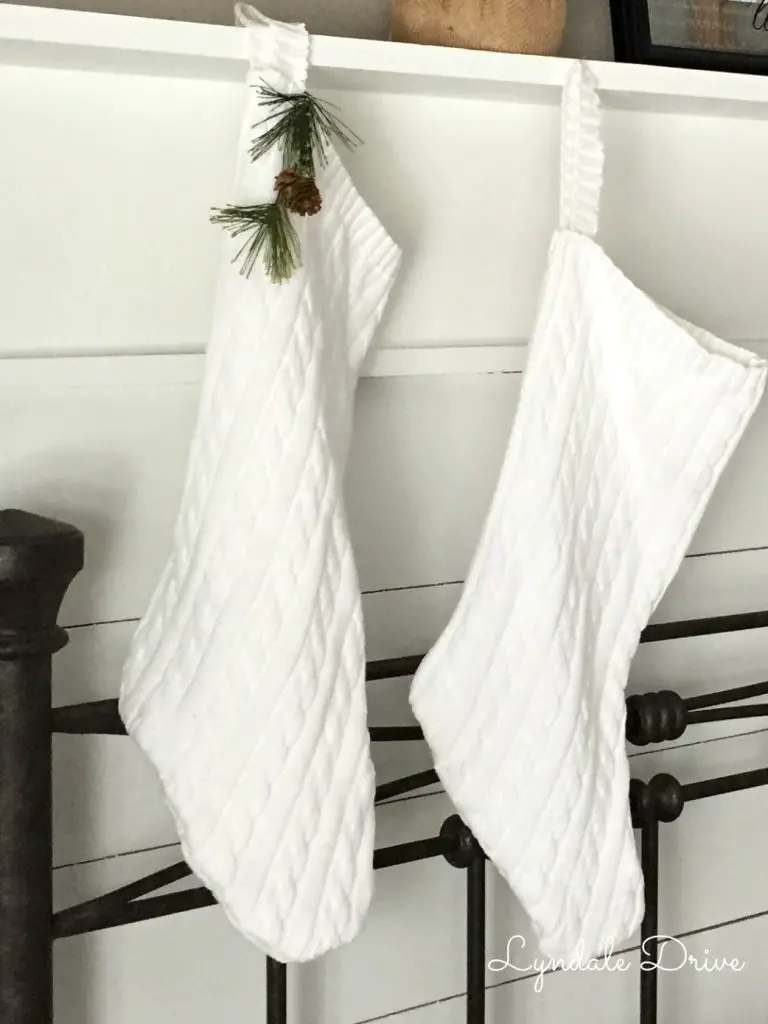
Once you have completed the sewing, turn it right side out and your done! Super simple and absolutely adorable!!!
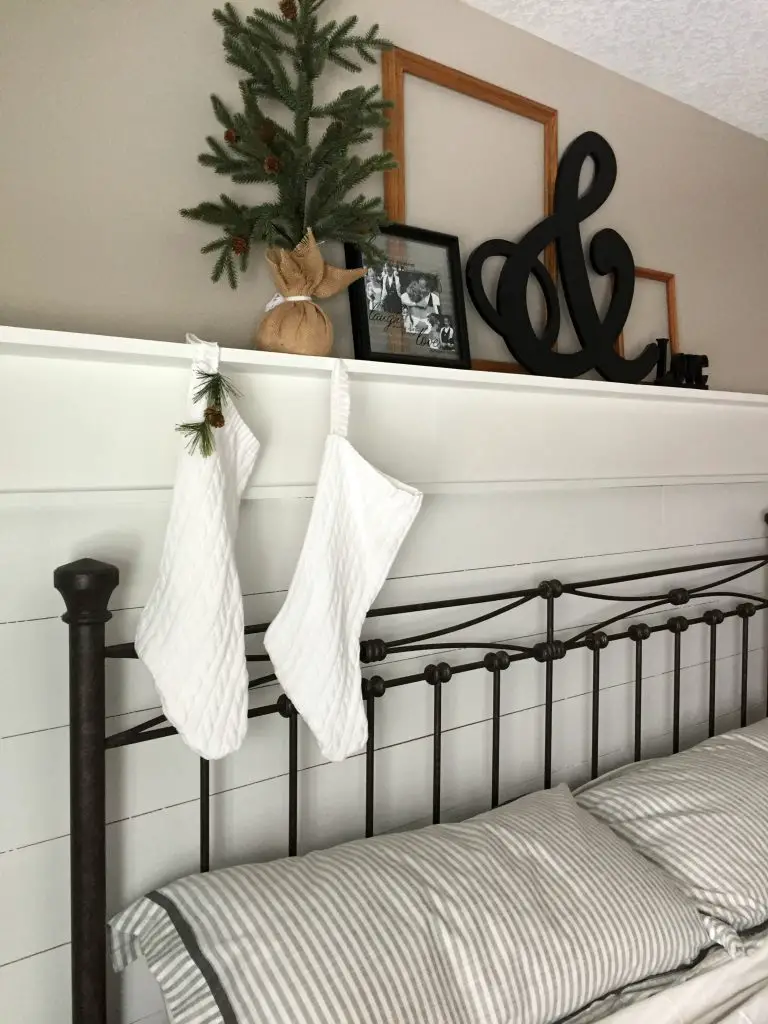
Just in time for Christmas! If you don’t have time to make them today………..pin me for later!
You may also enjoy these related articles:
Did you enjoy this article? Want to hear more? Stay in touch! Sign up below to receive design tips and tricks for your home.

Let’s Be Friends
Join the Lyndale Drive Community!
Sign up to receive all the latest blog details, tips & tricks and a whole lot of fun!