Making your bed
Rise and shine peeps! I have a question for you. Do you make your bed daily or do you roll out each morning leaving your bed a mess? You might say, “why make it when I am going to crawl back in tonight?” Do you ever wonder how they make beds look so cool using all those throw pillows? We have so many that Mike thinks we need to go to bed an hour early to “unmake” it!
Disclosure: As an Amazon affiliate, I earn from qualifying purchases at no extra cost to you. My blog contains other affiliate links as well for your convenience. To learn more, you may read my Disclosure Policy. Thank you for supporting my blog!
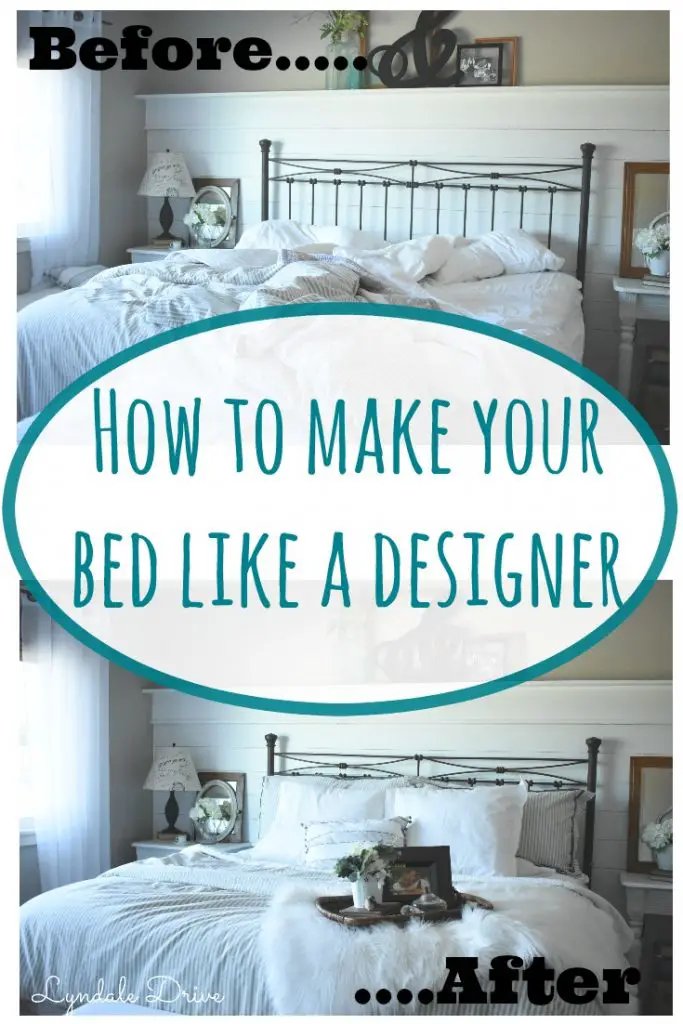
I want to share with you how I make my bed (almost daily) and include a couple of tricks for making your bed like a professional designer. Using layers of different textures and lots of throw pillows. Should we get started?
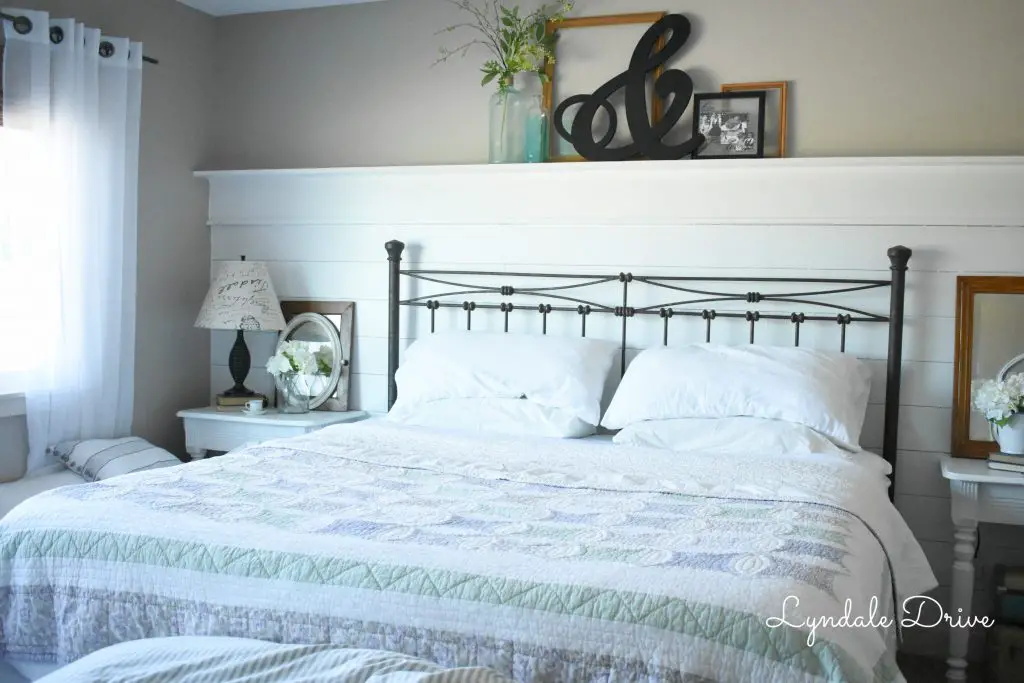
First layer – your sheets! I have learned to love white sheets. These are my favorite sheets of all time! For years I was afraid of them. Worried they would be hard to keep clean and white. Here is my dirty little secret on keeping them white [Read Here]. Unlike the professionals (at least in photo shoots for magazines) I don’t iron or steam my sheets, I don’t have time for that silly business! And I mean really, who does?
I like to leave as much “extra” sheet at the top of the bed so I can fold it down when making the bed. First, tip – line the bottom of your top sheet up with the bottom of your mattress at the foot of the bed. Don’t tuck it in! I only tuck in the side corners. This leaves plenty of extra sheet at the top of the bed so you don’t have to pull on it (untucking it) as you sleep to keep yourself covered.
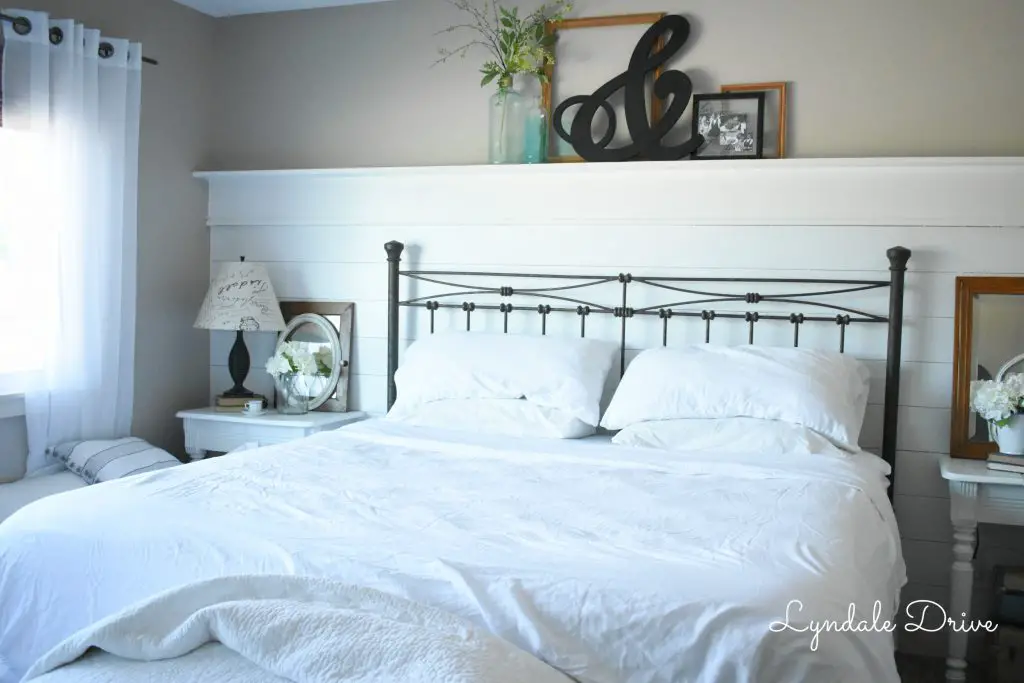
Second step, placing the pillows you actually use. I hope we are not the only ones that use more than one pillow…..I place one flat and the other on top of it as seen above. Pretty simple!
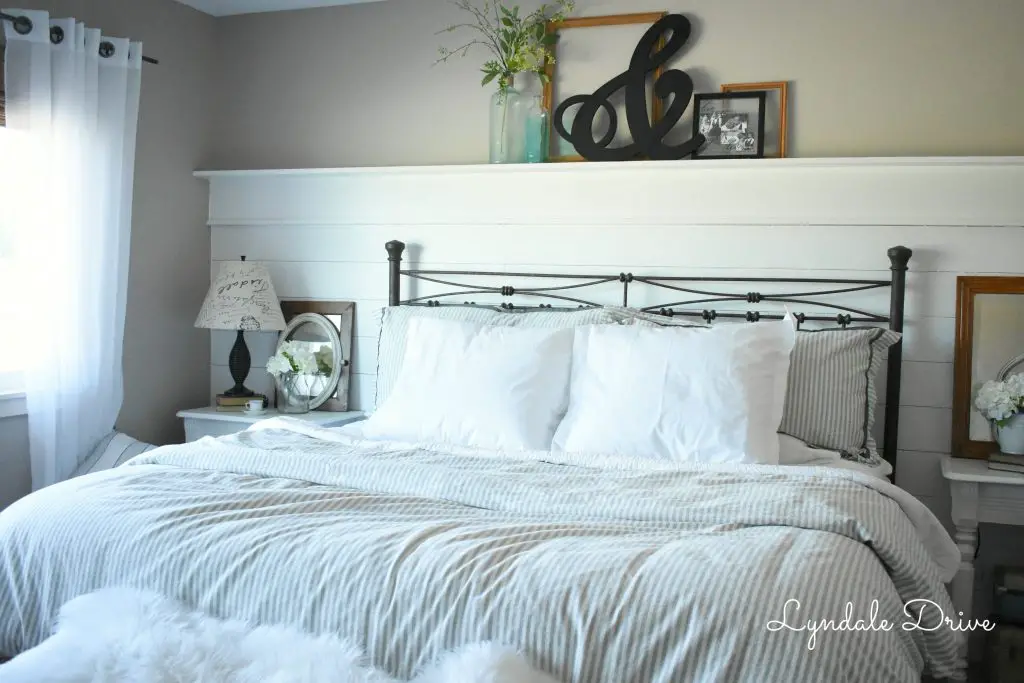
Third step and another secret of mine! As you can see this quilt is not all white and totally does not match my bedroom decor at all. Best part, one side is all white! So no judging here, we co-sleep with our two dogs. Mike hates it, but with his odd working hours and sleeping habits he doesn’t get to make the decision on this one! With that said, no matter how much I groom the boys, they are still dogs and tend to get my bedding dirty! (Secret) – using the back side of this quilt as the TOP – I can hide some of that and not have to wash the quilt quite as often. (It takes forever and a day to dry!)
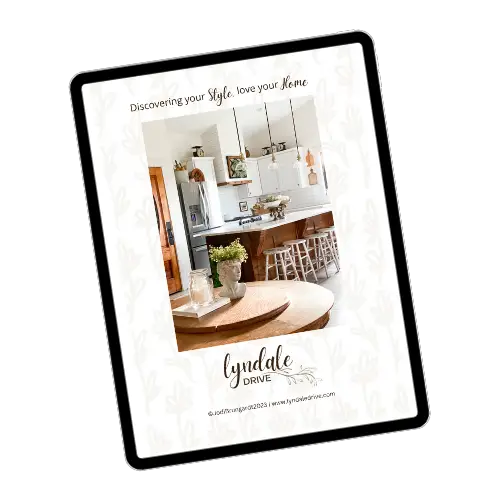
Grab my free Guide
Discovering Your Style, Love Your Home
Decorating your home and discovering your style doesn’t have to be difficult. This guide will help you to create a home using some simple design tips that will make your house feel more like a home. A place you love to be.
In the summer we use this as our blanket. In the winter I fold it across the end of the bed and layer it on top of our duvet. When we go to bed, I simply unfold it, exposing what I would call the “ugly” side and use as an additional cover for warmth and it helps to protect my duvet cover. We all know what a pain in the A$$ duvet covers are to take apart and wash!

Speaking of duvet covers, I absolutely love this one! I got it at Target a couple of years ago and snagged a duvet from Ikea off of a Facebook Swap page. It was still in the package and never used – Score!!! In the summer we don’t use the duvet cover because, well, can you say “hot flashes”? However I still layer it on the bed to add additional color and dimension to the bedding. I fold it 3/4’s of the way back and then fold the “ugly” quilt back over the duvet, exposing the beautiful white side of the quilt.
Next, what to do with all those pillows.

I start with the pillow shams that match the duvet cover. Little Tip – I don’t buy special pillows to fill these, since they are never used. Instead, I fill them with old pillows! These happen to have two pillows stuffed in each sham to give them some poof! (Yes Mom, I do get new pillows occasionally but I still can’t make myself throw away the old ones!)
Next layer of pillows I like to add are these 18×18 throw pillows. Currently they are filled with a pillow form the fabric store and I don’t care for them because they are pretty stiff and not so fluffy. It’s ok, I will make them work until my next trip to Ikea when I pick up a cart full of their awesome 18×18 feather pillow inserts!!
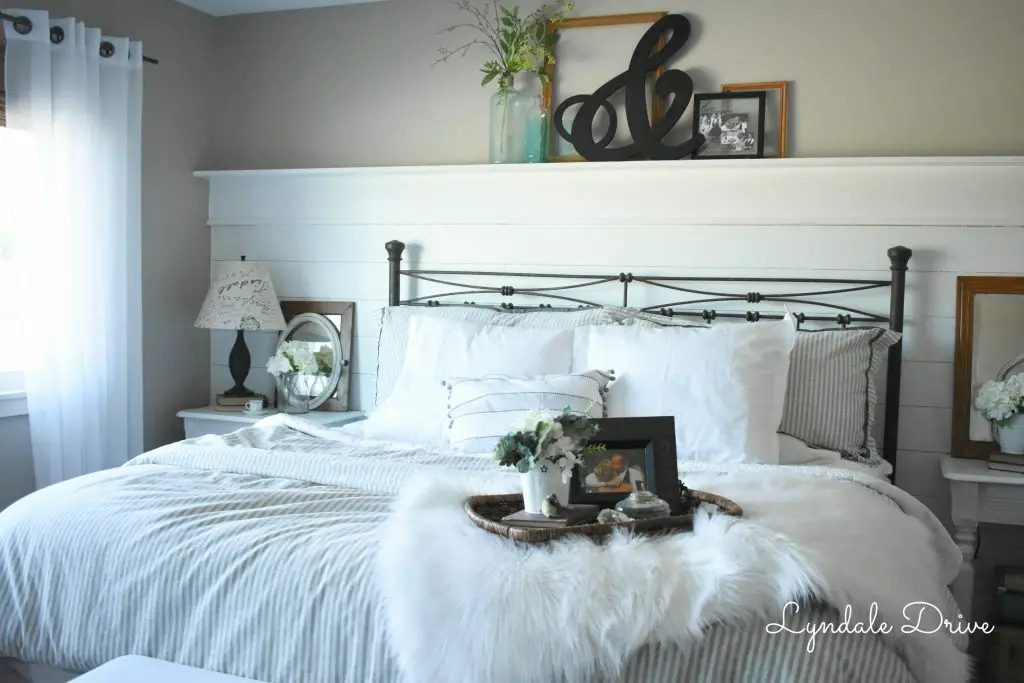
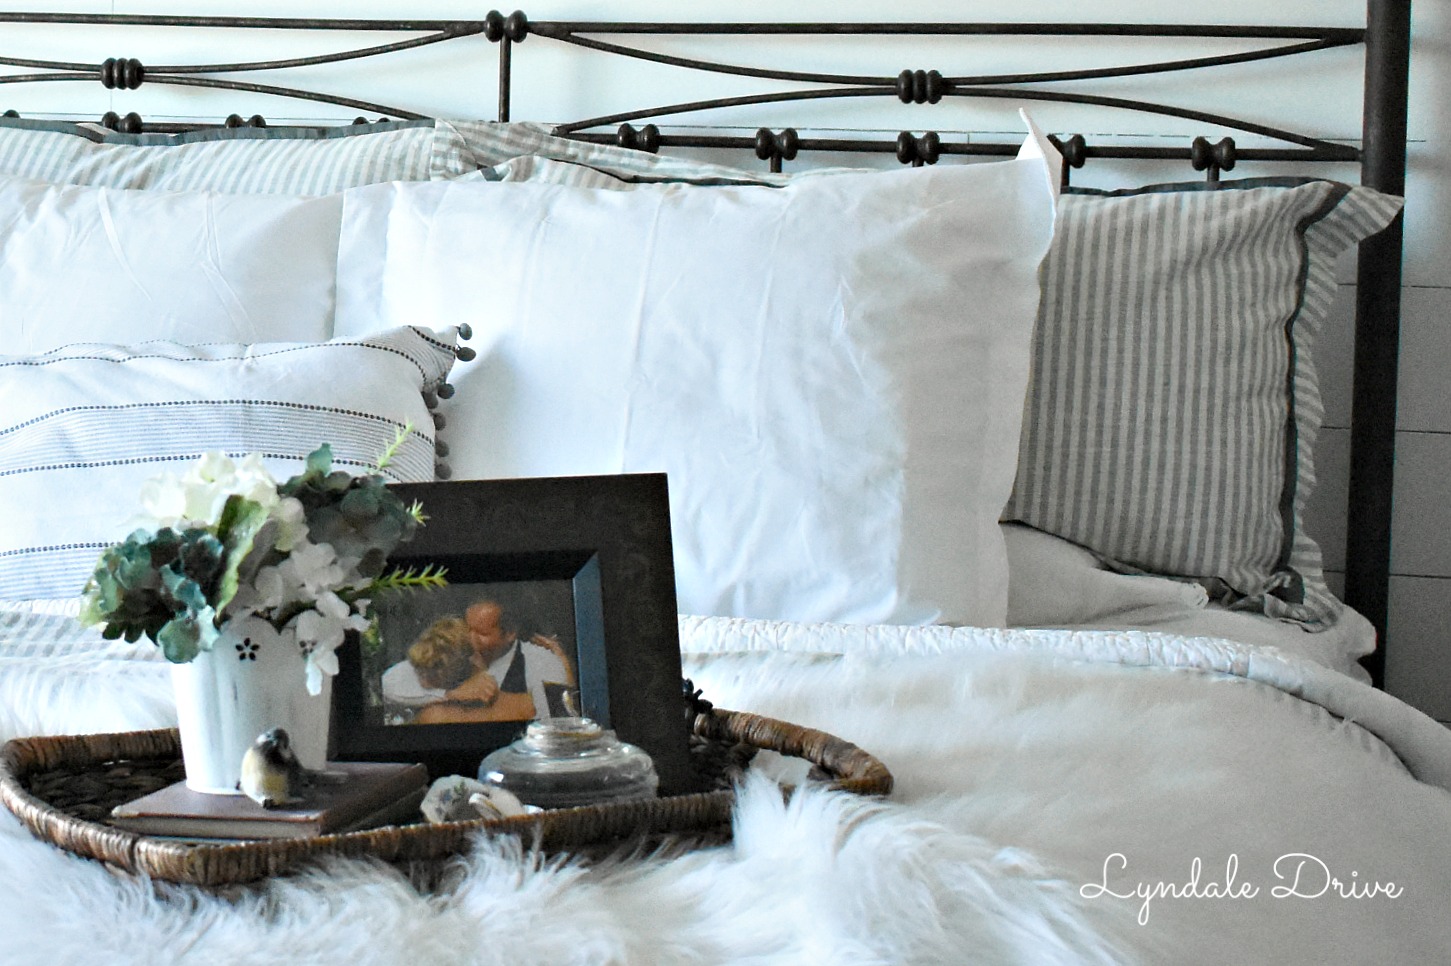
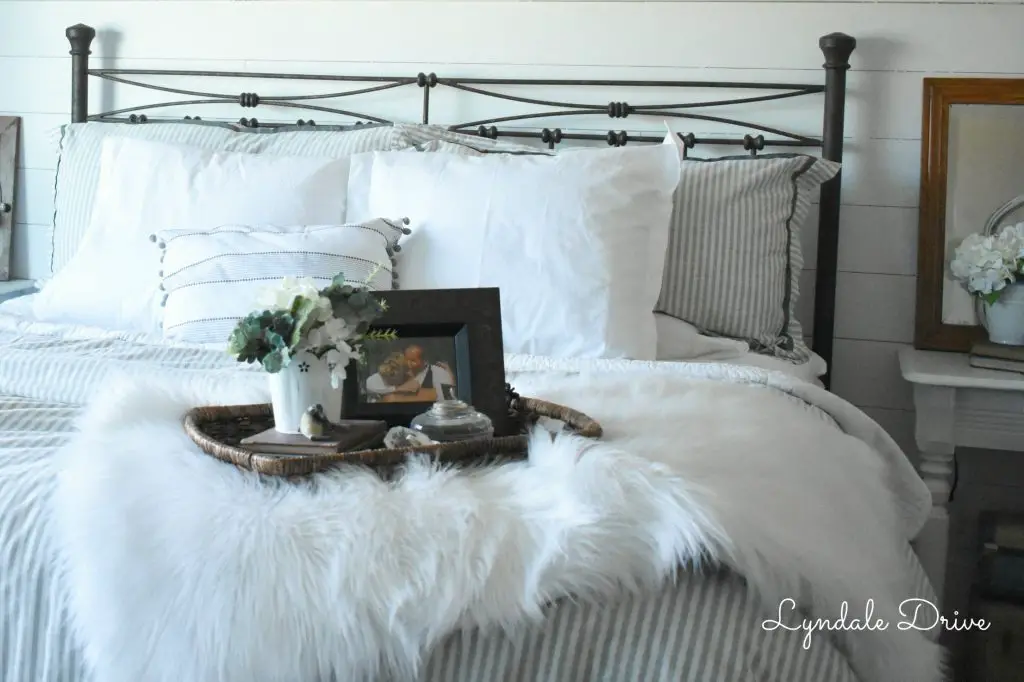
And to finish it all off add your favorite throw pillow. I made this one [check it out here] after swooning over one I found at BBB that cost way too much for my taste. Now, I went overboard for this photo. I know that not everyone will add a tray filled with fun decor items to the end of their bed but for photo purposes it really does make the look professional and finished!
You can add the fun element of a textured throw like I did in this picture. Secret – this isn’t a throw at all……..it is a rug! Much cheaper, adds texture and an interesting design element. Aww, look at that sweet picture of Big Mike and I on our wedding day. We are about to celebrate our 13th year together and I am excited for so many more!

Go ahead, Pin it so you have some ideas for later..
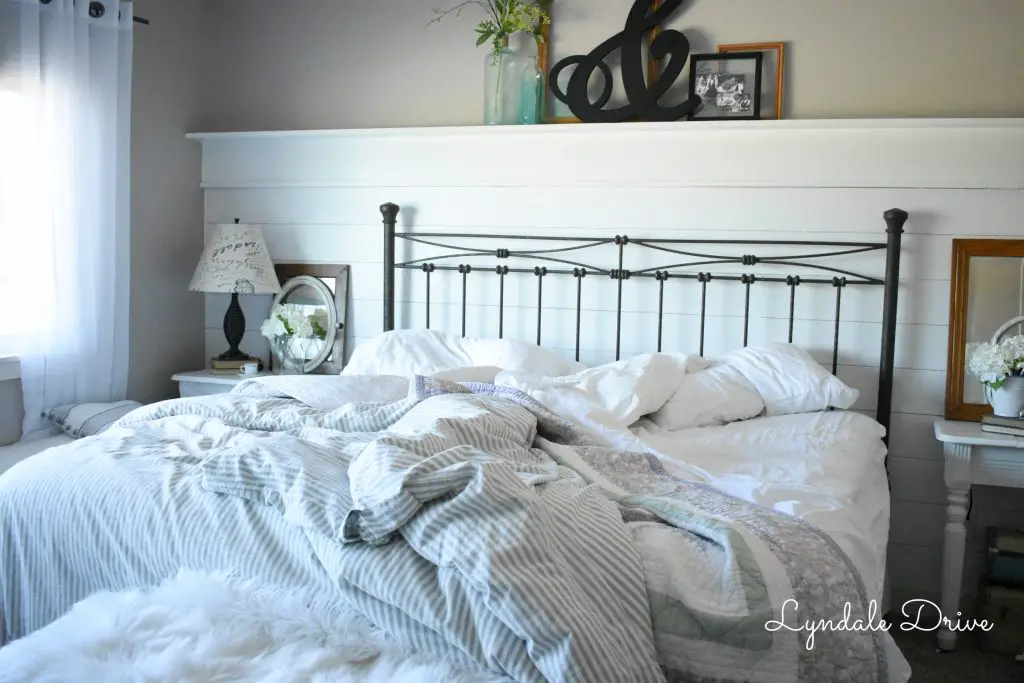
I don’t know about you ladies, but when you look at the picture of the bed unmade, can you guess which side is mine and which is Mikes? I swear, I think I could crawl out of bed, slightly pull the sheet up, wipe a wrinkle out, fluff the pillow and you would never know I just spent 8 hours there. Mikes side………ya, not so much!!!
You may also enjoy these related articles:
- Budget Friendly Bedroom Makeover
- How to Keep Your White Sheets White
- Ideas for a Nursery Room – Baby Girl
Did you enjoy this article? Want to hear more? Stay in touch! Sign up below to receive design tips and tricks for your home.
Let’s Be Friends
Join the Lyndale Drive Community!
Sign up to receive all the latest blog details, tips & tricks and a whole lot of fun!