Drop Cloth Curtains, What I Learned
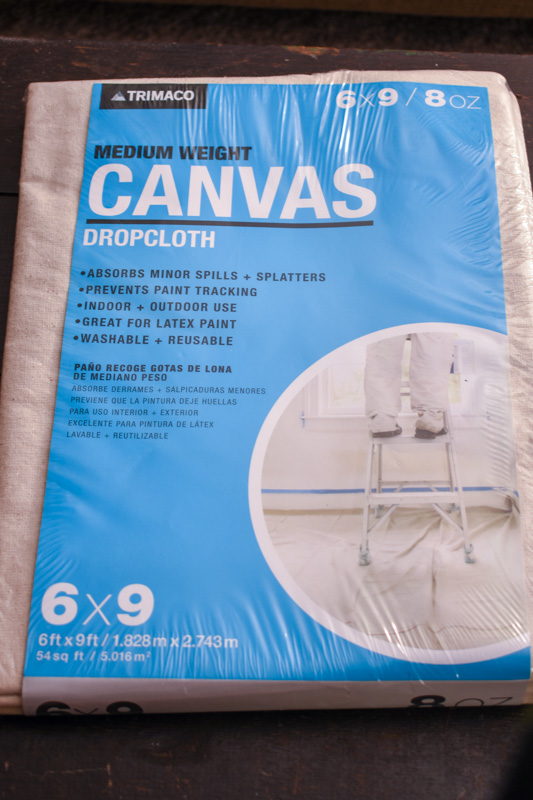
If you have ever considered making drop cloth curtains you better keep reading. I will share with you everything I learned about drop cloth curtains, including all the things they don’t tell you on Pinterest! Not all drop cloths are created equal! I bought 6×9 drop cloths from Menards. Before I had even left the store (thank God) I realized one package was a different color and texture than the others, proving they are not all created equal.
Disclosure: As an Amazon affiliate, I earn from qualifying purchases at no extra cost to you. My blog contains other affiliate links as well for your convenience. To learn more, you may read my Disclosure Policy. Thank you for supporting my blog!
I washed the dropcloths before hanging them to soften them up. They are very stiff otherwise. If you don’t like to iron, you won’t like dropcloth curtains. I bought a steamer to take the wrinkles out of mine. That process is story for another day.
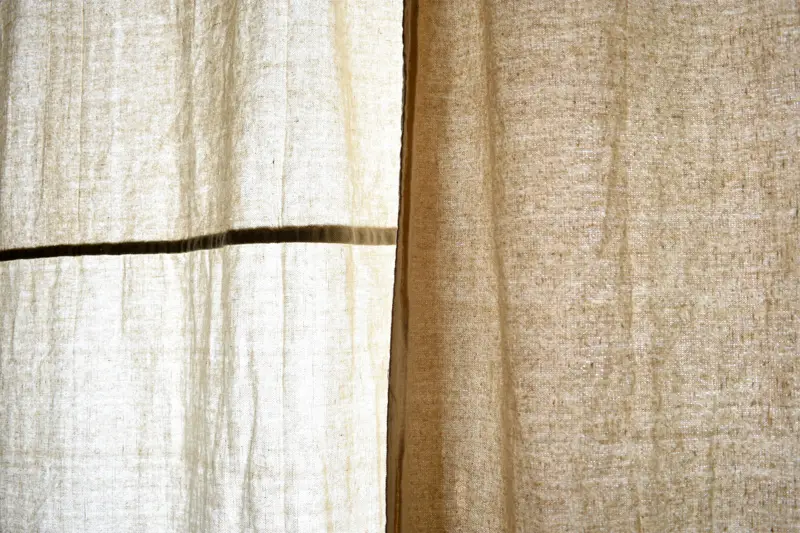
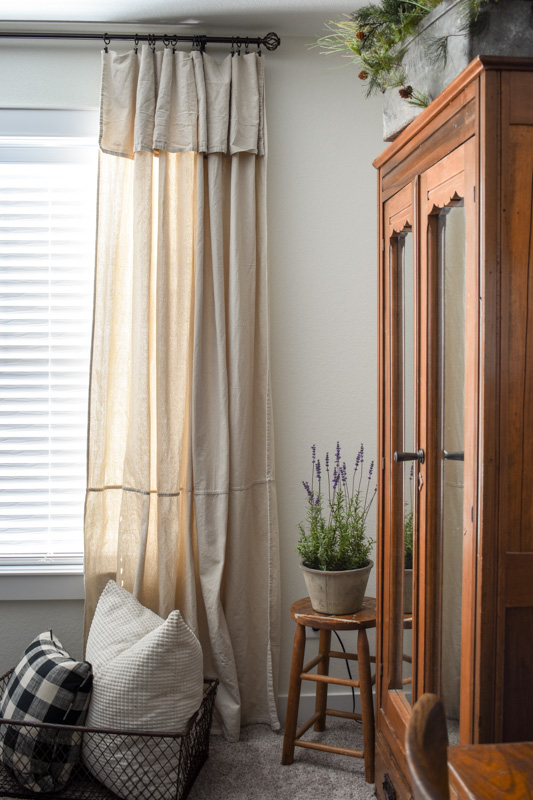
The 6×9 dropcloths I purchased not only come in different colors and textures, some also have seams in random places. You can see in the photo below, the difference in color, texture and seams. I don’t mind the seams, however they may bother you. If you follow me on Instagram, I shared all of my drop cloth curtains experiences on my stories. One of my followers shared with me that dropcloths purchased from Walmart do not have seams. You can get them Here.
Hanging Drop Cloth Curtains:
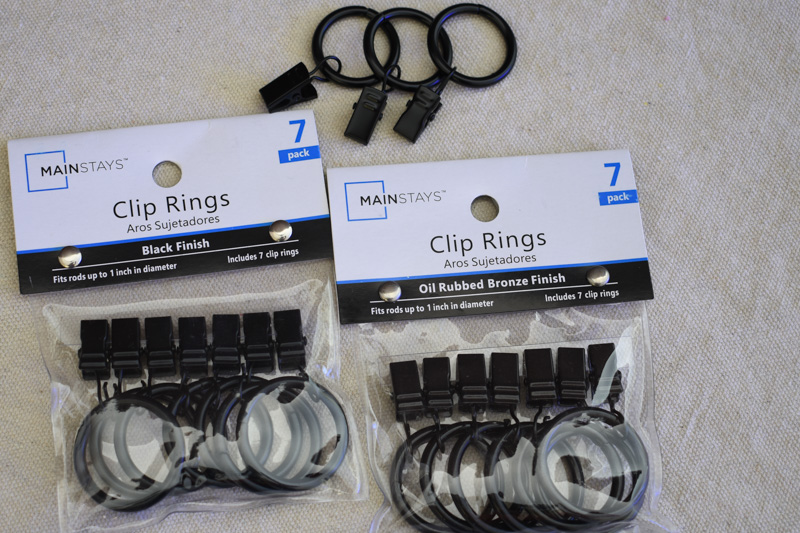
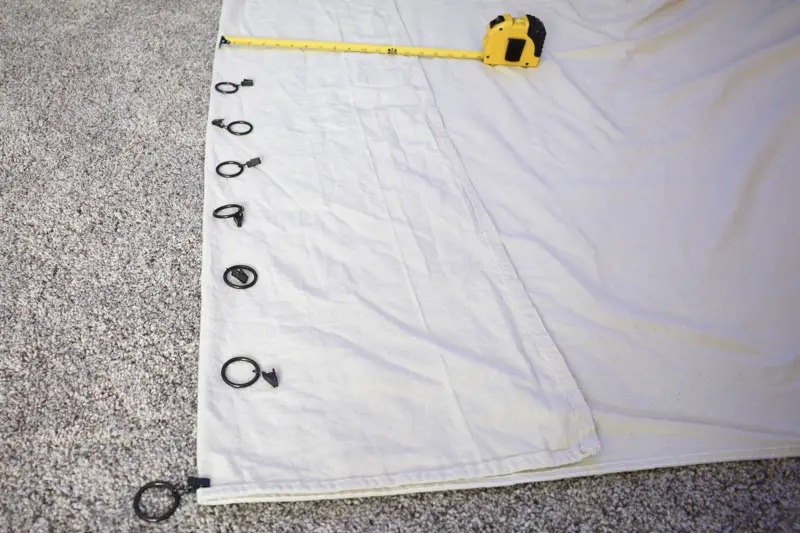
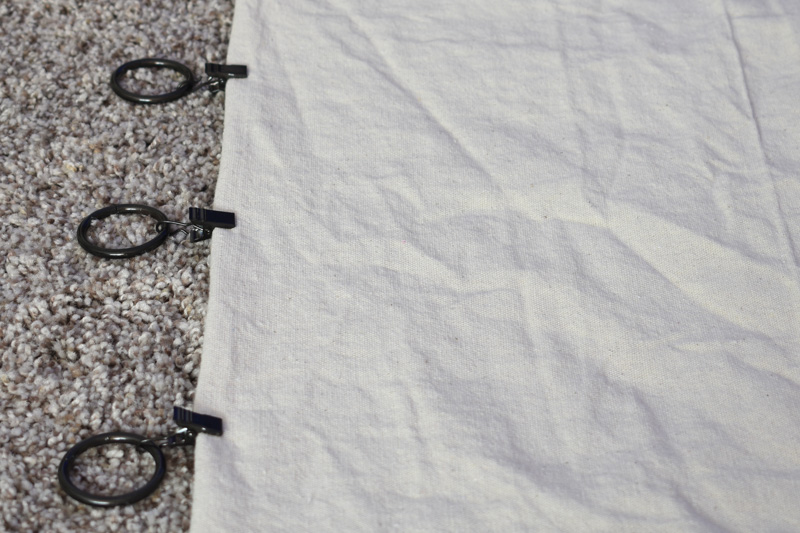
I used the above curtain clip rings. They come 7 clips to a package. I used 1 package per dropcloth, the “first time” I hung them. No matter how many clips you use, I suggest (after learning from my mistakes) to lay your dropcloth out on the floor, determine the length of your fold, curtain and then space your clips out evenly across the top of the panel. Here is a link to a package of 42 clips!

Grab my free Guide
Discovering Your Style, Love Your Home
Decorating your home and discovering your style doesn’t have to be difficult. This guide will help you to create a home using some simple design tips that will make your house feel more like a home. A place you love to be.
My curtain rods have 3 support brackets (one on each end and one in the center for support) I wanted my curtain rods and curtains to extend past my window so I needed to determine how far past each outside bracket I’d hang my dropcloth curtains. Placing the correct number clip rings on the outside of the bracket and the remaining clip rings on the inside of the bracket. I didn’t get it right the first two times!
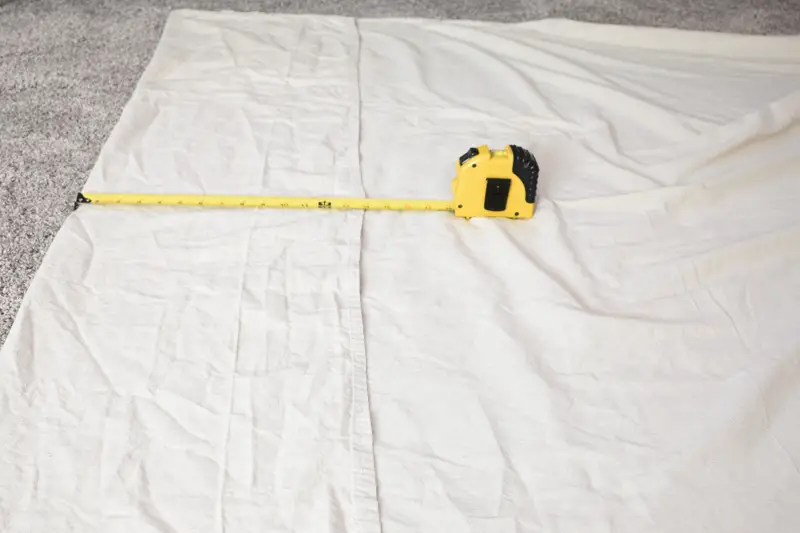
The length of your dropcloth curtains will depend on where you place your curtain rod. My rods are almost touching the ceiling, at nearly 8ft.
I did the “simple” math (my first mistake, well maybe my 4th or 5th) and folded my drop cloths at 12 inches. Thinking this would give me a “ruffle” of about 12 inches at the top of my curtain panel, leaving the remaining 8 foot for the curtain. Have I ever shared with you that I don’t really care for simple math? Yeah, well this was supposed to be easy, so why measure, right?!
Hanging them on the rod is not difficult, it’s a pain in the rear! Especially if you change your mind on how many clip rings you want on each side of the rod brackets or how many clip rings you want on each dropcloth curtain.
I estimate that I hung each panel at least 4 times! Not only did I take them down to clip them at the right length, I took them down to change the number of clip rings on each side of the bracket, I also took them down again to add more clips! Let me remind you again, this part is a pain in the rear!
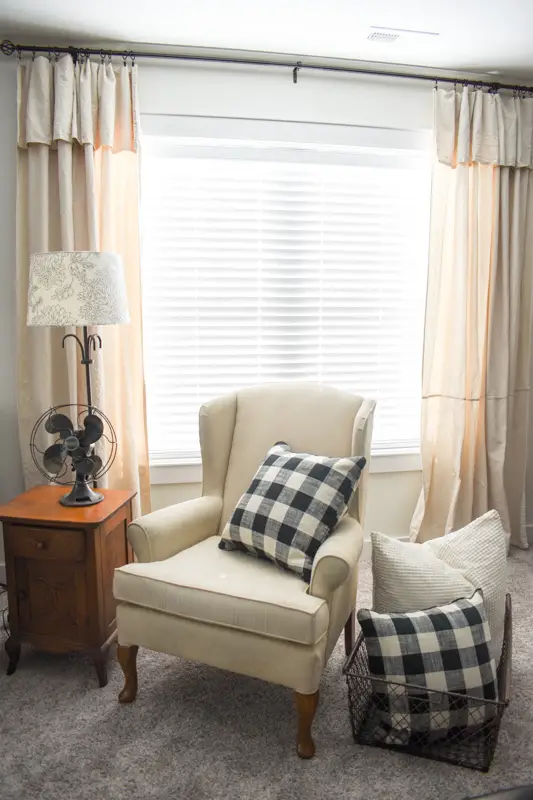
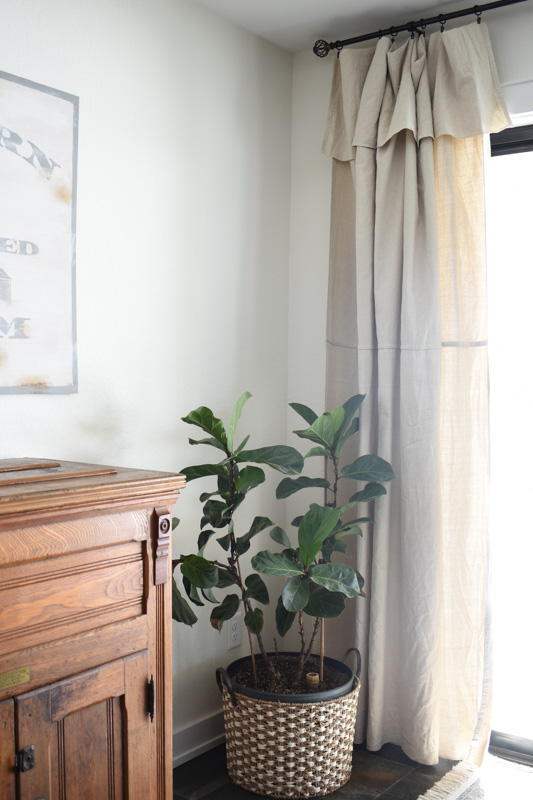
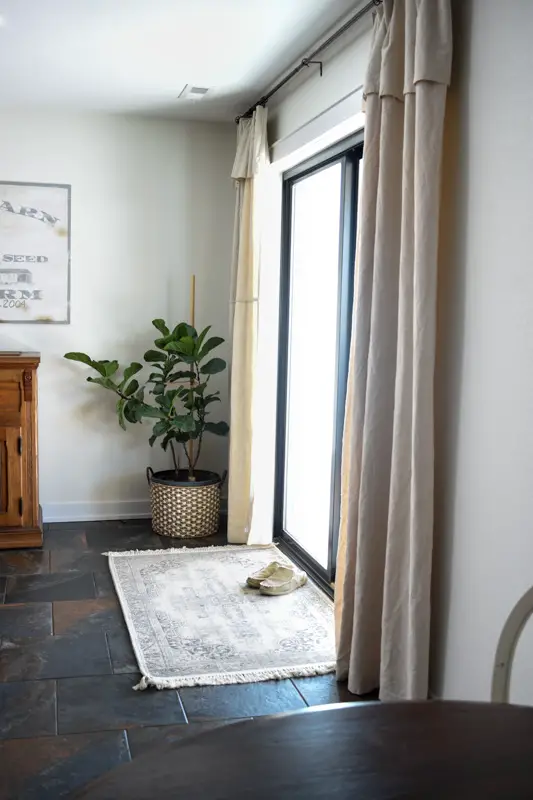
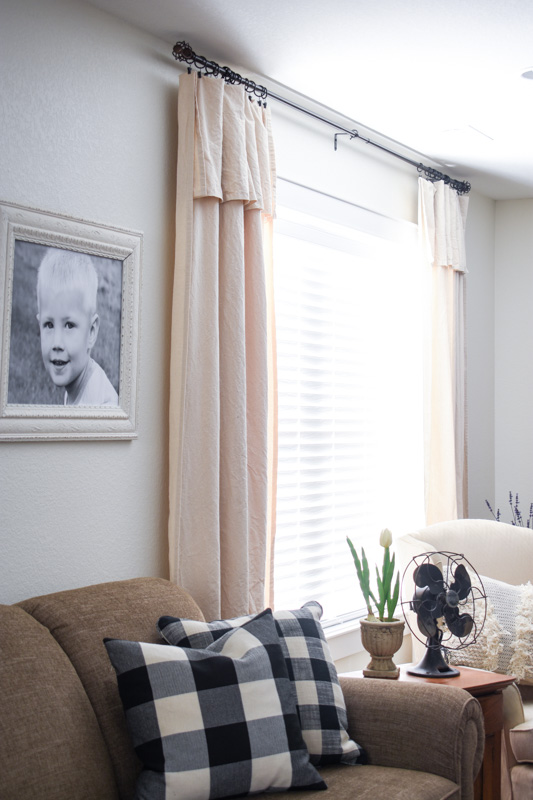
Personally I think dropcloth curtain panels need 2 sets of clips per panel. I think they hang nicer with 2 sets. Above you can see the look with one set. And below you will see I used two sets.
One last word of advice, make sure ALL panels are the same length before you hang them. (Don’t trust the package measurements). If you follow me on Instagram, you saw in my stories that the 4th panel I hung was too short!!!
Will you believe me if I told you I bought another dropcloth (held it up for length before I washed – got smart this time), it was the right length. I washed it, went through all the steps above: (with the addition of taking down short panel) measure fold, add clips and hung it up. And believe it or not…….it too was TOO SHORT @@&#*##!!!
I’m not showing you a picture and I hate to admit……I haven’t changed it yet! And I might not…..who knows.
There you have it. Everything I learned about dropcloth curtains. And in the end, I really like the look of them and they serve the purpose for much less money than normal curtains. Check out this post to see the layout of our basement family room. Well the whole house really!
You may also enjoy these related articles:
Did you enjoy this article? Want to hear more? Stay in touch! Sign up below to receive design tips and tricks for your home.
Let’s Be Friends
Join the Lyndale Drive Community!
Sign up to receive all the latest blog details, tips & tricks and a whole lot of fun!
Very funny and helpful!!!! Somehow you forgot to mention all the calls to your mother and how you totally ignored all the wonderful advice she gave you!!!!! The curtains turned out great inspite of my advice!!!!!!!
They look great, thanks for sharing! Allison @homemade_countryhome ?
Thanks Mom! You are always there for me in times of crisis and my biggest supporter!
Thanks! Even though I learned a lot along the way and they were a pain in the rear – I really do like them!
We have drop cloth curtains in our bedroom for the closet doors and over windows. I love them but they are a pain to iron!
Amanda – would you believe me if I told you the one that is too short is still hanging there! lol